iOS 17.7 may be causing some users’ SIM failure. Fortunately, a solution is available, though it may not be what you want to hear. Continue reading to learn more about what to do.
How to Fix SIM Card Failure in iOS 17.7
Unfortunately, it’s possible that the problem may have to do with your cellular provider. Follow the steps below to see what you can do about SIM failure in iOS 17.7.
1. Clean/Reinsert the SIM Card
 NOTE
NOTE
One thing you can try is removing the SIM card and reinserting it. During this time, you can also clean the card with a small amount of alcohol and a cotton swab. Two to three drops are fine.
Time needed: 1 minute
To remove a SIM card from an iPhone, follow these steps:
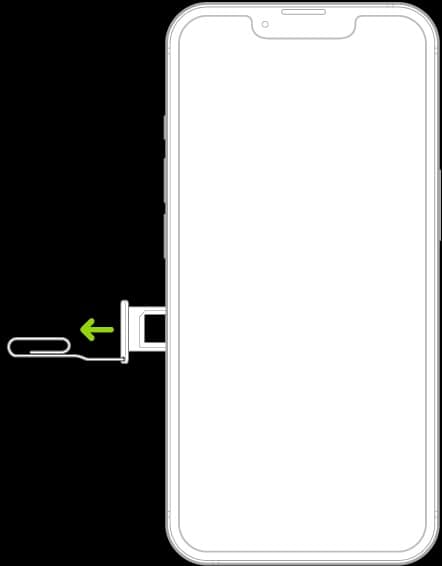
- Using either the SIM ejector tool that came with your iPhone or a paperclip, insert it into the hole within your SIM slot on the side of your iPhone. Push forward to eject the tray.
- Take the SIM card out of the SIM tray.
- Using a small cotton swab or microfiber cloth, carefully wipe the sim with a small amount of alcohol. You may also skip this step.
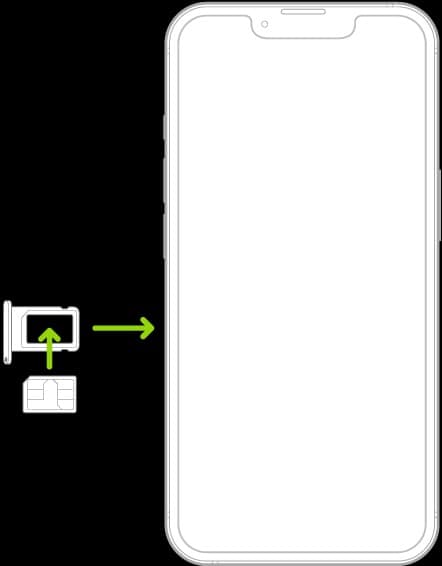
- Reposition the SIM card back into the tray. The tray should force the card to go one specific way.
- Reinsert the tray back into your iPhone. You may need to enter a SIM pin. If you do, do not attempt to guess this password, as it may wipe your SIM card.
2. Switch to an eSIM
 NOTE
NOTE
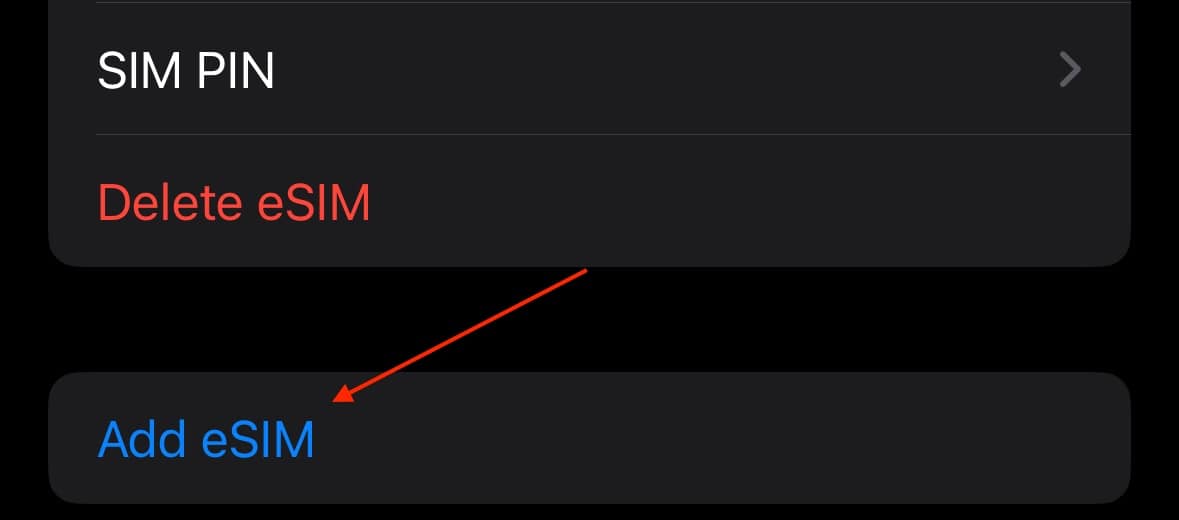
If your iPhone supports eSIM (iPhone SE second-gen and later, iPhone X series and later), there is a small chance that you can switch from a physical SIM to an eSIM. Consider if you want to move to an eSIM before moving forward with this solution.
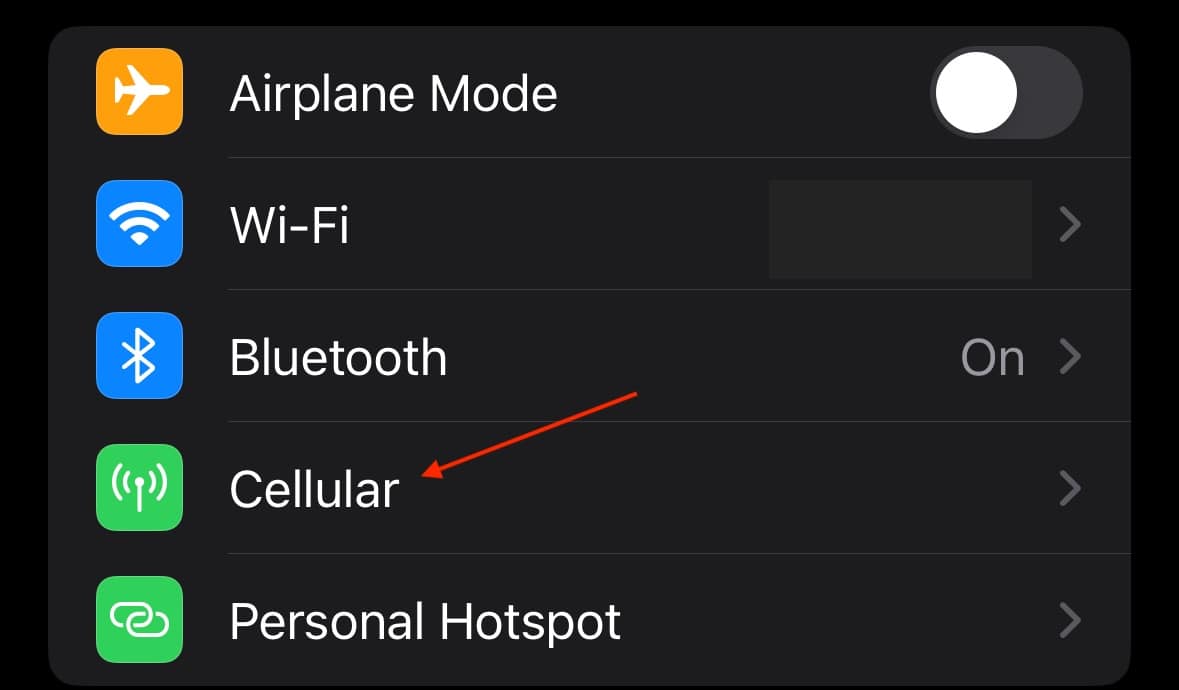
- From your iPhone, go to Settings > Cellular.
- Tap Add eSIM.
- Select Convert to eSIM and follow the instructions on the screen.
You may also want to know what to do if you get an Unsupported eSIM Error on your iPhone.
3. Get a New SIM from Your Carrier
While the above solutions may help, you will more than likely have to speak to your carrier about a new SIM card. While this is unfortunate news, your carrier will probably give you the replacement for free. After making the switch, consider moving to an eSIM.
Though not the ideal solution, talking to your cellular carrier may very well be the fastest and best solution.
