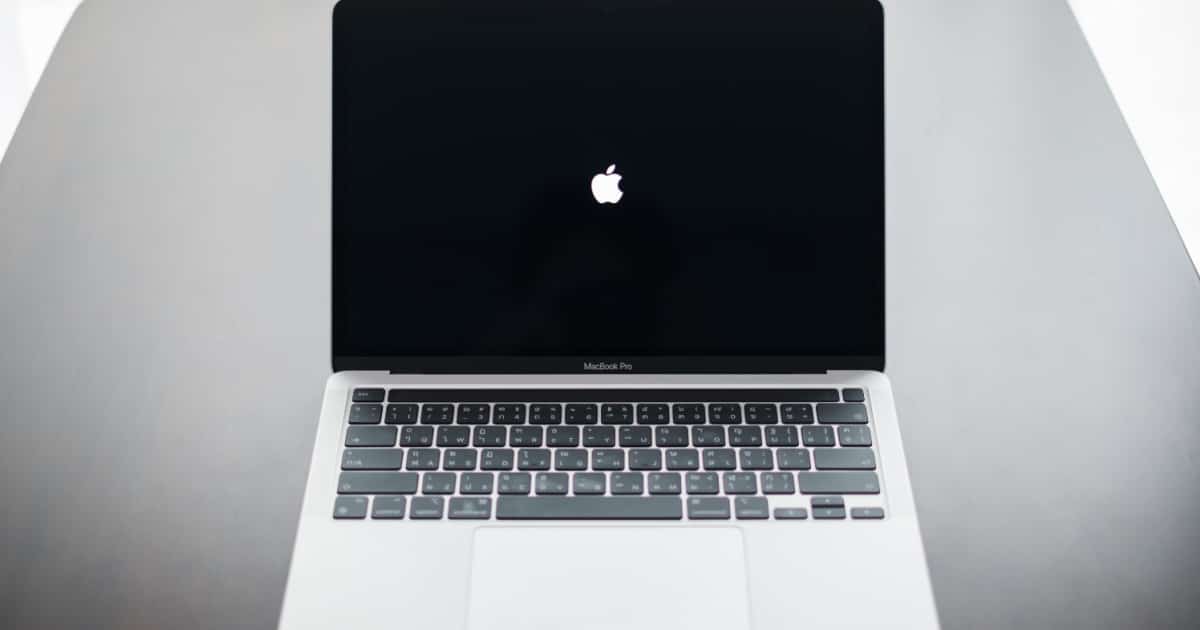
Here’s a scenario you might find yourself in: say you get a used MacBook. When you turn it on, you see the message “The version of the macOS on the selected disk needs to be reinstalled”. It may also then go on to say “Use Recovery to reinstall macOS or select another startup disk”. Sounds easy, right? Well, what happens if you click another startup disk and nothing happens? Even worse, going to Recovery doesn’t solve your issue, either. While this may sound like an incredibly frustrating experience, there is something that you can do about it.
Gathering this information together, I’m going to take a look at what a user needs to do if they’re having issues after receiving a “Selected disk needs to be reinstalled” error. I’m going to show a solution for those using both Intel- and Apple-based processors. While some users may not like the answer, there is a solution in sight. I’ll also briefly go over some reasons why a Mac update may not install to disk.
How to Fix the Version of macOS on the Selected Disk Needs to be Reinstalled?

Unfortunately, you’re more than likely going to need to erase the drive and start over. However, before starting this process, you need to determine whether or not your device has the Apple T2 Security Chip. Below this paragraph, I have listed each Mac that contains the T2 Chip. If you have an Apple T2 chip, it is likely you will not be able to boot from an external source (such as a USB) until you shut off a particular setting.
- iMac (Retina 5K, 27-inch, 2020)
- iMac Pro
- Mac Pro (2019)
- Mac Pro (Rack, 2019)
- Mac mini (2018)
- MacBook Air (Retina, 13-inch, 2020)
- MacBook Air (Retina, 13-inch, 2019)
- MacBook Air (Retina, 13-inch, 2018)
- MacBook Pro (13-inch, 2020, Two Thunderbolt 3 ports)
- MacBook Pro (13-inch, 2020, Four Thunderbolt 3 ports)
- MacBook Pro (16-inch, 2019)
- MacBook Pro (13-inch, 2019, Two Thunderbolt 3 ports)
- MacBook Pro (15-inch, 2019)
- MacBook Pro (13-inch, 2019, Four Thunderbolt 3 ports)
- MacBook Pro (15-inch, 2018)
- MacBook Pro (13-inch, 2018, Four Thunderbolt 3 ports)
Find Out if You Have the Apple T2 Chip
If you have an Apple T2 Chip, you will need to Allow booting from external or removable media. For those that do not have the Apple T2 Chip, you can skip the following section and move straight to creating a bootable installer. If you have an M1 or M2 Mac, you will not need to worry about these steps.
To allow external or removable media installation, follow these steps:
- Shut down your Mac. Then, turn on your Mac while holding Command and R immediately after you see the Apple logo. This boots your device into macOS Recovery.
- You will then be asked to choose which account you would like to sign into. Select the account and enter your password.
- You should now see the macOS utilities window. Select Utilities > Startup Security Utility from the Menu Bar.
- You will now need to authenticate your identity by entering your admin username and password.
- You should then see an option for Allowed Boot Media. Make sure Allow booting from external or removable media is selected.
- While you’re in this setting, it may also be a good idea to change Secure Boot to Medium Security. This will ensure that you are able to install any signed operating system software that Apple trusts.
Create a Bootable USB Installer
From here, we can create a bootable installer. Please note, however, that you will need to do this from a different Mac. If your machine does not have an Apple T2 Security Chip, you can start from here. Fortunately, creating a bootable USB is rather easy, and our very own Tom Victor provides an incredibly handy guide on how to make one using Terminal.
How do I Reinstall My Mac Operating System without a Disk?
Time needed: 30 minutes
From here, you can then begin the recovery process.
- Shut down your computer and disconnect all external drives. Ensure that your Mac is connected to a power source.
- Attach your bootable installer and restart the computer while holding the Option key. This loads the Boot Manager. Note that M1 and M2 Macs will need to press and hold the Power button while booting up to bring up this screen. You will need to hold the Power button until you see Loading Startup Options.
- Choose your Bootable Installer.
- You will then be presented with several options. Select Disk Utilities > View > View All Attached Devices.
- Select the drive that says either Apple Media or Apple SSD. Then, select Erase.
- Give the drive a new name, such as Macintosh HD.
- Then, select Format as APFS Format. Below that, select Scheme: GUID Partition Map > Erase.
- You can now back out of Disk Utility and select Install macOS. This will start the installation process. Your Mac may reboot several times.
- You will have done things correctly if you find yourself at Setup Assistant.
How to Reinstall the Version of macOS that Came with Your Mac?
If you think you can do just a straight install, you can try directly reinstalling macOS through Recovery. For this, it’s all about knowing how to reboot into Recovery Mode.
- For Apple silicon Macs: Go to Apple Menu > Shut Down. Once your machine is off, press and hold the power button until you see “Loading startup options”. Then, select Options and click Continue to follow the onscreen instructions.
- For Intel-based Macs: Go to Apple > Restart in the Menu Bar, then and you can press a different combination of keys depending on what you want to do.
- Install the latest version of macOS that has compatibility with your device: Option-Command-R
- Reinstall the version of macOS originally found on your computer: Option-Shift-Command-R
- Reinstall macOS to the current version: Command-R
For either of these, you will then select Reinstall the version of your macOS release and click Continue. From here, you are able to follow the onscreen instructions, though you will need to remember to select your current macOS volume when you get to that stage.
Why Can’t My Mac Update be Installed on This Disk?

There are numerous reasons that you may have issues with installing a macOS update to disk. These reasons includes:
- Potential bugs in macOS.
- Not enough storage on the disk drive.
- The macOS installer may have been corrupted during a download.
- The Mac startup disk may potentially have errors.
- The version of macOS you are attempting to install may not be compatible with your device.
The version of MacOS on the selected disk needs to be reinstalled M1
If you’re using Apple silicon, you can also follow the same steps as above. The only key difference is making sure that you are using the correct keys to reboot into recovery. You naturally will also not need to worry about the removable drive steps that are involved with the T2 Security Chip. Remember that this is a slightly different method from Intel-based machines. Otherwise the steps should relatively remain the same.
Which Disk to Use to Reinstall macOS?
You should always use your primary drive to reinstall macOS. That is, the main drive of your machine. If you didn’t change the name of your main drive, it should be labeled Macintosh HD. If you named it something else, it will have the name that you gave it.
Finding the Right Solution
While this can certainly be an agonizing situation, there is fortunately a fix. If you ever purchase a device from a seller, try to ensure that it is from an Authorized Apple Reseller. If you receive a used Mac from a friend or family member, try your best to wipe and start over with a fresh copy of macOS. Macs are generally known for easy user adaptability, but that can only go so far when you are receiving a device second-hand. If you’re able, do your best to inspect the device before receiving it. While this specific situation seems like bad luck rather than an error on the user’s end, taking a look at the device before receiving it can at least give you the chance to know what you can expect.
Now that you’ve hopefully got your Mac, perhaps you may also want to consider how to remove items from the ‘Open With’ section in macOS. While not nearly as detrimental as not being able to boot into your OS, it may arguably be just as annoying to deal with. Users may also want to know how to restart a MacBook with a black screen, as this one can be particularly useful. It can be a rather stressful situation to not have a working device, but taking a deep breath and working toward a solution is usually the best method toward serenity and operational equipment.
