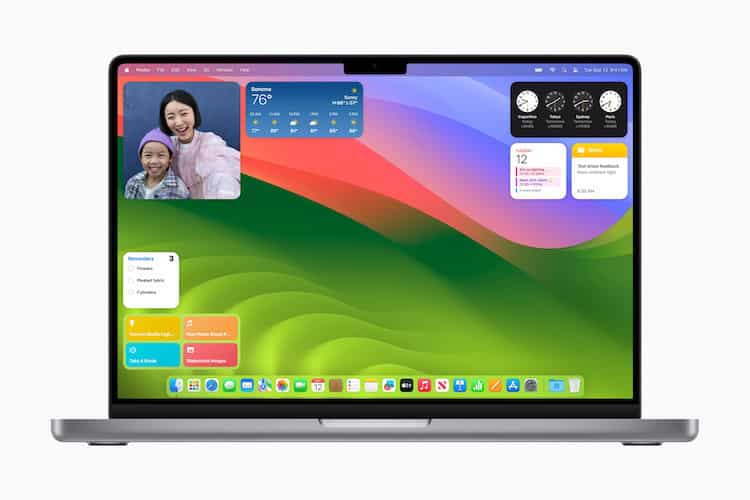
Need to know how to downgrade to Ventura from macOS Sonoma? With Sonoma seeing release Sept. 26, 2023, many folks may want to downgrade from the Sonoma beta to a fresh copy of Ventura. Or, you may just prefer Ventura. Whatever your reason, there is a way to downgrade from macOS Sonoma to Ventura with some simple steps. Let’s take a look at some effective methods to complete this process.
How to Downgrade from macOS Sonoma to Ventura
Prior to downgrading your Mac, we strongly recommend taking the following steps:
- Use Time Machine to back up your machine to avoid any potential data loss.
- Ensure that your Mac remains plugged in during any downgrading process.
Essentially, there are three major ways to downgrade from Sonoma beta software to Ventura: Time Machine, Apple’s built-in Recovery Mode and installing a fresh copy of Ventura via a bootable USB flash drive. I will explore all three options.
1. Downgrade Using Time Machine
For those who made a Time Machine backup before jumping to Sonoma from Ventura, you have your work cut out for you.
- First, you will connect your external storage device that contains your Time Machine backup to your Mac.
- Next, restart your device and boot it into recovery mode.
- On an Intel-based Mac: hold down Command-R during startup until the Apple logo appears.
- Apple silicon: hold down the Power button until you see the startup options screen. Then, click Options and then Continue.
- While you are in macOS Utilities select Restore from Time Machine Backup. Press Continue and then press Continue again.
- For your Backup Source, choose your Time Machine backup.
- You can then navigate the list of backups. Choose the one you made before the upgrade to Sonoma. The backup should say it was made with Ventura.
- Click Continue.
Note: This process may take a while.
2. Downgrade Using macOS Recovery
This method requires a stable internet connection and a wired keyboard (a built-in keyboard is also fine).
- Turn off your Mac.
- Then, press and hold Shift + Command + Option + R and then press the Power button. This key combination reinstalls the version of macOS that came with your device.
- Command + R will do a reinstall of what you currently have.
- Command + Option + R will upgrade you to the latest compatible version of macOS.
- When you see the Apple logo, release the keys. You may need to enter your password.
- Choose Reinstall macOS.
- Follow the on-screen instructions and then choose Disk to Flash.
Note: You may need to enter your password.
Do not put your Mac to sleep or close the lid during the downgrade and installation process. Your Mac may do peculiar things during this time but ignore it until the process completes.
3. Reinstall macOS Ventura Using a Bootable Installer
You can get a copy of macOS Ventura from Apple should you need it and then follow our guide on how to create a bootable installer.
Using a bootable USB disk is also an option. How you go about doing this depends on if you are using an Intel or Apple silicon-based Mac. I have provided instructions for both below:
3.1 Reinstall on Intel Mac
Reboot your Intel Mac while holding the option key. When you see the boot selection screen, release “Option” and press and hold Command + R. Entering recovery, select Utilities > Startup Security Utility. Enter your password and click “Allow booting”.
Time needed: 1 hour
Once you have external boot protection disabled, follow these steps:
- Reboot your Mac while holding the Option key. Hold it until you see the boot selection screen.
- You will then boot to USB installer with Ventura.
- Be sure to allow verification of the external disk.
- Then, choose Disk Utility and click Continue.
- Go to internal choose Macintosh HD (or your primary drive) and select Erase.
- Select Erase Volume Group.
- Click Done when finished.
- Select Disk Utility and select Quit Disk Utility.
- You can then install macOS Ventura and then click Continue.
- Agree to the statements and then select Macintosh HD. Click Continue.
- You will then see the macOS Ventura setup screen when the process is complete.
3.2 Reinstall on Apple Silicon
- Power down your Mac.
- Press and hold the power button until you get your loading startup options.
- Select USB installer and click Continue.
- Choose Install macOS Ventura and then click Quit install macOS.
- You will then go to Disk Utility and select Continue.
- Click Erase, which is under internal, then click Erase again to confirm.
- Select Done when the process finishes.
- Click Disk Utility and then click Quit Disk Utility.
- Make sure Mac is activated and select Exit to Recovery.
- Agree to the information and then choose Macintosh HD. Select Continue.
- Finally, select the Startup Disk and choose Restart.
Should I Downgrade From macOS Sonoma?
If you find that your Mac is experiencing performance issues or app compatibility issues or you have simple personal preferences regarding macOS Sonoma, downgrading to macOS Ventura may be an option for you.

Additionally, if you are running the beta version of macOS Sonoma, doing a clean install for Ventura before moving to a stable version may be a good idea.
Conclusion
While there’s a lot to love about macOS Sonoma, some users may simply prefer macOS Ventura. Of course, if you’re running the Sonoma beta, it may be wise to do a clean install for the stable version. Whatever your reasoning, the downgrade process can be straightforward thanks to macOS Recovery, Time Machine or a bootable USB Drive.
Of course, feel free to let us know in the comments section what you think about macOS Sonoma or the installation process.
