Receiptify is a pretty handy little web tool. It shows your top 10 most-played tracks over the past month, the last six months, and all time. It shows this in a convenient receipt-like format, but some people may find that Receiptify is not working with Apple Music. If this happens to you, here are some things you can do to get it running smoothly again.
How To Use Receiptify for Apple Music
First of all, you should probably understand that what you’ll get out of Receiptify with Apple Music is different from other streaming music services. The tool works with Spotify, Last.fm and Apple Music, but Apple Music’s API is different from the others.
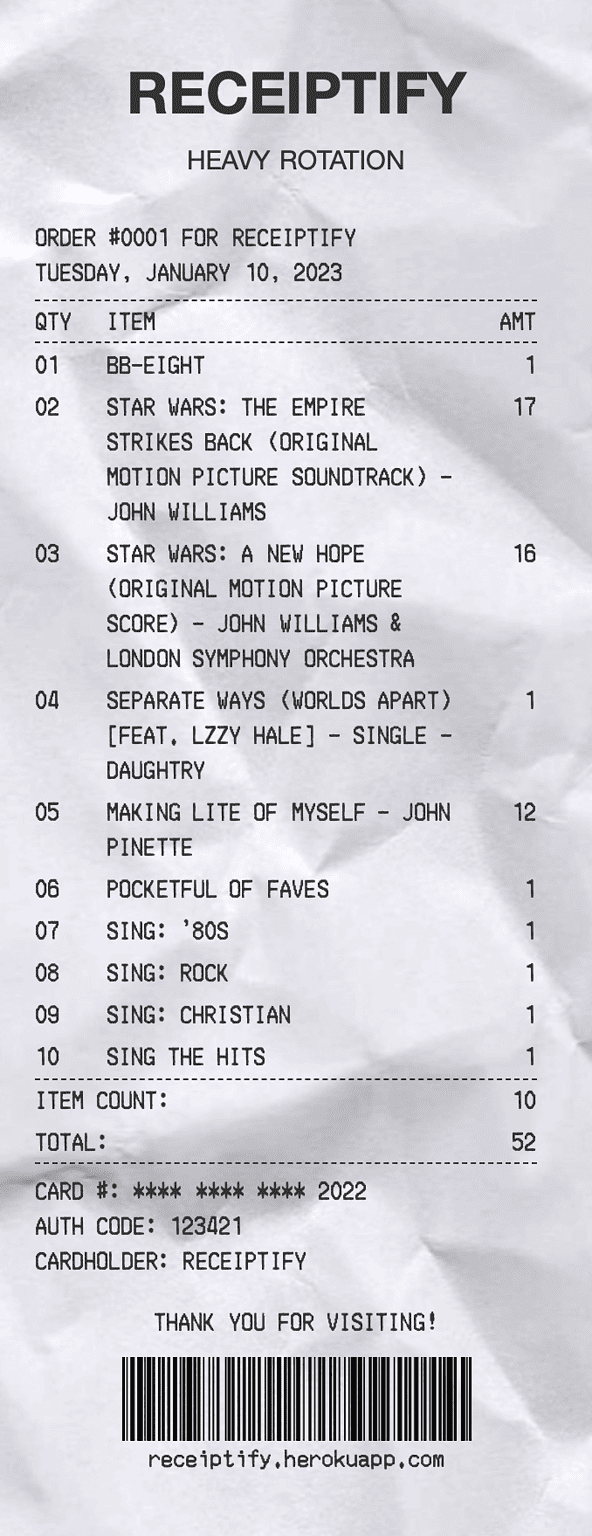
Whereas Receiptify will offer you a snapshot of your 10 most-played tracks over the past month, six months, and all time, the Apple Music API doesn’t provide that information. Instead, it offers only a “Heavy Rotation” list.
Currently, the Apple Music API only supports “Heavy Rotation,” which returns data about your most played tracks, albums, playlists, etc. from an undefined time period. While I would really love to be able to break down this information by time period, there is unfortunately currently no way of getting this data.
Here’s how to get started with Receiptify.
- Navigate to the Receiptify home page in your browser.
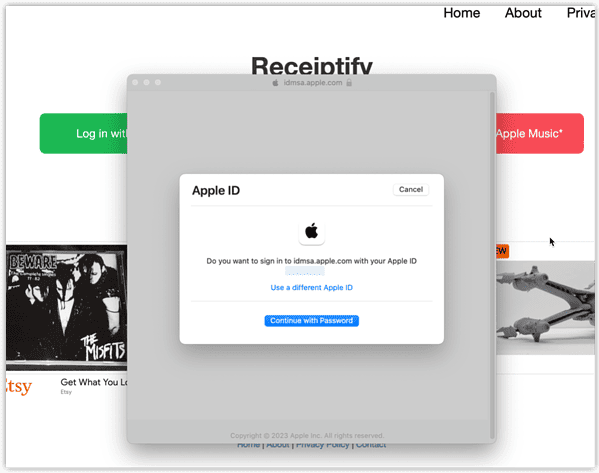
- Click on Log in with Apple Music.
- Enter your login details. If you’re using Safari, a pop-up will allow you to log in with your existing credentials from the Music app on your Mac or iPhone.
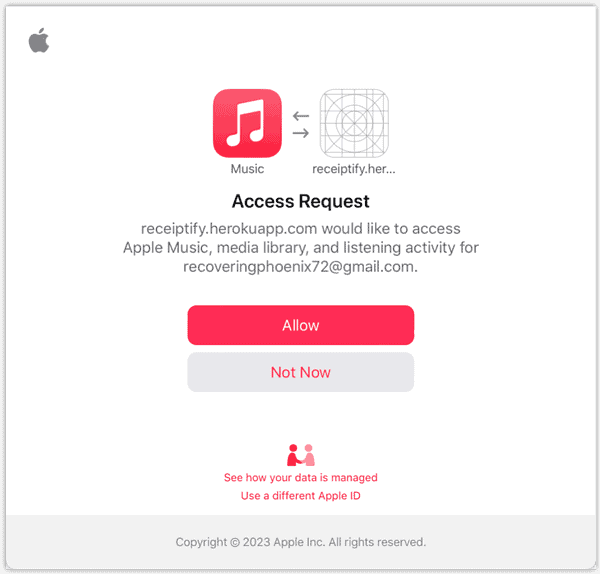
- On the Access Request, click Allow.
- The tool will process your music listening data and display a receipt-like depiction of your top 10 played tracks.
If this doesn’t work, it’s time to do some troubleshooting. Most of the time, the fix will be easy. Additionally, here’s how you can fix songs not playing on Apple Music.
Blocking Pop-Ups Will Block Receiptify
The most common issue you’ll run into with Receiptify is that it depends on pop-ups to log into your streaming music account. This means you’ll need to allow pop-ups to get your receipt.
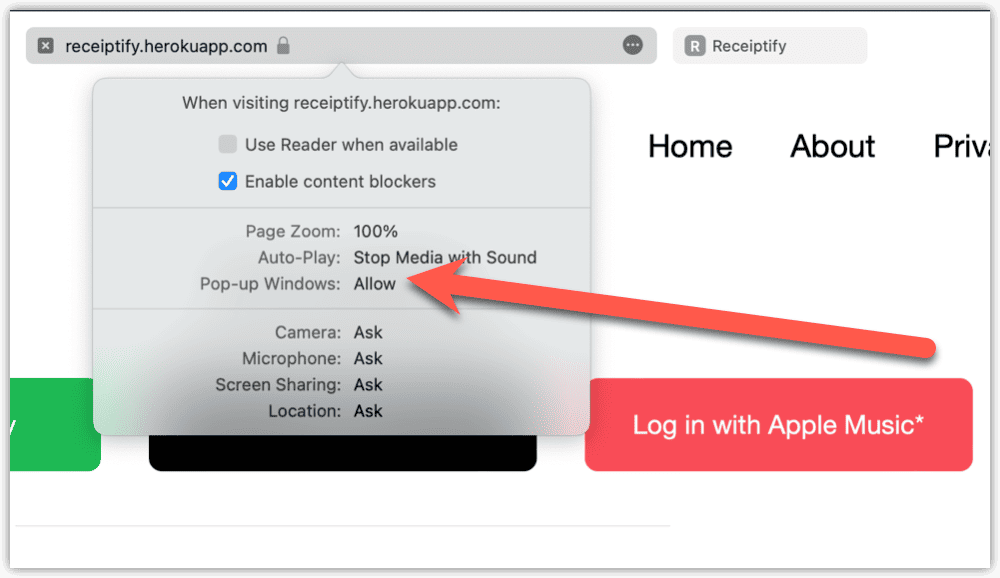
To allow Receiptify pop-ups in Safari on macOS:
- From the Receiptify web page, click Safari in the menu bar, then Settings for receipting.herokuapp.com…
- In the dropdown menu for Pop-up Windows, click Allow.
- Refresh the page and click again on Log in with Apple Music.
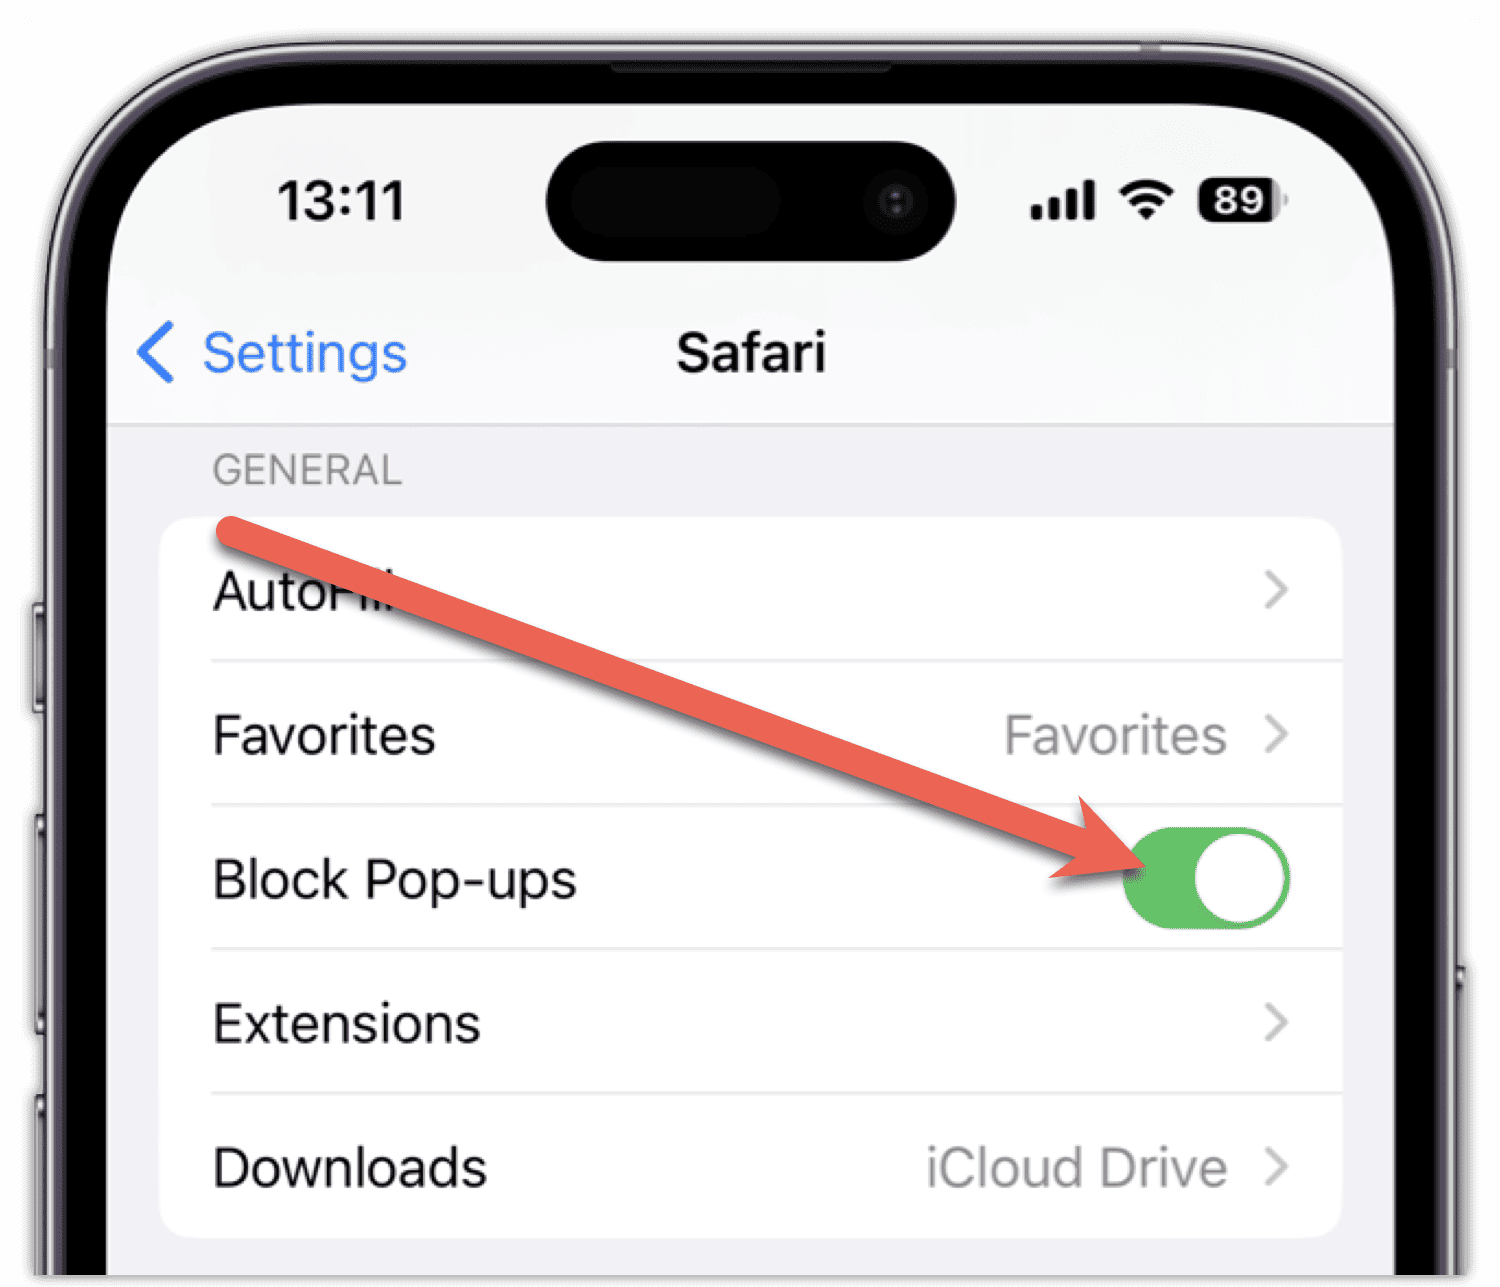
If you’re doing this on your iPhone, you’ll have to allow pop-ups globally, unfortunately. The good news is that Safari on iOS still prompts you to either allow or block the pop-up.
- Go to Settings > Safari.
- Toggle Block Pop-ups off, so it’s gray instead of green.
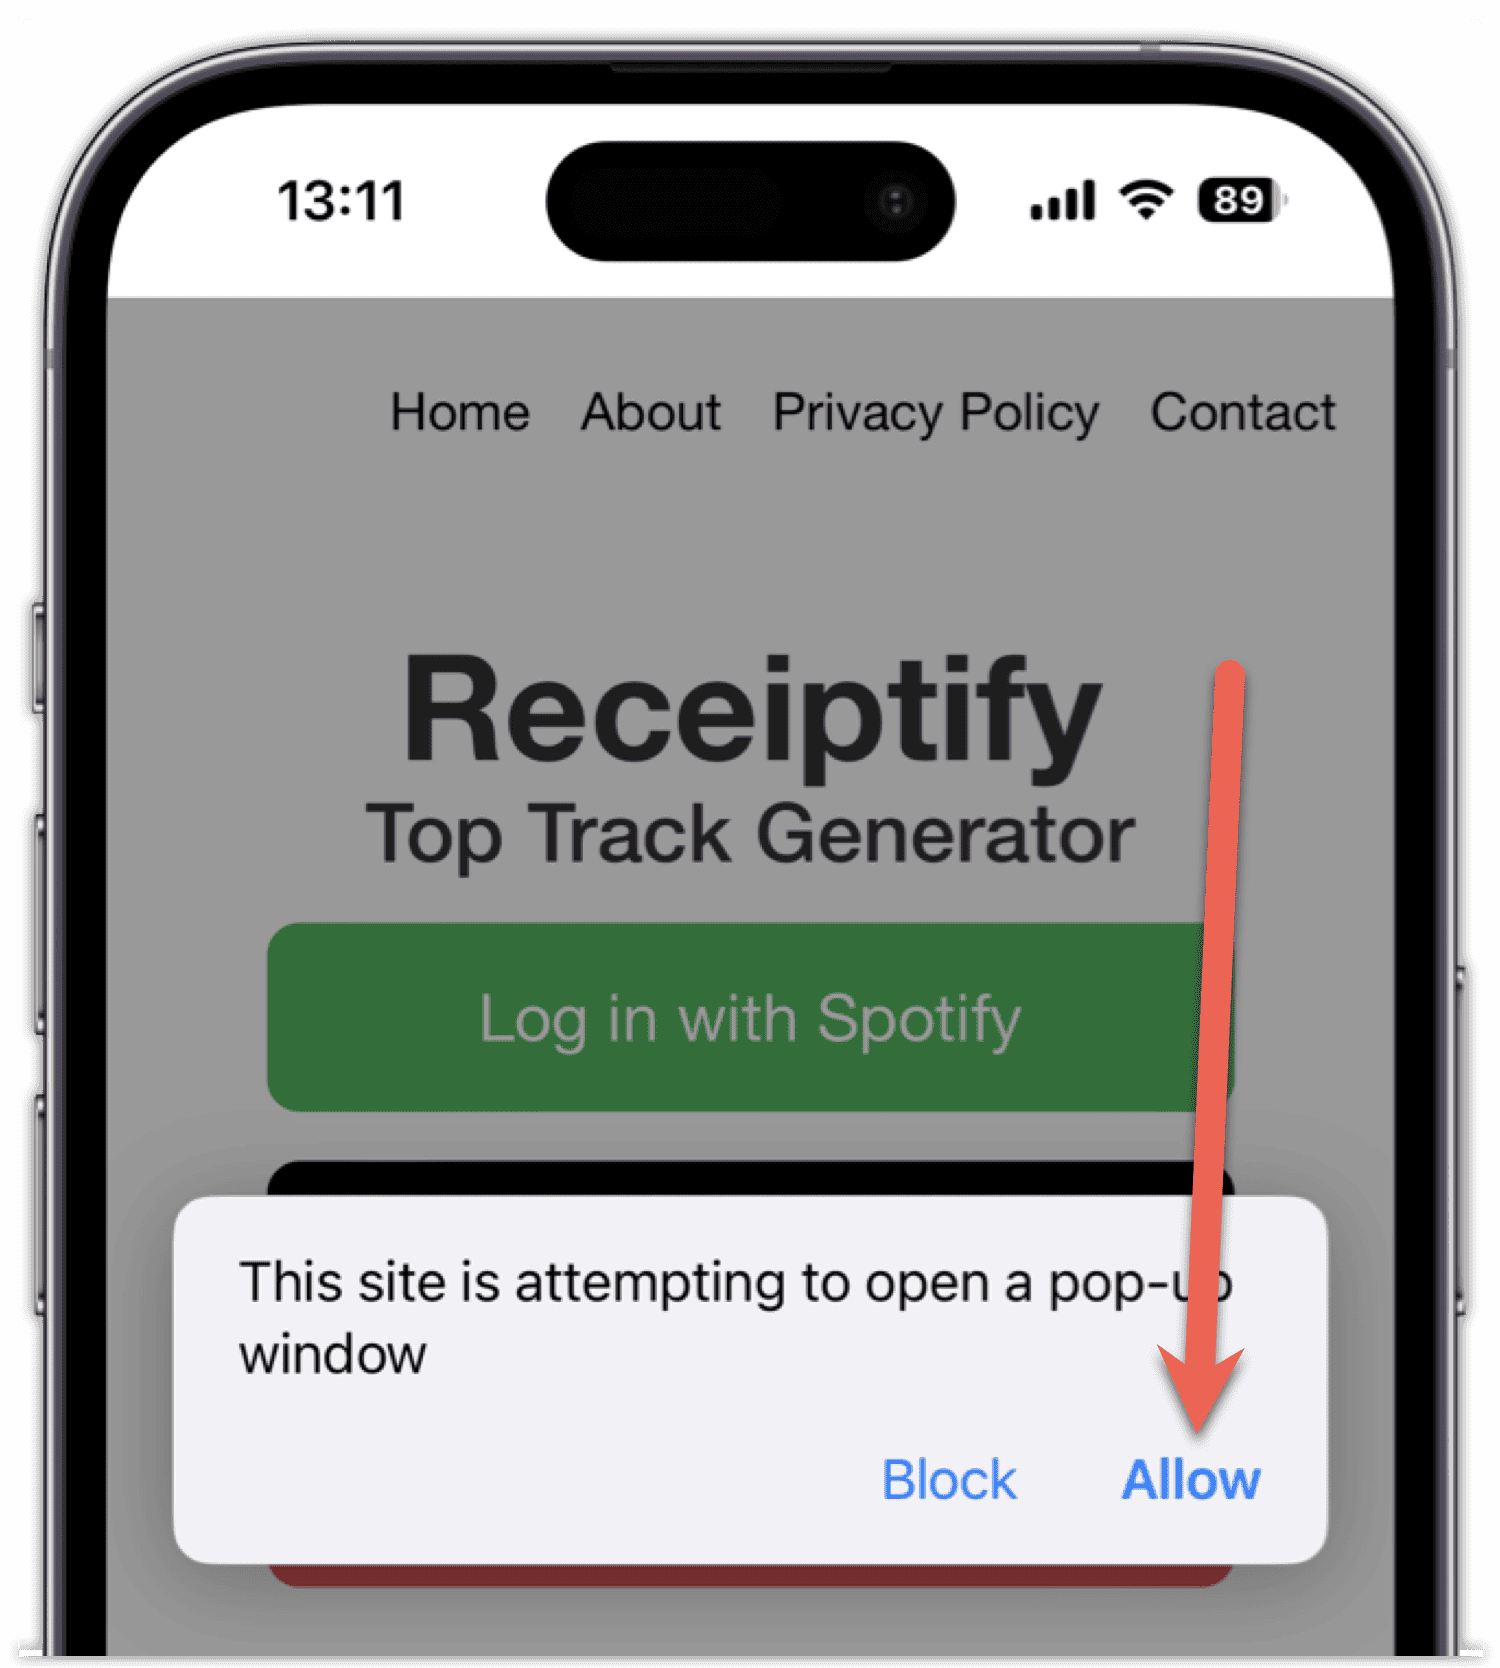
- Return to Safari, refresh the page and tap on Log in with Apple Music.
- On the alert that follows, tap Allow.
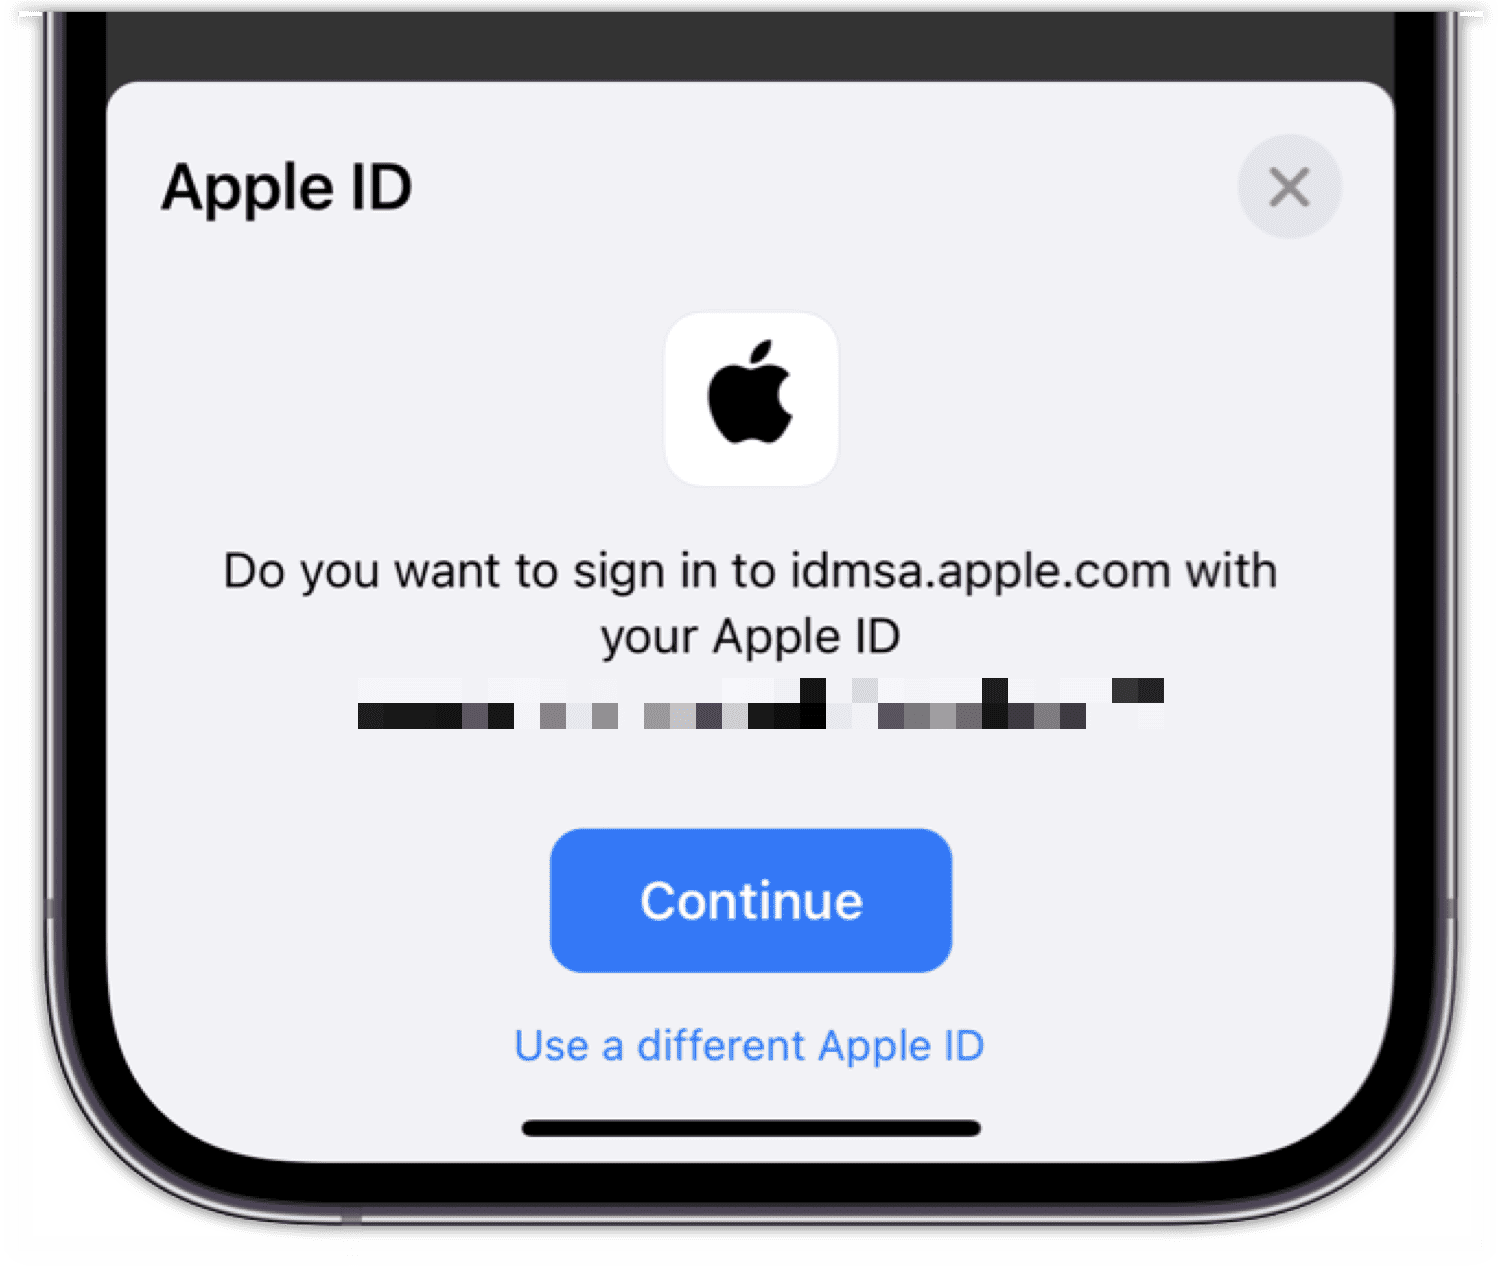
- Tap Continue to finish signing in with your Apple ID.
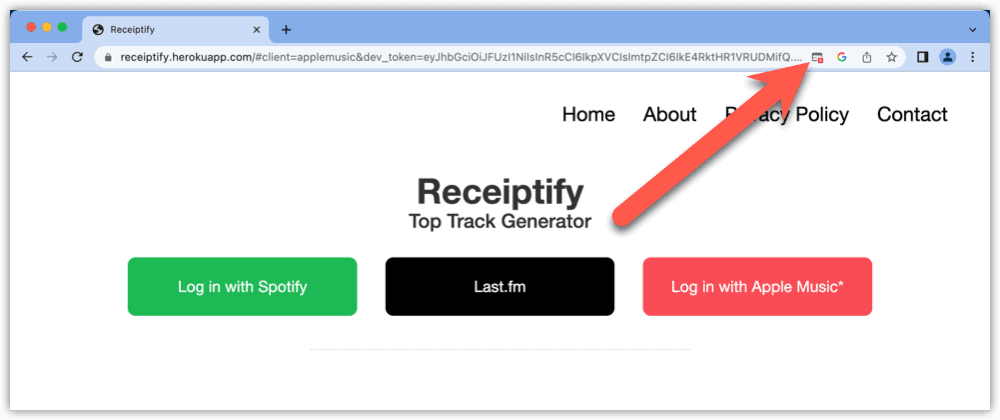
Using Chrome, you can allow the pop-up specifically for the Receiptify page.
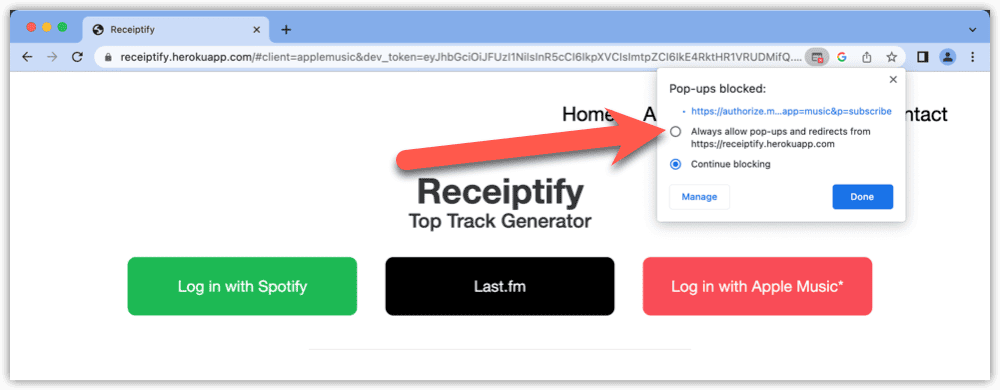
- When you first click on Log in with Apple Music, Chrome will notify you it’s blocked a pop-up. A small icon will remain at the far right of the search box.
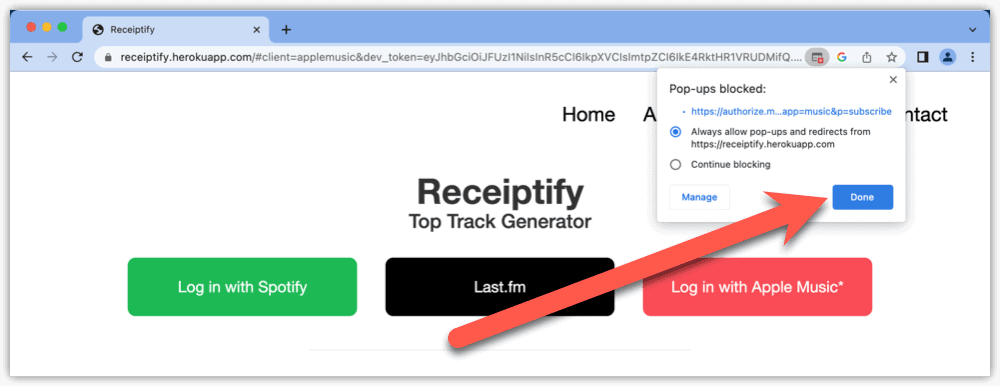
- Click the icon, then click the option beginning with Always allow pop-ups and redirects.
- Click Done.
- Proceed to log into your Apple Music account.
What To Do if Receiptify for Apple Music Is Not Working
If you’ve been through signing into your Apple Music account in Receiptify before, but now it’s not working, there are a few things to check. First, make sure you’re still allowing pop-ups for the page as earlier.
Next, the developers behind Receiptify note that increased traffic might cause errors. If this happens to you, refresh the site a couple of times. If it continues to fail, you may need to clear your cookies and other site data for it to work.
To clear your cookies and other data in Safari:
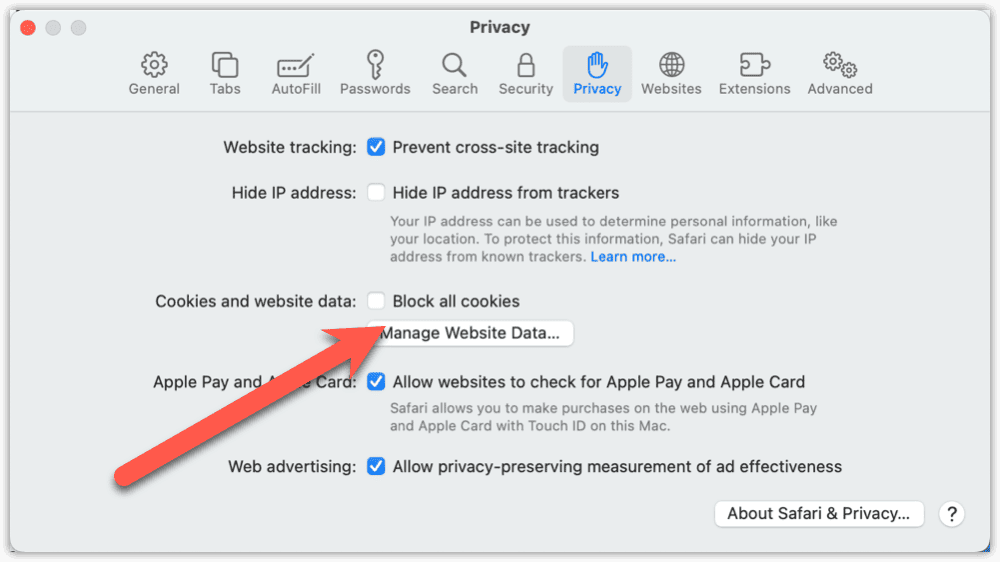
- Click Safari in the menu bar, then Privacy.
- Click Manage Website Data.
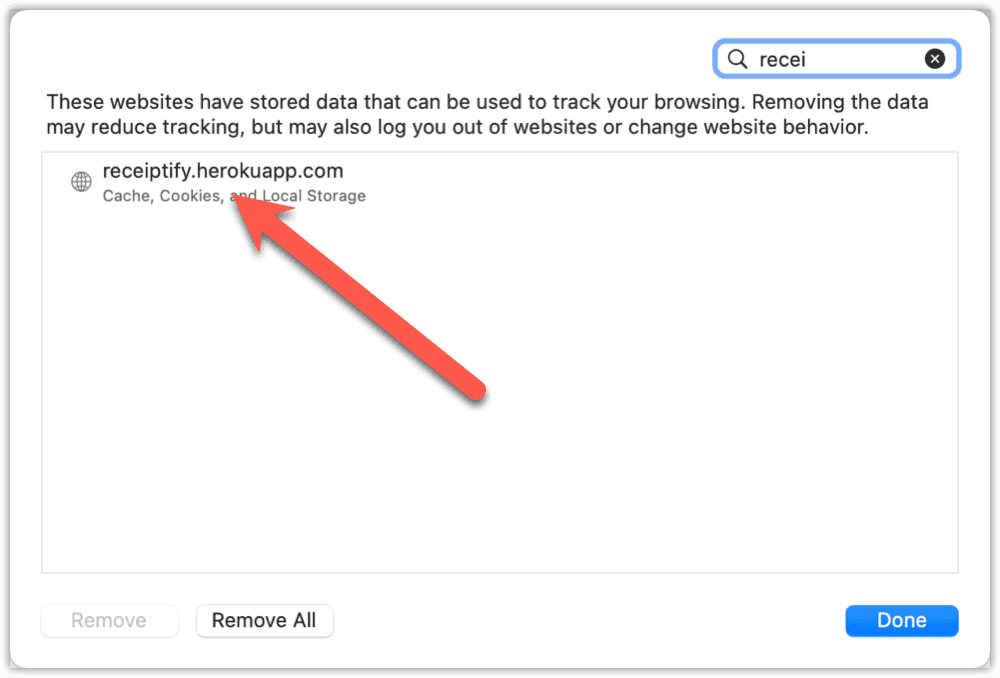
- Search for Receiptify and select the website.
- Click the Remove button.
- Go back to the page and try again. You will, of course, have to sign into your Apple Music account again.
If all else fails, you should try Receiptify from a different device. There’s always the possibility that it’s an outage or extremely heavy or slow internet traffic causing the trouble.

