The iPhone is loaded to the brim with several features, however, it lacks a call recording feature. This is understandable, as it is illegal to record calls without consent in many states of the U.S. and several countries across the world.
Even if call recording is legal in your country, the iPhone still doesn’t include a native call recorder. For this very reason, several third-party apps offer call recording services. However, they can be fairly expensive, some of them forcing users into paid subscriptions.
However, you can record calls on the iPhone without using any apps. Read along to learn how to record calls on your iPhone without using any third-party apps. Before we proceed with the guide, please make sure to check the rules and regulations regarding call recording in your region and adhere to them.
How to Record a Phone Call on iPhone
1. Record Calls on iPhone Using a Secondary Device
The easiest and the most obvious way to record calls on an iPhone is using another device. It can be an iPhone, iPad, Apple Watch, Mac, or any other device with a microphone and audio recording capabilities. Even an old-school digital voice recorder would do the trick!
While not an ideal solution, it is probably the easiest. Moreover, it’s based on the same approach as most call-recording apps. The only difference here is there’s no third party involved as you’ll be recording the call by yourself. Best of all, you do not have to pay for it either, other than the cost of the recording device.
Time needed: 2 minutes
Using a secondary device is the best option if you’re looking to record calls on your iPhone for free. It is also one of the fastest methods. With that said, here’s how to record calls on your iPhone using a secondary device.
- Make a phone call to the desired person.
- Once the call is connected, tap the Speaker option to enable the loudspeaker.
- Now, open Voice Memos (Apple App) or any other voice recorder app and start recording the conversation.
If it is so simple, why do we say it isn’t the most ideal solution? Well, because you can’t record calls using this method when out in public or when you do not have access to a secondary device.
2. Record Calls on iPhone Through Voicemail Inbox

As surprising as it might seem, it is possible to record calls on an iPhone using voicemail. For this feature to work, your carrier needs to support recording voicemails. Additionally, your carrier should also allow you to download these recorded voicemails. Alternatively, several third-party apps, such as iMazing, offer the ability to download your voicemails from your device.
Once you meet these two conditions, you can record calls on your iPhone using voicemail.
Here are all the requirements to use Voicemail to record calls on iPhone.
1. iPhone running on iOS 9.0 or above.
2. Voicemail is already set up on your iPhone.
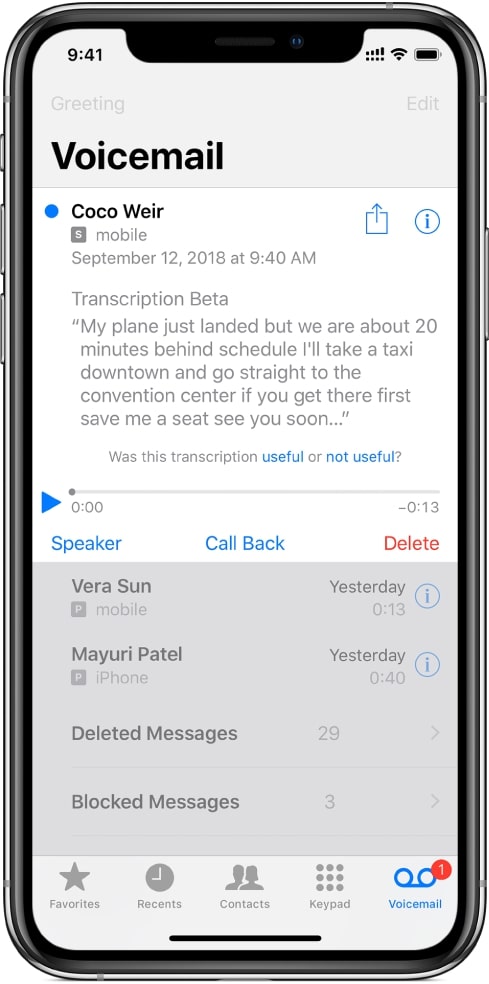
3. Voicemail allows you to download recorded voicemails. To check this, open the Phone app and head to the Voicemail tab. If all the recorded voicemails are displayed on this screen, it means you can download them. However, if it displays a Call Voicemail option, you won’t be able to use this method to record calls on your iPhone.
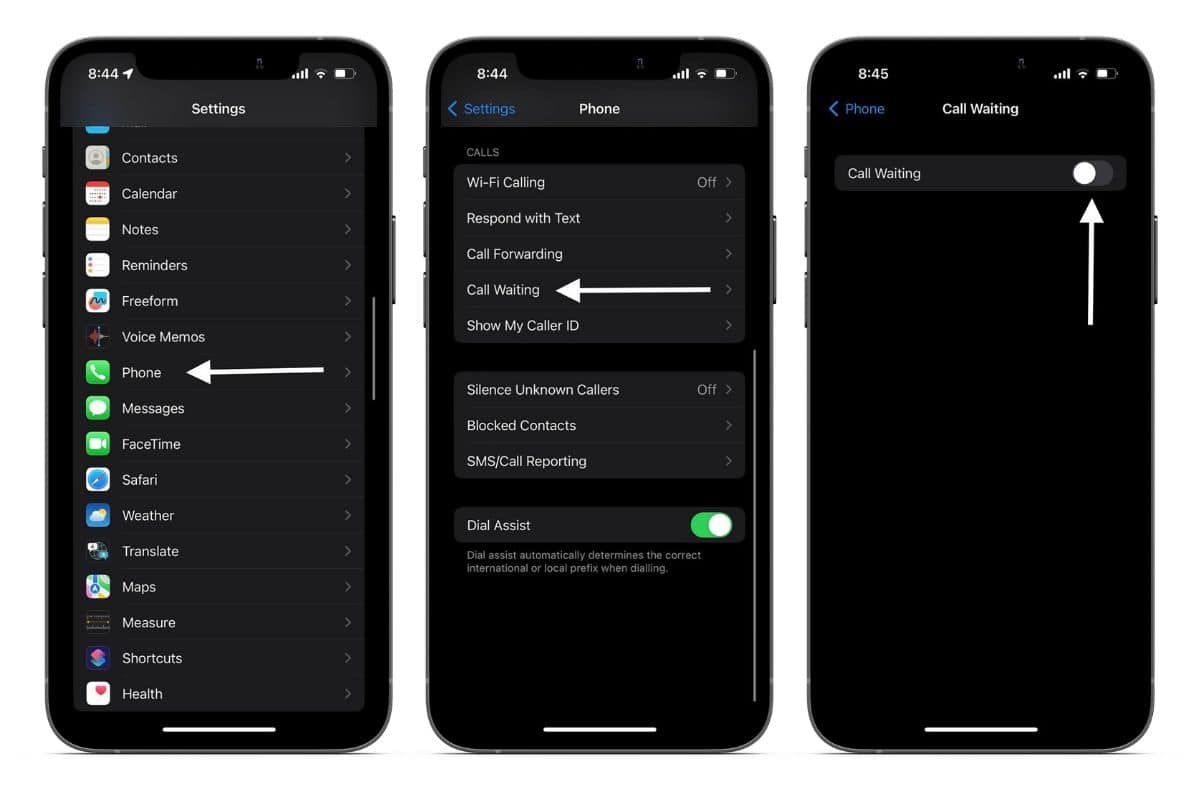
4. You need to disable the Call Waiting feature. Here’s how to do it, Open Settings > Phone. Tap Call Waiting and disable the Call Waiting toggle on the next screen.
Now that you are aware of all the requirements, here’s how to record calls on your iPhone via voicemail.
1. Make a phone call to the desired person.
2. Once the call is connected, tap the Add Call button and on the next screen, search for your contact and call yourself.
3. The moment the voicemail greeting ends, tap the Merge Calls button.
4. Doing so will add your voicemail to the conversation and everything will be recorded.
Once the call ends, you can access this recording in the Phone app in the Voicemail tab. Moreover, since you can download these recorded voicemails, you’ve successfully recorded the call and can share it with anyone or upload it to iCloud.
3. Record Calls on iPhone Through the Browser
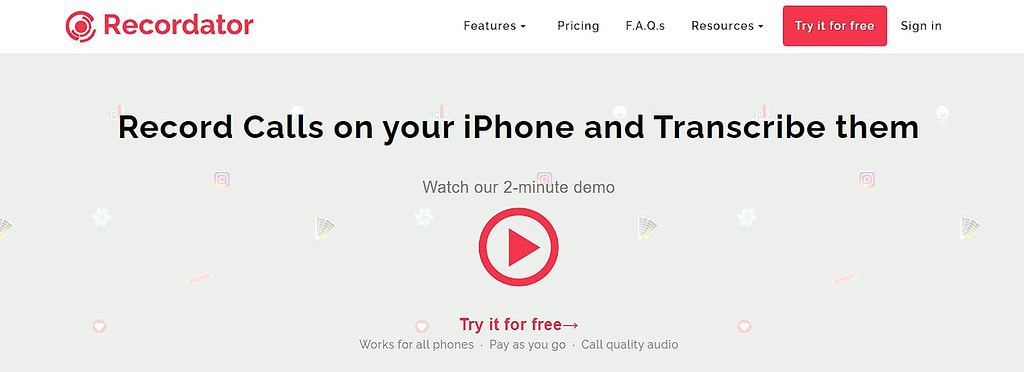
There can be many reasons for not wanting to use an app to record calls on your iPhone. If you’re running low on storage or just don’t want yet another app installed on your iPhone, I recommend using Recordator.
Recordator is a browser-based service that facilitates call recording on your iPhone. You can pay for the minutes you use, and there aren’t any set-up charges or monthly recurring payments. The icing on the cake is that you also get a transcript with the call recording.
Finally, as Recordator is a browser-based service, you can use it on your iPhone, iPad, or even an Android device. If these features are what you are looking for, here’s how to record calls on iPhone using Recordator.
1. Open Safari on your iPhone and head to www.recordator.com.
2. Sign up and create an account.
3. Call on the toll-free number listed on the website. Ensure to call on the right number based on your country.
4. After the call connects, tap Add Call and select your desired contact.
5. Again, once the call is connected, tap Merge Calls and continue the conversation.
After the call has ended, you can access the recording in Recordator. Just head to Recordator’s website and you’ll find all your saved recordings in the My Recordings section.
4. Record Calls on iPhone Using Google Voice
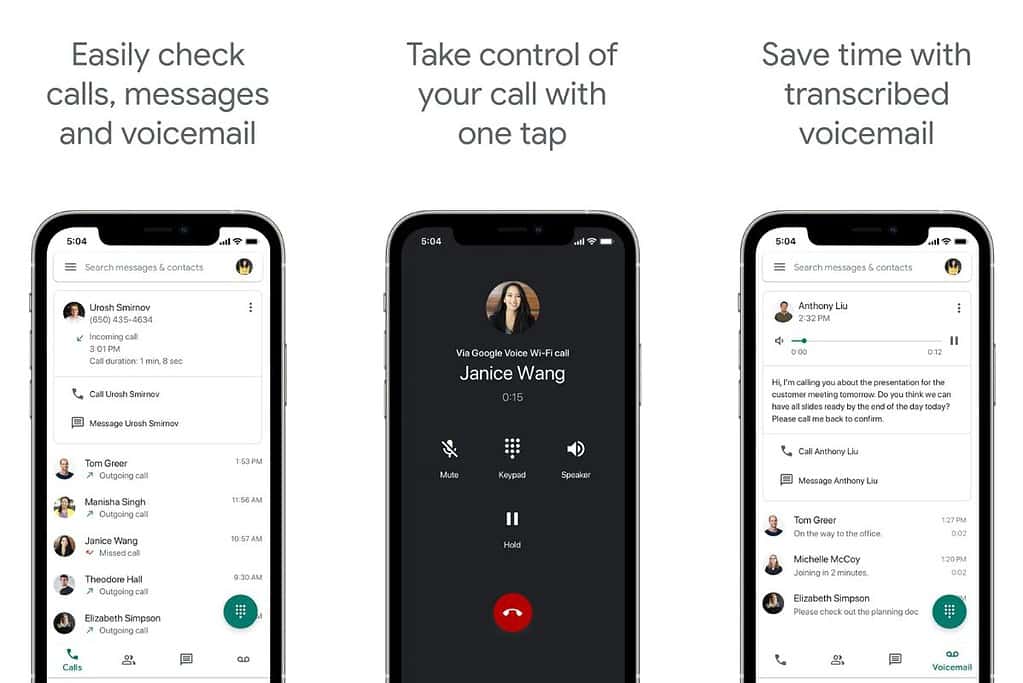
Google Voice is free to use service that can be used on iPhones, and iPad, and even works on Android. It is a VoIP service and assigns you a phone number that allows you to make calls on your iPhone. However, it is only available in the USA and Canada.
The user interface of Google Voice does not have a record button. However, there is a workaround that allows you to record calls and not many people are aware of this feature. If you’ve been using Google Voice for a while now, or just want to use it for recording calls, read along.
1. Open the App Store on your iPhone.
2. Search for Google Voice and download it on your iPhone.
3. Sign in to the service using your Google account and follow the on-screen instructions.
4. Once you’ve set up your account, head to the Calls tab and tap the hamburger menu icon at the top left corner.
5. Tap Settings and select the Calls option.
6. Enable the Incoming Call options toggle.
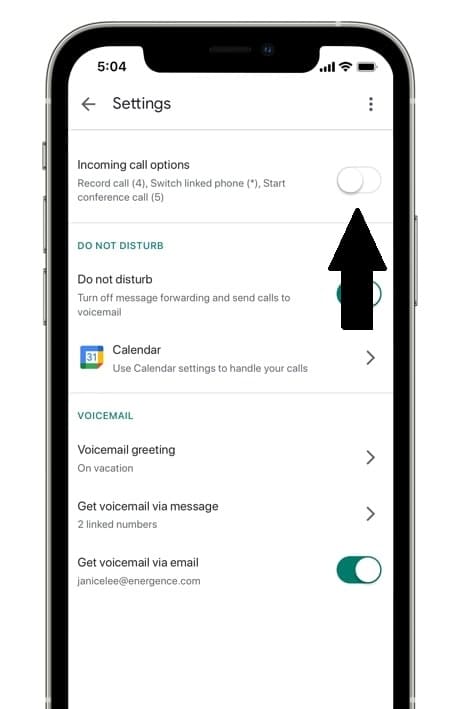
7. Now, whenever you want to record a call, just make a call, and once it is connected, tap 4 on your dialpad.
8. The call will automatically start recording and inform the person on the other end about it through a prerecorded voice message.
9. When you end the call, the recording is saved.
You can access all the recorded call files by logging in to your Google Voice account. All of the recorded files are available in the “Recorded” tab. If you have any other questions regarding Google Voice, let us know in the comments below.
Recording Calls Is Not Legal!
Who said that? Recording calls without consent is not legal, but only in certain regions of the world. In many states in the U.S., you can record calls. However, there are rules like One Party Consent and Two Party Consent. Please ensure to check the laws regarding call recording in your state or country before you proceed to record calls. The last thing we want is for you to end up in trouble.
On a related note, here’s how to decline call when decline button isn’t available on iPhone. If you have any questions regarding call recording on your iPhone without using any apps, let us know in the comments below.
