This guide will show you how to record the screen on your iPhone. With this how-to, you will be able to capture actions and sound directly from your device, which can be useful for a multitude of reasons.
Users should know that not all applications will allow you to record audio and video within the app. It is up to each individual app to determine if you have the option to record.
To record your screen, you will first need to add the Screen Recording button to Control Center. This guide will also show you how to do that as well.
How to Add Items to Control Center
To add the Screen Recording option to your Control Center, follow these steps:
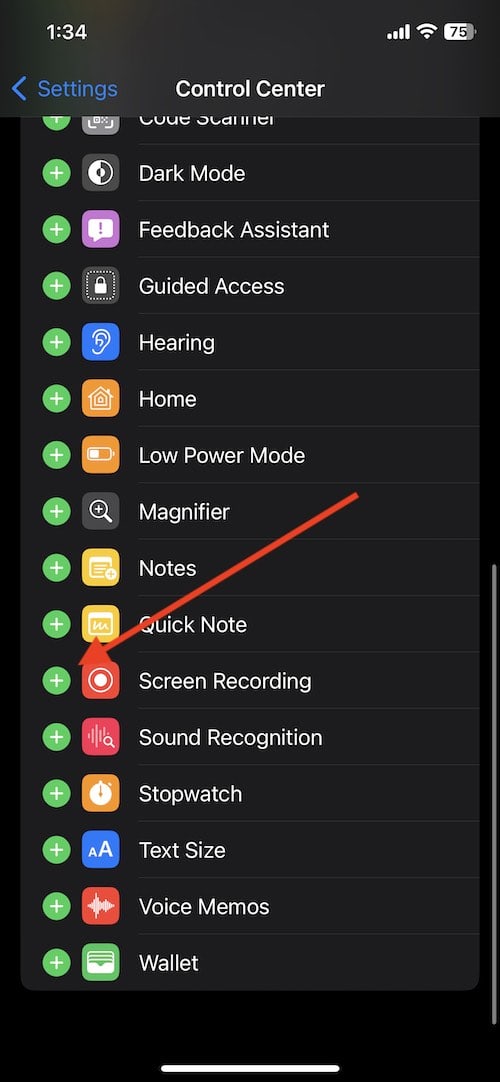
- Go to Settings > Control Center.
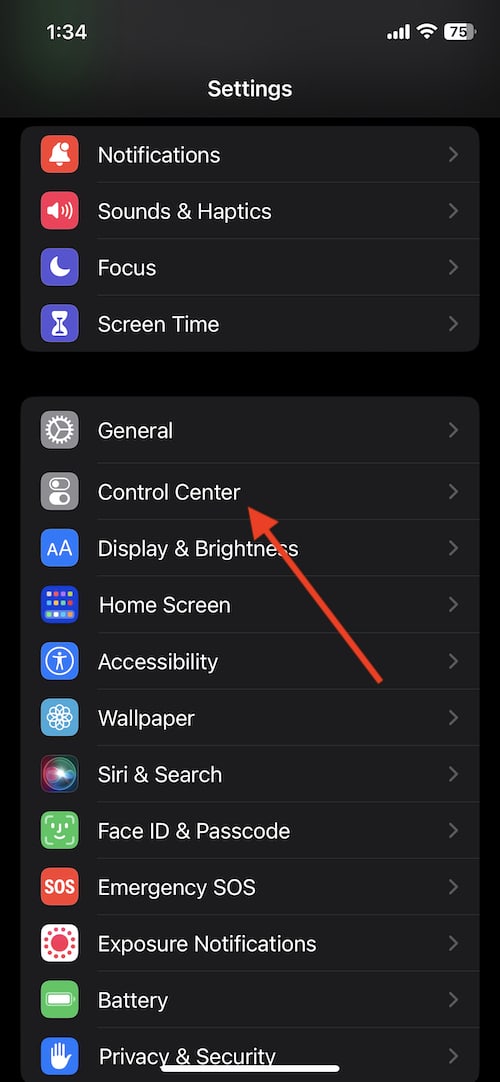
- Scroll down and tap the Add button (the green plus-sign) next to Screen Recording.
- You can then exit out of your Settings.
Note that this part of the how-to will also allow you to add other items to your Control Center.
How to Record Your Screen
Time needed: 1 minute
How to record your screen on iPhone.
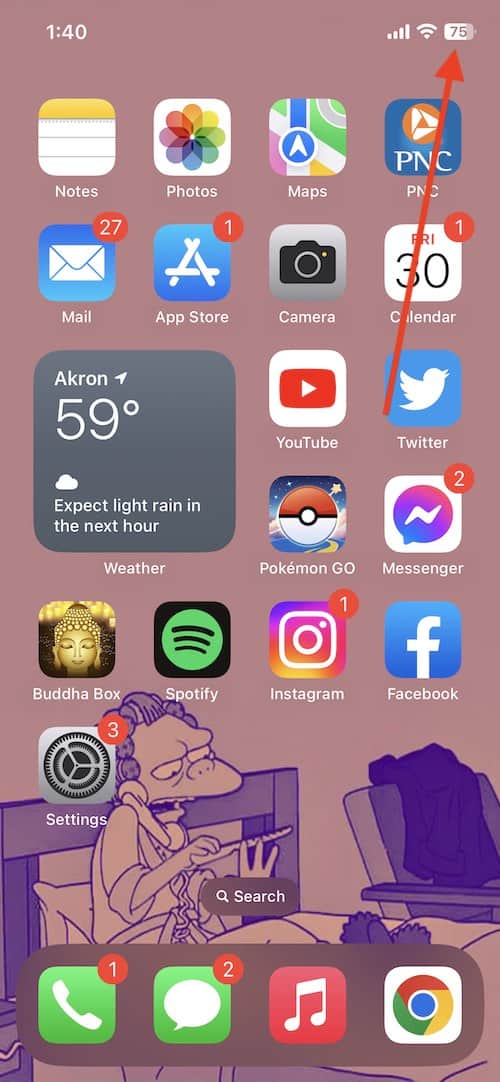
- First, open your Control Center.
For iPhone X and Later, this is done by swiping down from the top-right corner of your screen. Note that you may accidentally bring up the Notification Center if you swipe too close to the top-center of the screen.
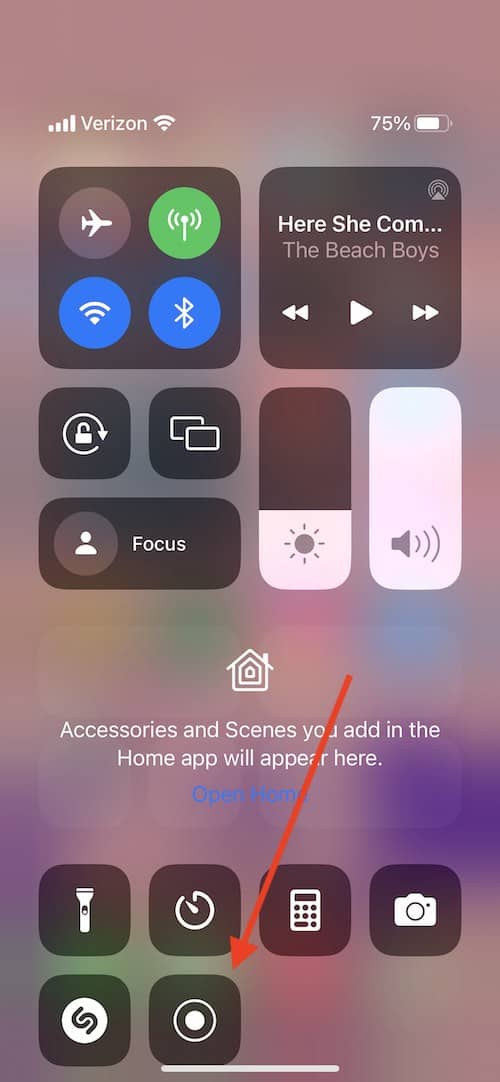
To open Control Center on an iPhone SE, as well as iPhone 8 or earlier, simply swipe up from the bottom edge of your screen. - From Control Center, you can begin a screen recording by pressing the Record button.
Once you tap the button, a timer will count down from three, and then your device will record your screen.
- Exit Control Center, and perform whatever actions you are trying to record.
- When you are done recording, open Control Center again and tap the Record button to stop recording.
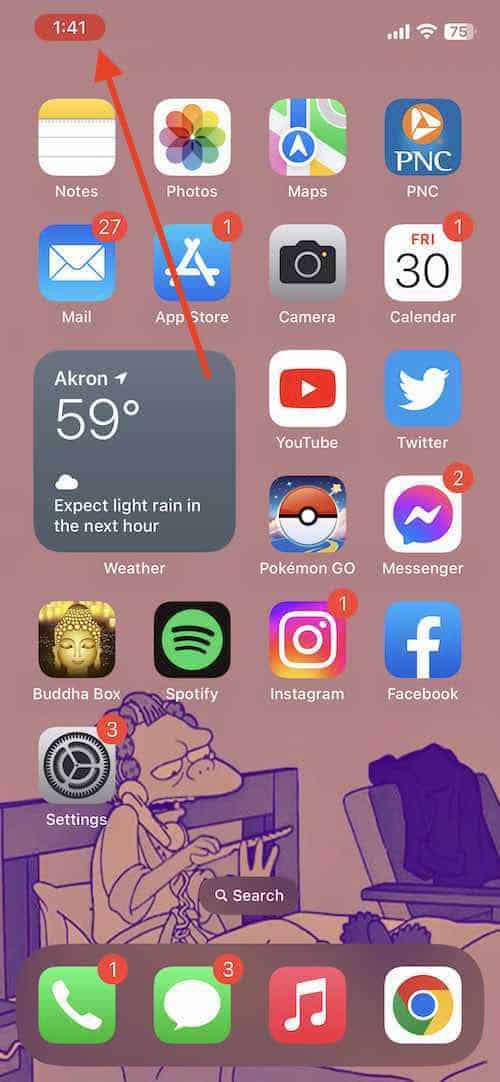
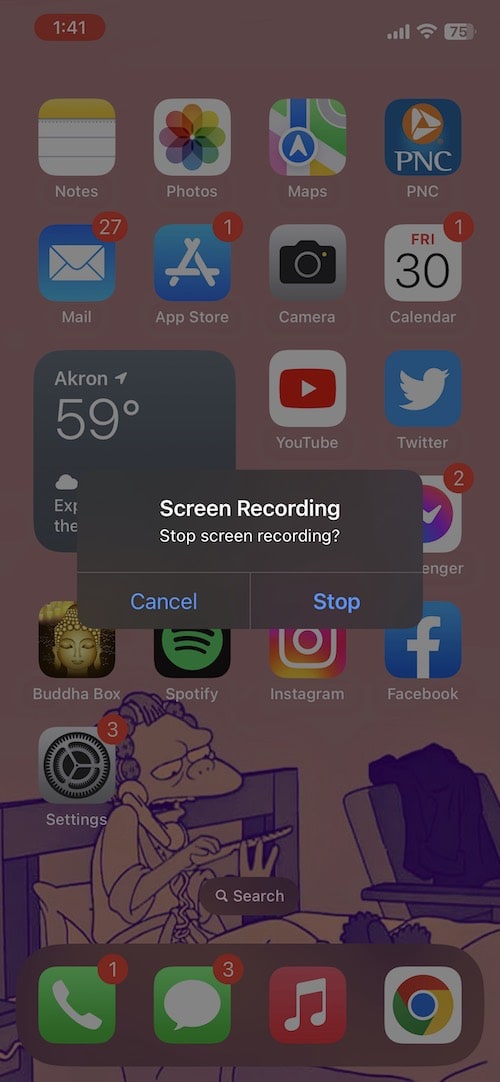
You can also tap the red status bar from the top of your screen and select Stop.
- Your recording will be found within your Photos app once you are finished.
Recording your screen can be useful for a variety of reasons. Whether you want to show someone a certain process within an app, or you are simply trying to show them something cool from one of your favorite games, this feature can be extremely handy for certain users.
Whatever it is you need to record on your device, following the steps of this guide will help you achieve this task. Remember to delete any recordings you don’t need once you are done to help preserve space on your device.
