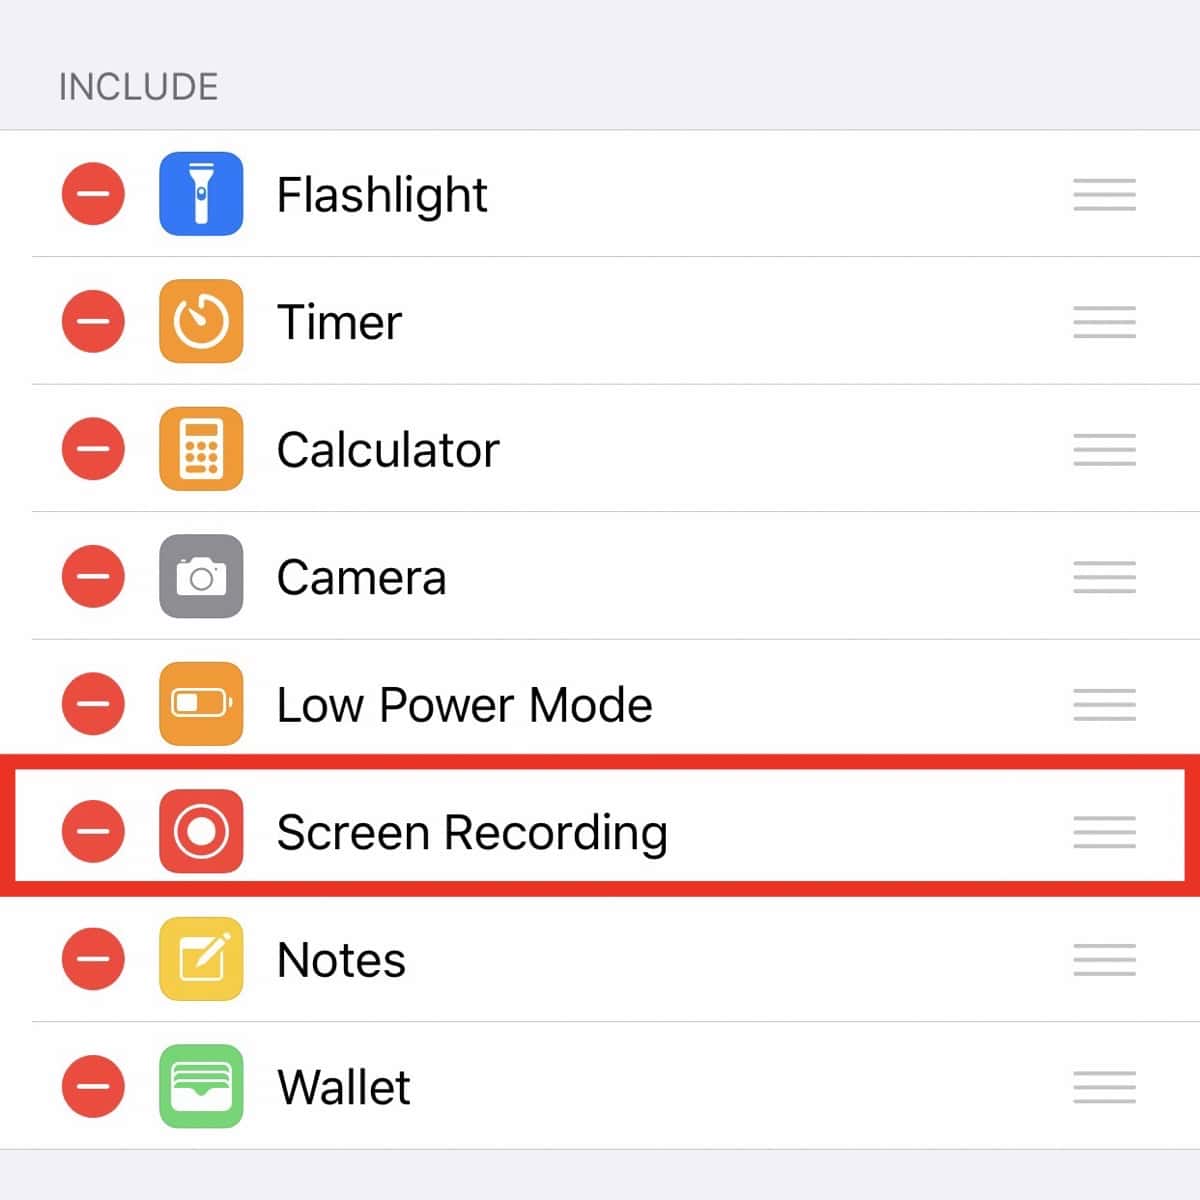
With iOS 11 or later, Apple gave us the ability to screen record on iPhone and iPad. This is a great tool to use if you want to show a person how to do something on your device, as one example. The Mac Observer‘s Charlotte Henry covered how to screen record on a Mac in this article.
How to Screen Record on iPhone and iPad
As usual, the process of screen recording is the same on both of these devices.
- Open Settings.
- Tap on Control Center, then Customize Controls.
- Here you’ll find a list of various tools to add to Control Center.
- Find Screen Recording and tap on the plus icon to add it.

If you have an iPhone X or later, or you’re running iPadOS, swipe down from the upper-right corner of the screen to access Control Center. If you have an iPhone before iPhone X, like my iPhone 7 Plus, swipe up from the bottom of the screen. We’re looking for an icon that looks like a circle with a solid dot in the middle, as show below.

Tap on the icon and and it will start a countdown from three. This will give you a bit of time to close Control Center and prepare to record what you want. If you long press on the icon, you can choose where you want the screen recording video to be saved, as well as an option to turn the microphone on or off to capture sound. Some apps may not let you record sound.
Here’s a handy tip. Once screen recording is active, the notification bar at the top will turn red to let you know. When you’re done recording, tap on the red bar. You’ll see a menu appear that will let you tap stop, and the recording will be saved to the location you chose, with the Photos app being the default. If you do this, you won’t have to go back and edit the video so that it won’t show you opening Control Center and tapping the icon to stop recording.
Further Reading
[How to Uninstall Apps on iPhone and iPad
[How to Change iPad Mouse Settings Like Disabling Animations
