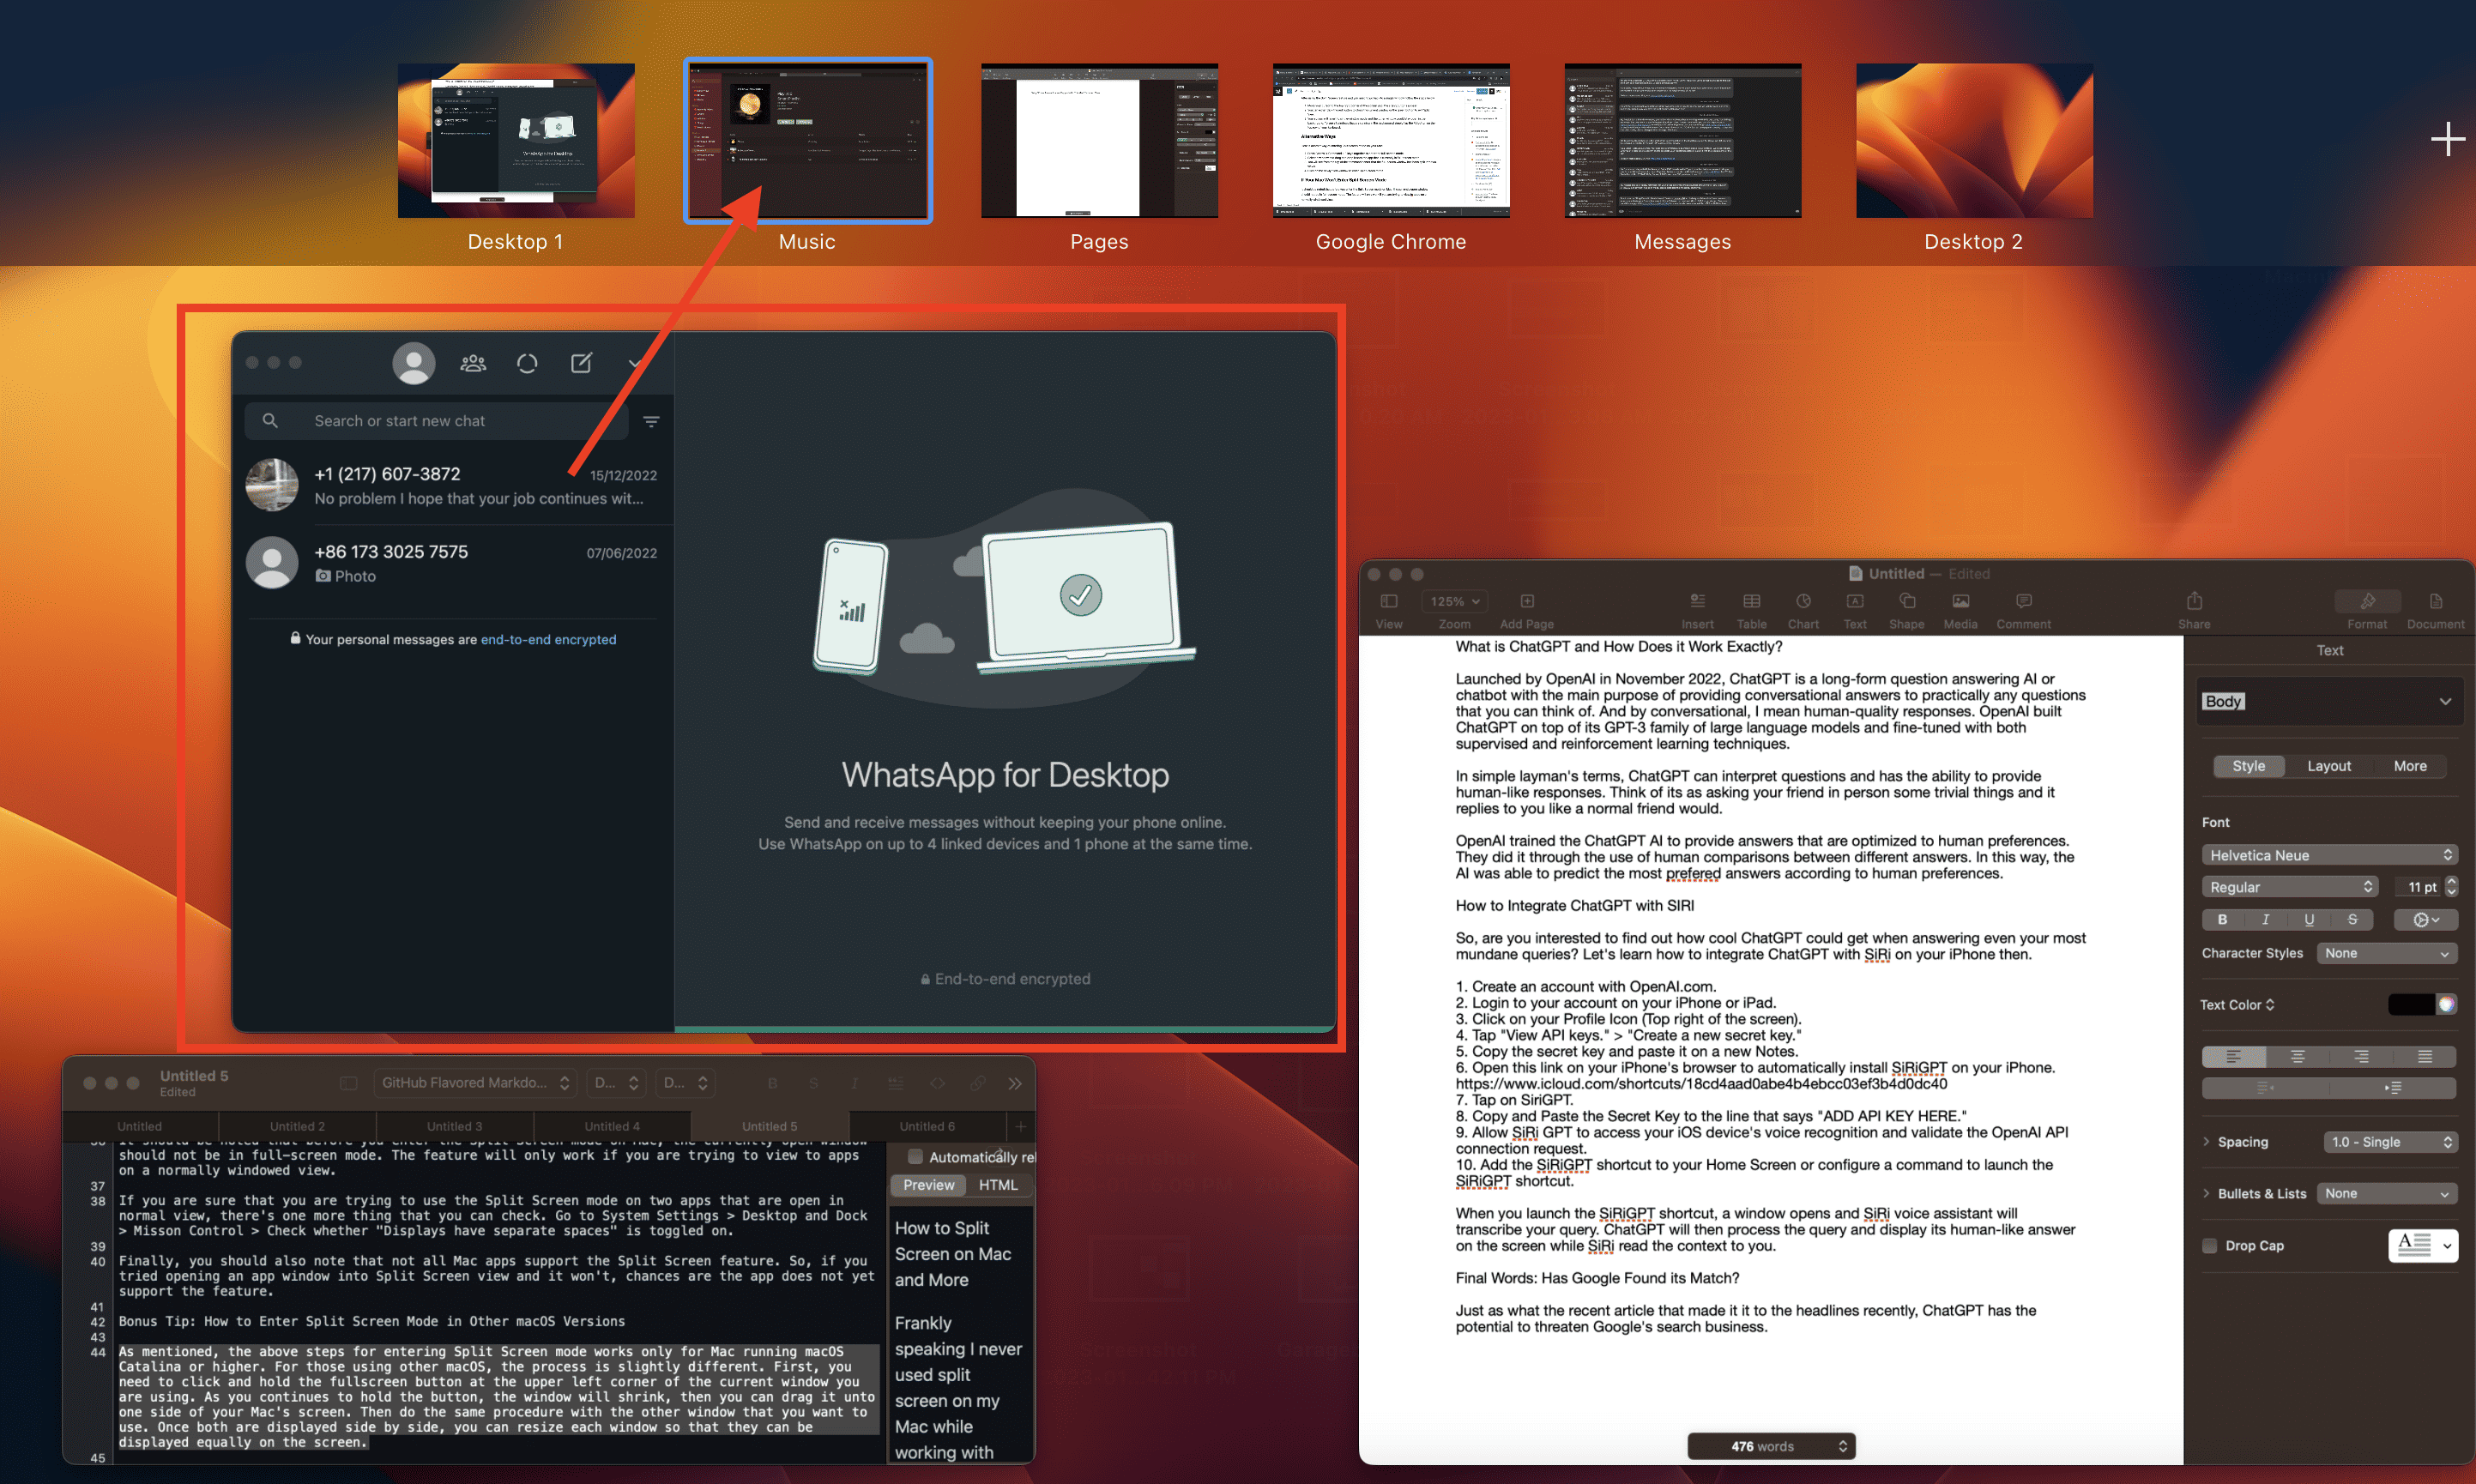
Frankly speaking, I never used Split View on my Mac while working with two or more apps. I always just used Command + Tab when switching between open apps. More recently, I’ve also used the Stage Manager feature to switch between apps. If you do need to open two apps and display them on your Mac’s screen, Split View is helpful. It offers a great way to make the most of your monitor’s screen real estate. This is supported by macOS Catalina and later. Let’s look at how to use Split View on Mac. We’ll also learn how to exit the feature when you’re done with it.
Using Split View on Mac: The Long Way
If you’re a serious multitasker, Split View offers a great way to get more done. This is true simply because you don’t have to repetitively use the Command + Tab combo or your pointing device to navigate between apps. You can simply display the two most used apps on your Mac’s screen and easily switch from one app to another.
The long way of using Split View on Mac is pretty straightforward. Even the so-called “long way” should take you less than a minute to set up.
Time needed: 1 minute
Here is how to enter Split View on your Mac.
- First, make sure that both of the apps’ windows are not in full-screen view.
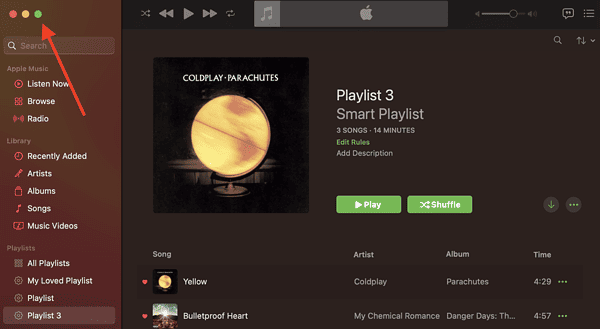
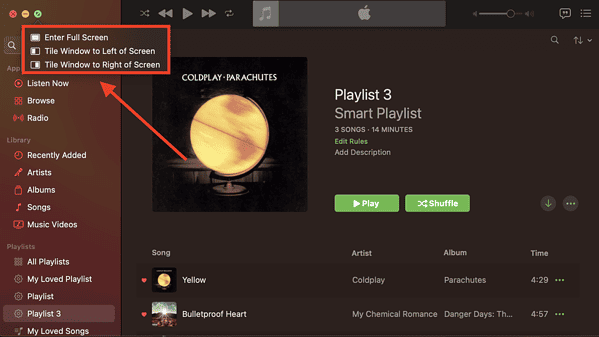
- In the first window you want to include, click and hold the green button in the top left corner until the contextual menu appears.
- Select either “Tile Window to Left of Screen” or “Tile Window to Right of Screen.”
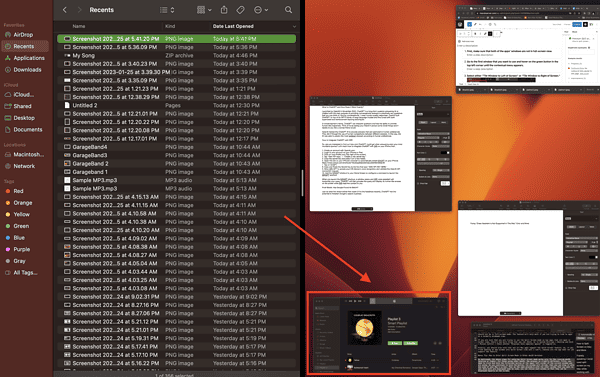
- Select the second window from the open apps on the other side of your screen.
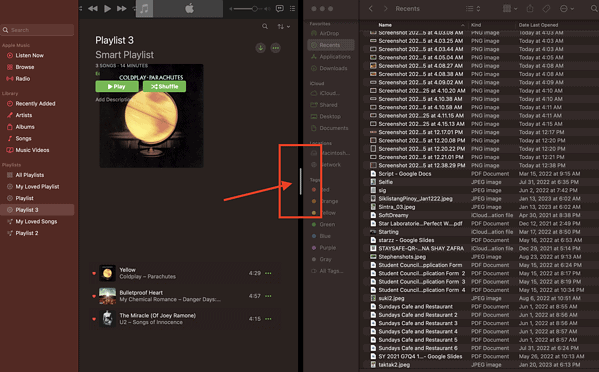
- With your Mac in Split View, you can adjust the size of each window using the slider in the middle of the screen.
How to Go Back to Normal View
After you’re finished using the Split View feature and you want to go back to a single window, follow the steps below.
- Move your cursor to the top right corner of the screen until the sizing buttons appear.
- You can either click the red button to close the current window or the green button to exit Split View.
- Your screen will revert to single-window mode and the other window will remain open in the background. To see all windows that are running in the background, simply tap the F3 button on the top row of your keyboard.
Alternative Ways
Here is another way of entering Split View mode on your Mac.
- Press the Control + Command + F keys together to put your window into full-screen mode.
- Use Mission Control to select another app window.
- You can access Mission Control in one of several ways.
- Swipe up with three or four fingers on your trackpad, or double-tap the surface of your Magic Mouse with two fingers.
- Open the Mission Control app from Applications.
- Press the Mission Control key
on your Apple keyboard or Touch Bar.
- You can access Mission Control in one of several ways.
- Once you’ve selected your second app window, drag and drop it onto the app currently in full-screen mode.
- You will see in Mission Control that your full-screen window has been split into two views.
- Click on the newly tiled window to enter Split View mode.
If Your Mac Won’t Enter Split View Mode
It should be noted that before you enter Split View mode on Mac, the currently open window should not be in full-screen mode (unless you’re using Mission Control to activate the feature). The feature will only work from the app window’s green button if you are trying to view to apps on a normally windowed view.
If you are sure that you are trying to use the Split View mode on two apps that are open in normal view, there’s one more thing that you can check. Go to System Settings > Desktop and Dock > Misson Control. There, ensure Displays have separate Spaces is toggled on. For versions of macOS earlier than Ventura, you’ll find this setting in System Preferences > Mission Control.
Finally, you should also note that not all Mac apps support the Split View feature. So, if you try opening an app window into Split View view and it won’t, there’s the possibility that app does not yet support the feature.
Bonus Tip: How to Enter Split View Mode in Other macOS Versions
As mentioned, the above steps for entering Split View mode work only for Mac running macOS Catalina or higher. For those using other versions of macOS, the process is slightly different. First, you need to click and hold the full-screen button at the upper left corner of the current window you are using. As you continue to hold the button, the window will shrink, then you can drag it onto one side of your Mac’s screen. Then do the same procedure with the other window that you want to use. Once both are displayed side by side, you can resize each window so that they can be displayed equally on the screen.

