It’s easy to get lost in a sea of options when you’re researching free PDF editors for your Mac. But lucky for you, there’s no need to download every single one. After trying dozens and digging through user reviews, I’ve found the only tool you need: PDFgear. It’s a simple, reliable platform packed with a sleuth of features and a straightforward interface.
Whether you’re adding text, merging files, compressing PDFs, or converting formats, PDFgear handles it all—without slapping watermarks on your work. Here’s everything you need to know about this underrated gem.
PDFgear Features: Why it’s the Best Free PDF Editor for Mac
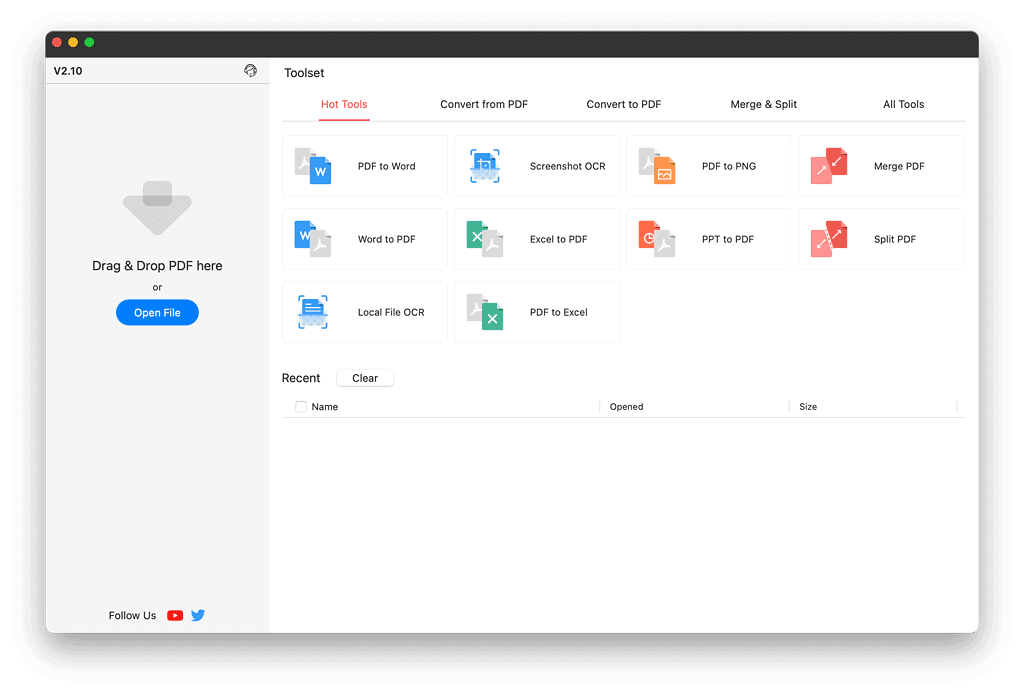
When you open PDFgear, the main screen shows five category tabs at the top with access to different features, as shown in the screenshot below. On the left-hand pane of the PDFgear home screen is a button to upload a PDF file you want to edit. You can also drag a PDF file into it to get started.
Below, let’s take a closer look at the main features of this free PDF editor app.
Convert from PDF
For this, I began by clicking the PDF to Word option from the home screen and selected a PDF document to convert.
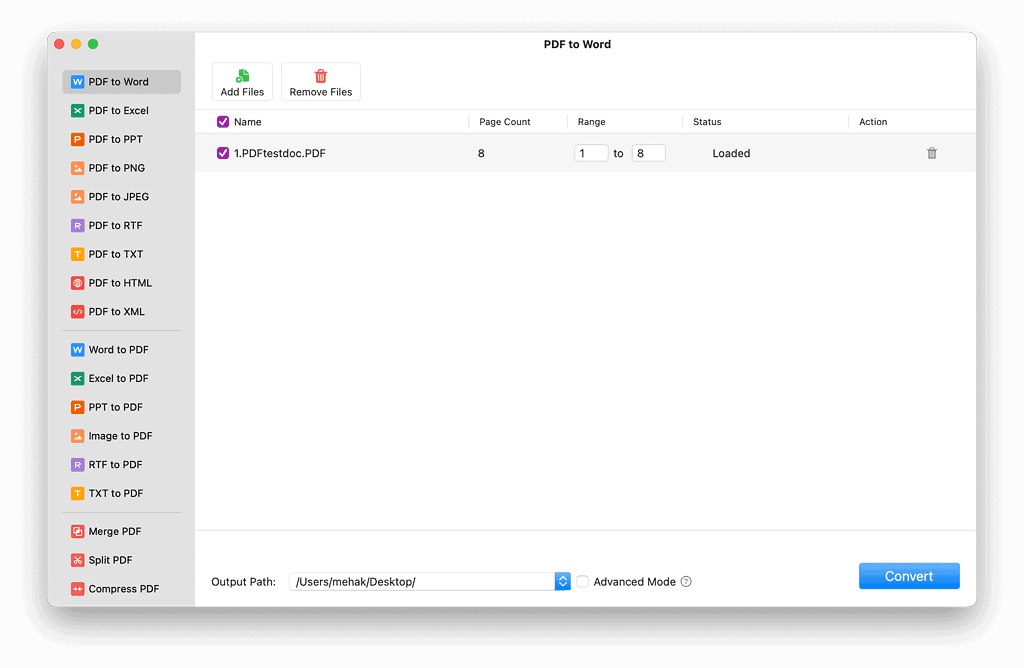
When I clicked the Convert button, it asked me to select a folder to save the converted file to. I chose the Desktop folder and the file was instantly converted to a Word document and saved on my desktop. I was also pleased to see that the app does not add any watermarks to converted files, unlike its free competitors.
Convert to PDF
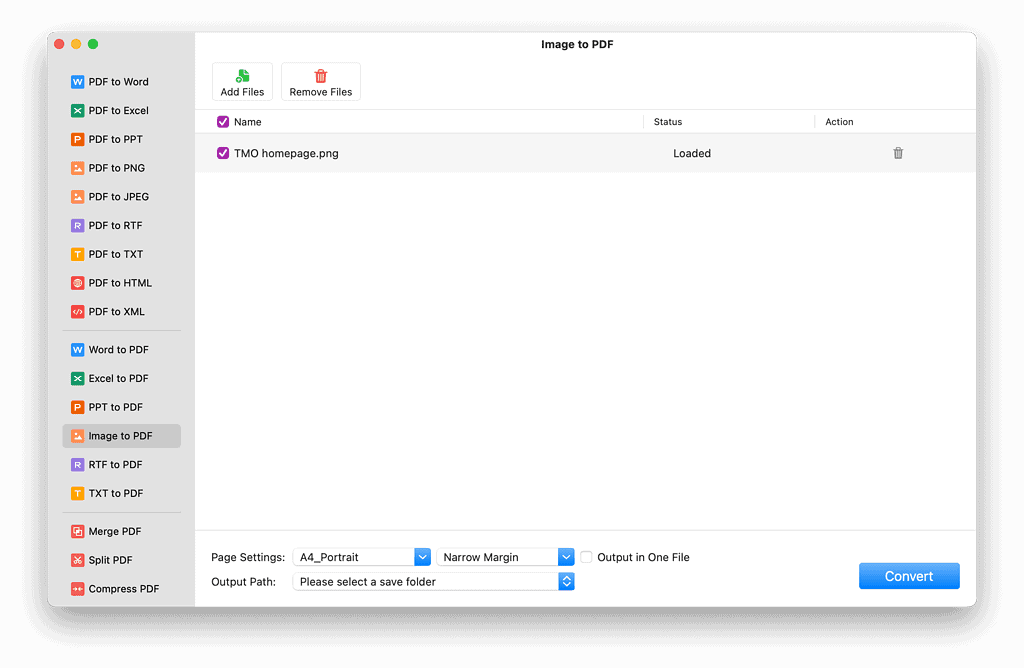
Similarly, I tried converting an image file to a PDF, and it was super simple. I clicked the Image to PDF button, selected my file, and hit the Convert button. The image was instantly converted to a PDF file and saved in my selected target folder.
Merge PDF
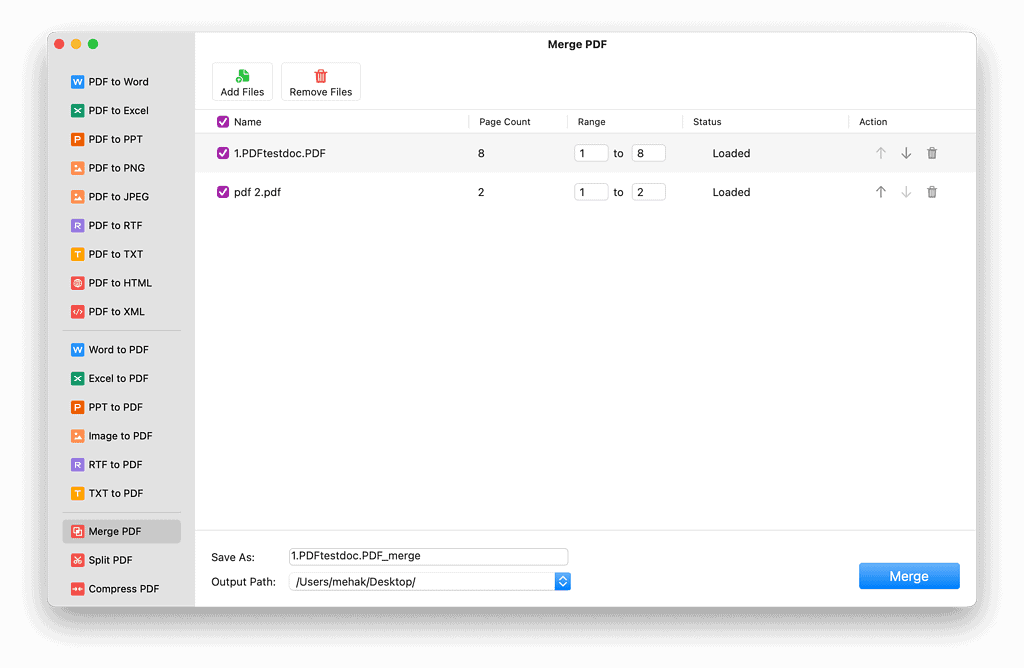
For this, you can add the files you want to merge. In the Range column, select the pages you want to merge from each document. Then, click the Merge button. The combined file will be saved to your selected target folder.
Split PDF
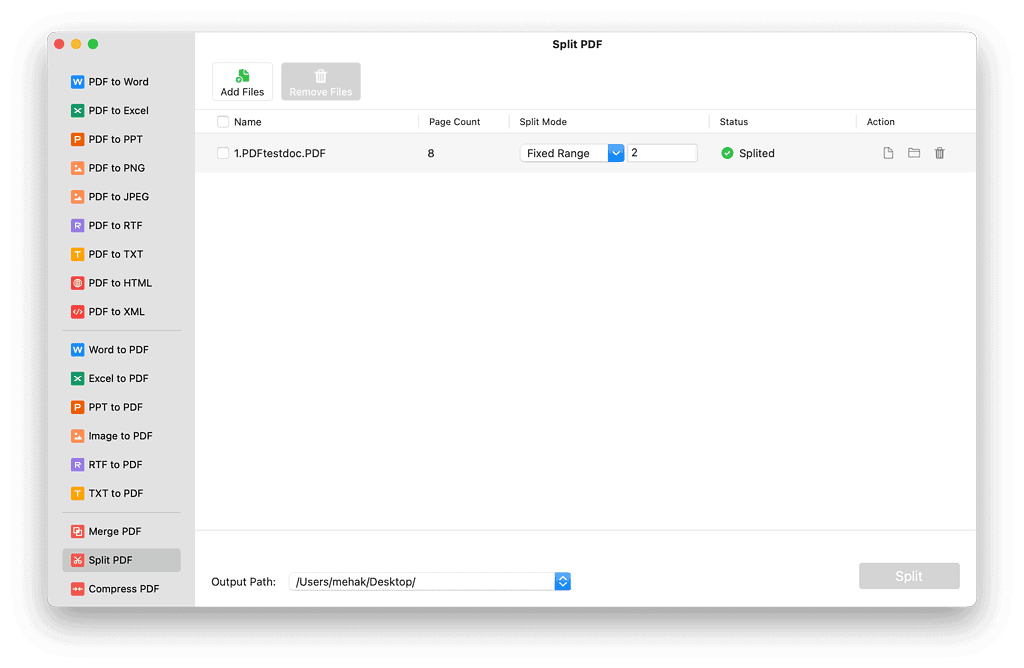
This option lets you split a PDF into smaller files. It’s useful if you want to extract a single page or a few pages from a large PDF file.
Simply select the Split PDF option and upload the file you want to split. Then, set a range. This can be fixed or variable. For example, a fixed range of 2 will split the document into files of 2 pages each.
Compress PDF
The Compress PDF option can be found under the All tools category on the PDFgear home screen. Then, you can simply click on Add Files, select a level of compression, and then click the Compress button.
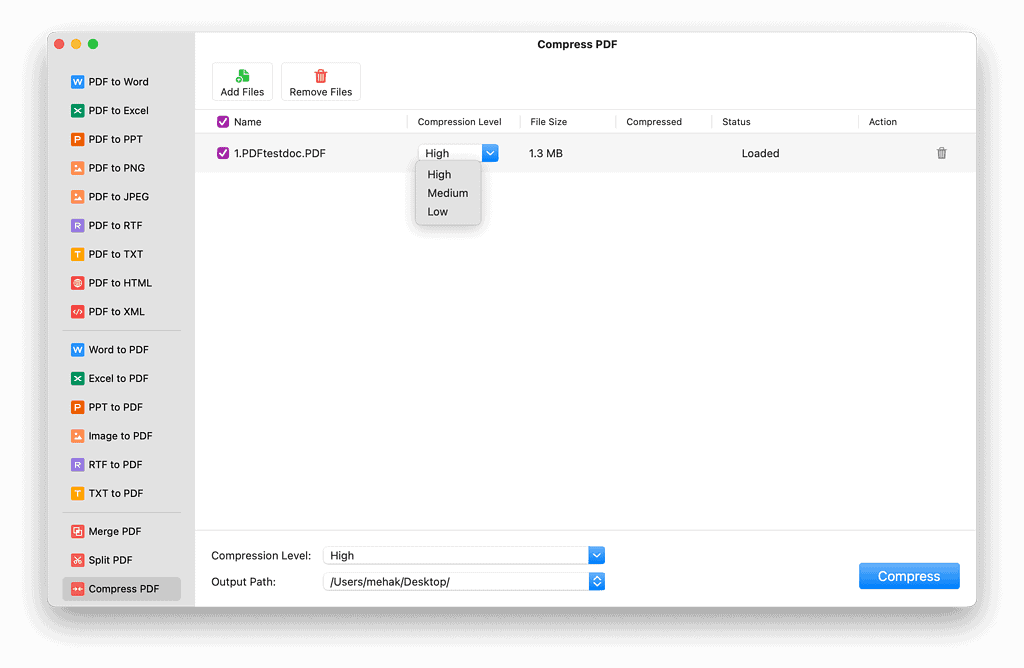
The higher the level of compression, the smaller the output file will be. However, this may also reduce the quality of images or other elements in the file.
Add Text or Images
PDF files are usually difficult to edit, but PDFgear makes it super easy. Upload your PDF file through the left pane on the app’s home screen. Once that’s done, the file will automatically open in the editor.
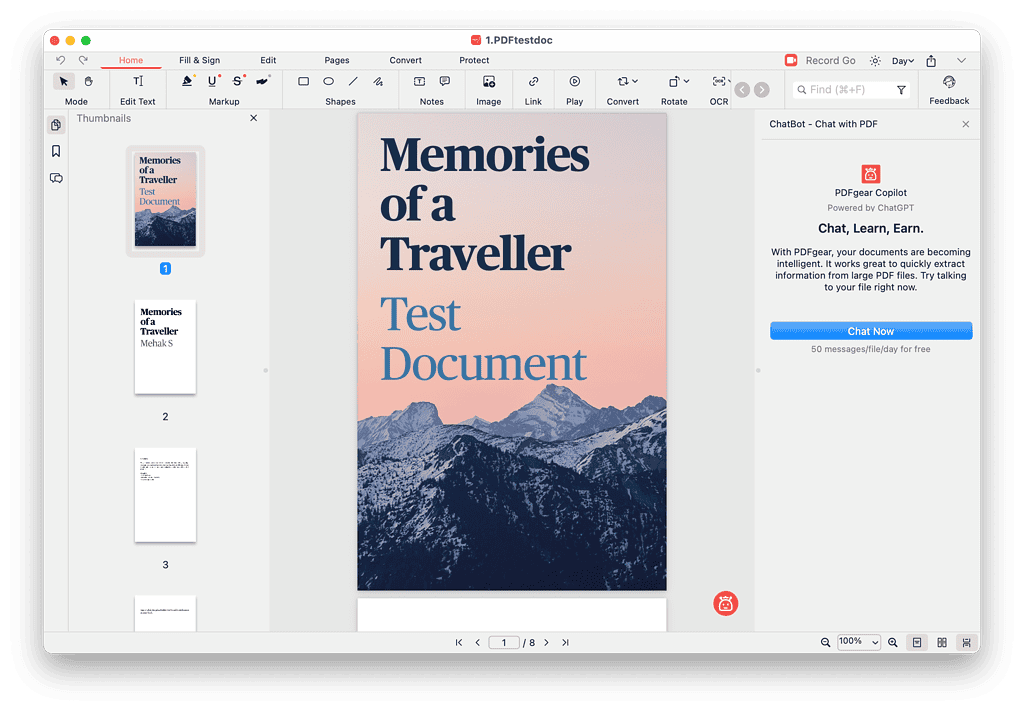
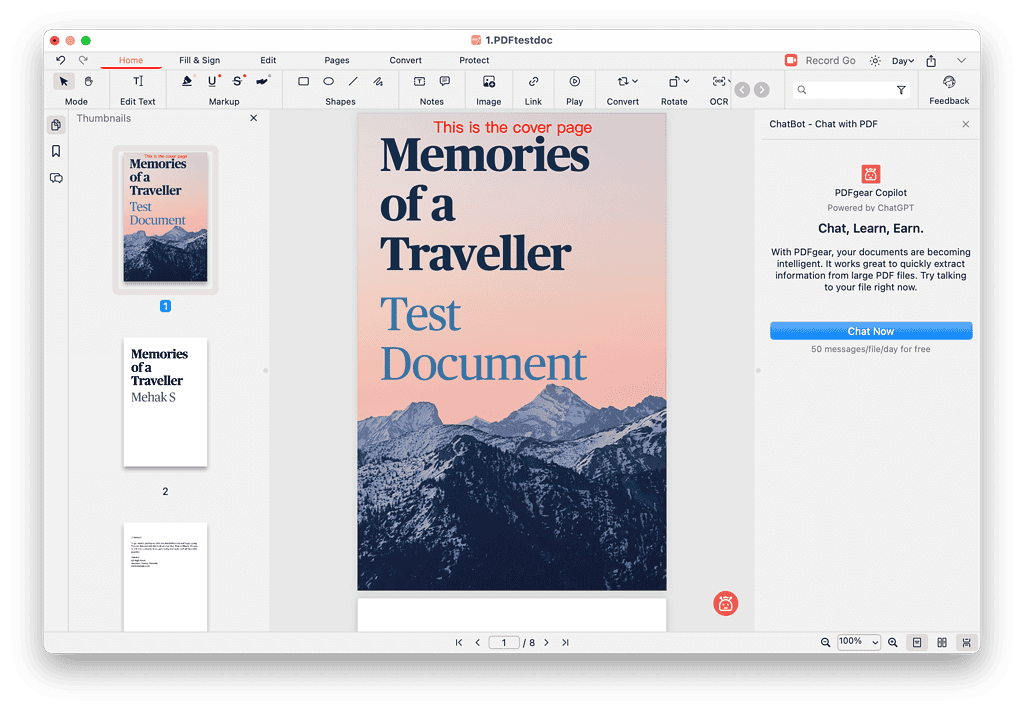
You can see a range of editing tools in the top menu such as Edit Text, Markup, Shapes, and Notes. These are super intuitive to use, making it easy to add elements to your file as required. For example, I added the text shown in red in the screenshot below.
Fill and Sign
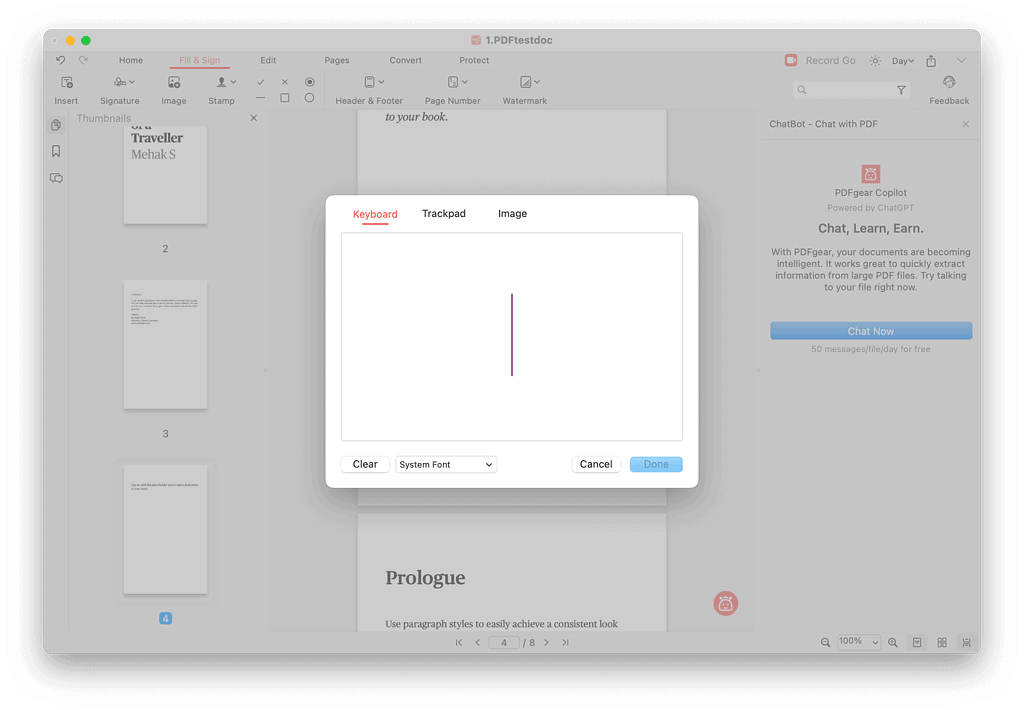
You’ve probably come across applications or official procedures requiring you to fill up PDF forms or sign PDFs digitally. PDFgear simplifies this too. You need to click on the Fill and Sign tab in the editor. You can then create your signature by clicking on Signature > Create Signature.
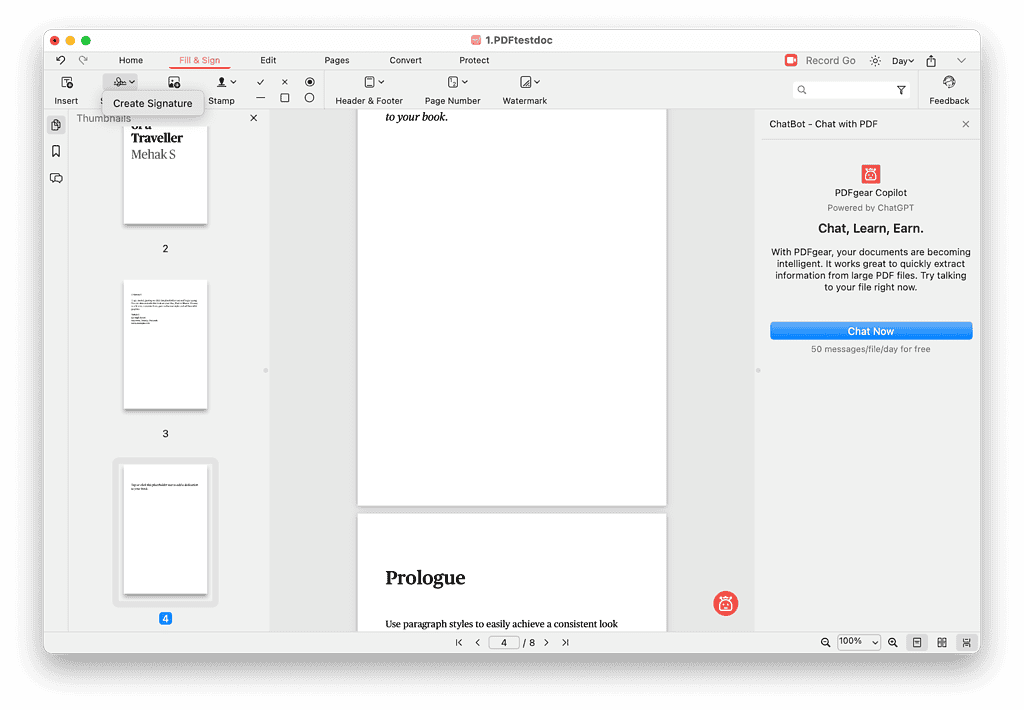
It will give you the option to type your signature, draw it out using the trackpad on your Mac, or upload an image of it. Then, you can add this signature to any documents you need to sign.
Protect PDF
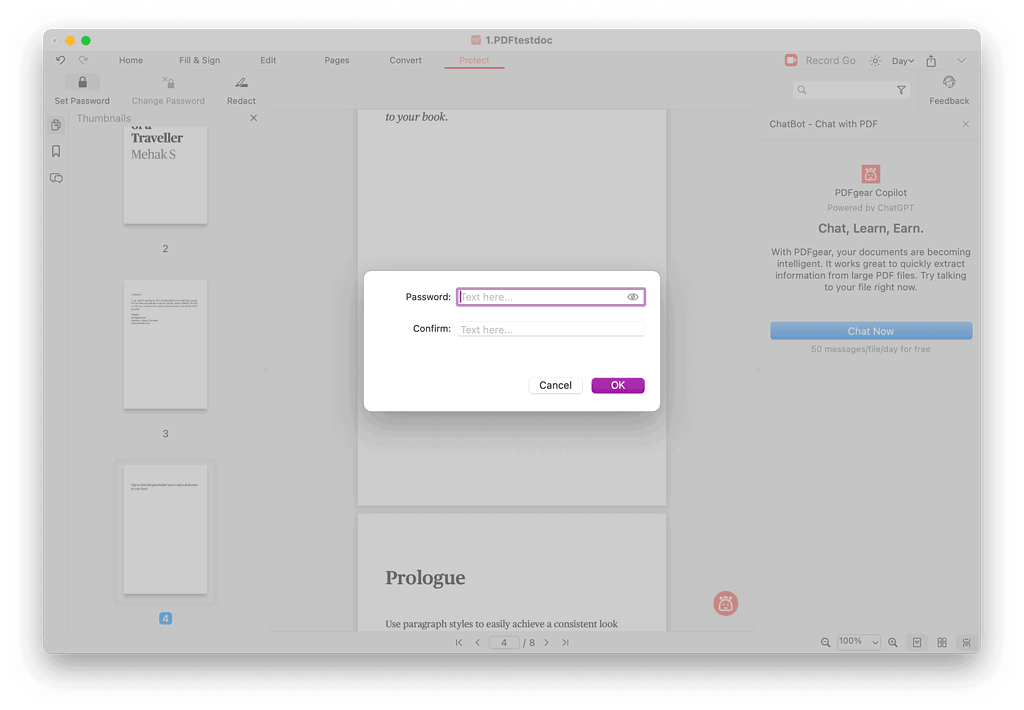
If you want to keep things private, PDFgear allows you to add password protection to a PDF file. Just click on the Protect tab and then click Set Password.
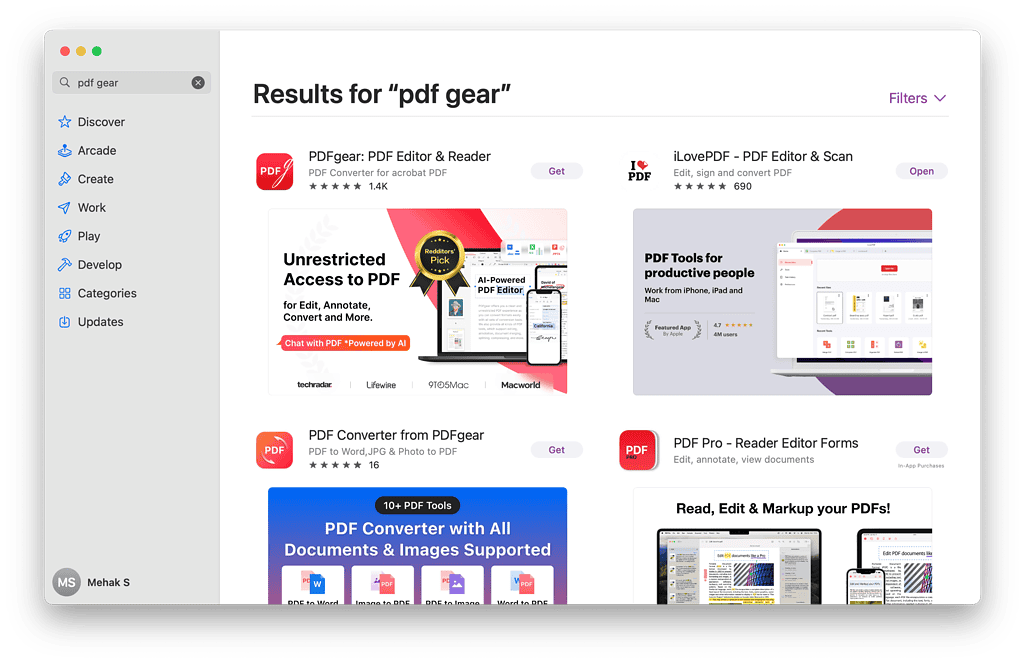
How to get the free PDFgear editor on Mac
Simply open the Mac App Store and look up PDFgear. Click Get > Install and wait for it to finish downloading. Afterward, you can begin using the app immediately without any sign-up or subscription required.
Overall, PDFgear is an incredibly useful editor that’s got all the tools you need for PDF files. I really appreciate the intuitive user interface and the range of features that it offers. It’s perfect for both work and personal use. Try it out and let me know what you think of it!
PDFgear is a nifty little utility, and probably serves most users really well. But it makes a hot mess out of PDFs with annotations made in Acrobat – requiring a lot of extra clicking and page scanning.