Have you ever found yourself overwhelmed and frustrated by the deluge of unwanted emails and annoying spam that occasionally floods your inbox? It’s an experience that virtually all email users have encountered. This constant bombardment of unsolicited messages can be more than just a minor annoyance; it can become a significant source of frustration.
What’s worse is that in this sea of unwanted messages, you might easily miss important emails, buried beneath the clutter of notifications. I’ve always found that frustrating, and you wouldn’t want that to happen. So, please continue reading to discover how to block unwanted emails on your iPhone and effectively manage these blocked messages.
How to Block Spam Emails in the Mail App on iPhone
Time needed: 1 minute
Blocking spam messages in the Apple Mail app is a straightforward process. Here’s how you can achieve that.
- Launch the Apple Mail app on your iPhone. This is where you access the mailing list and manage your emails.
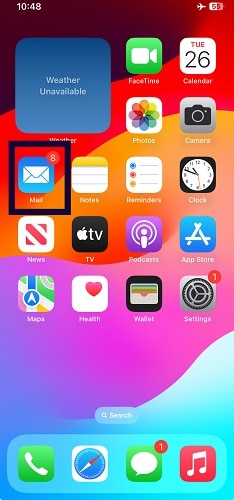
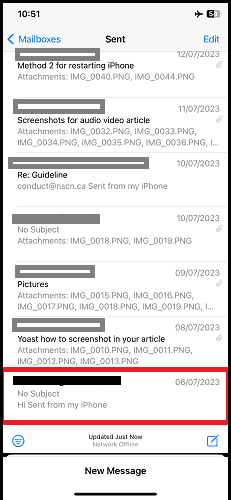
- Open an email from the sender you want to block. This can be any email that you have received from that particular individual or address.
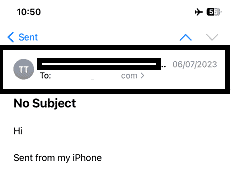
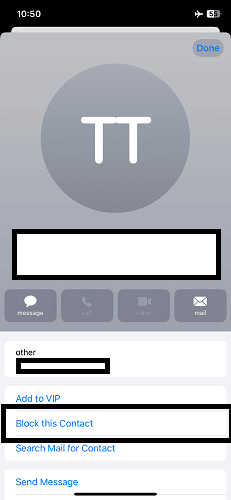
- Within the email, tap the sender’s name or email address, which can typically be found in the header of the email.
- A menu will appear, tap the Block this Contact option. You should select this option to add the sender to your block list.
Once you have blocked an email address, it’s important to note that all future mail from that sender will be automatically directed to your Trash folder in the Mail app. However, you can still access and review these emails by going to the Trash folder and tapping Show All. Learn about blocking emails on macOS in Andrew Orr’s guide.
How To Manage Blocked Emails
In managing blocked contacts on your iPhone, it’s essential to understand the steps involved. Here’s how you can take control of this aspect of your email management:
- First, open the Settings app on your iPhone.
- Inside the Settings app, navigate to Mail and tap it.
- Under the Threading section, tap Blocked to access the list of addresses and senders you have already blocked.
- To view all the email addresses that you have blocked, scroll through the list. This is where you can review and manage your existing block list.
- If there’s an email address you wish to unblock, swipe left on the specific address, and tap the Unblock option.
- To add a new email address to your blocked list, simply tap the Add New option and enter the email address that you want to block.
* Regularly review your blocked list to ensure its accuracy. You might need to unblock senders you accidentally blocked or add new senders to your blocked list.
* Exercise caution when deciding whom to block. Blocking a legitimate sender could result in missing important emails.
* If you’re uncertain about whether to block a sender, consider marking their emails as spam instead. This action will direct them to your Junk folder, allowing you to review them later.
* If you continue to receive emails from a blocked sender, consider blocking their entire domain rather than just their email address. This will prevent them from creating new addresses to bypass your block
How Do I Block Emails on the Gmail App on My iPhone?
To block emails in Gmail on your iPhone, here’s what you need to do:
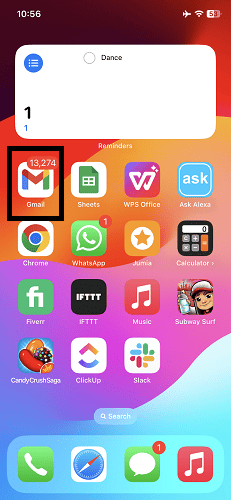
- First, open the Gmail app. The Gmail app has an icon that resembles an envelope with an “M”.
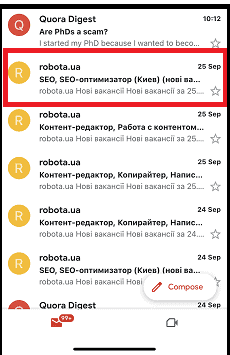
- Find an email from the sender you want to block.
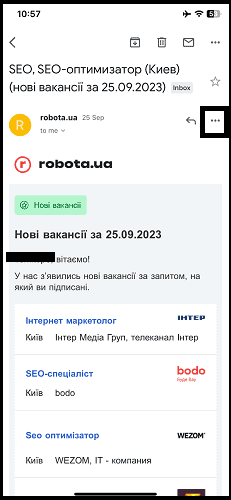
- Next, tap the three dots in the top-right corner of the email (make sure you tap the three dots across from the username at the top of the email, not the one in the app’s top-right corner).
- After that, tap Block [sender].
Once you’ve blocked a sender, all future emails from them will automatically be directed to your spam folder. You can still check these emails in your spam folder, but they won’t appear in your inbox.
Now, if you want to unblock a sender, follow these steps:
- Open the Gmail app.
- Tap the three lines in the top-left corner of the app.
- Scroll down and select Settings.
- Tap See All Settings.
- Click on Blocked Addresses.
- Find the sender you want to unblock and tap the Unblock button next to their name.
Conclusion
Blocking unwanted emails on your iPhone is a straightforward and effective method to minimize spam, block unwanted senders, and enhance your overall email experience. By following the steps outlined in this article, you can easily block and manage unwanted emails on your device.
If you found this article helpful, please consider sharing it with your family and friends. You might also be interested in creating an iCloud email address; you can learn how to do that in our guide.
![tap Block [sender]](https://www.macobserver.com/wp-content/uploads/2019/08/tap-Block-sender.png)
Nice. Ive been trying to figure out a way to do this. Good to know that it comes baked into the next rev.
I use Junk as a holder for stuff I may or may not want to read. Notices from online forums, ads from a few vendors, that sort of thing. But there is another group that are just pure garbage. I want them to go away. I don’t want to see them at all. This will do that. Nice
Nice to know. But is this done at the iCloud level so that the same blocking is done on all iOS and Mac devices?
So far it seems like it’s at the device level. Although that might change in Catalina. I’m not running that beta.