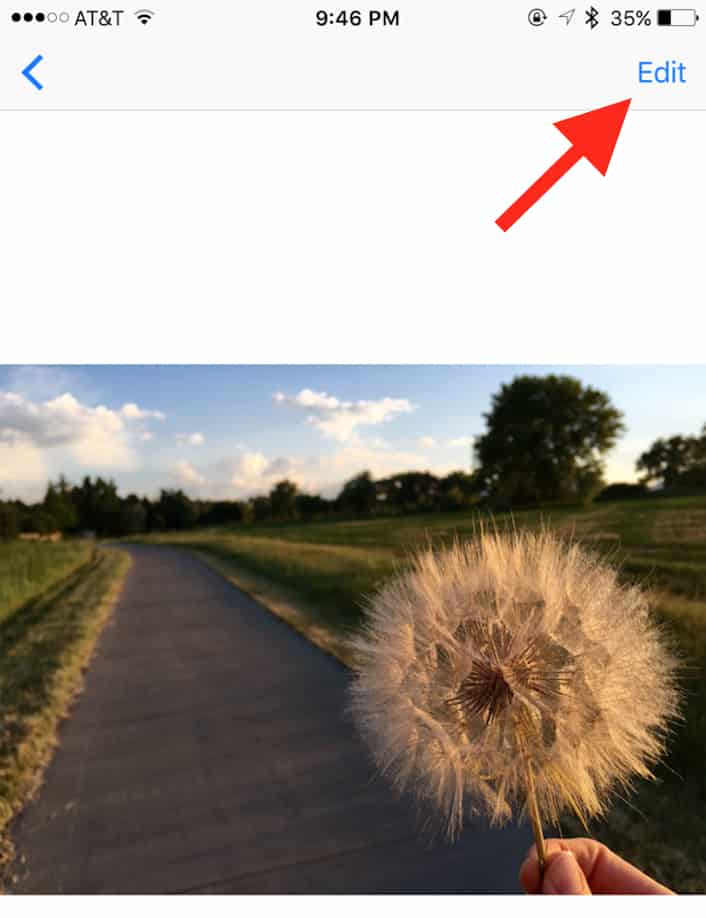
Need to adjust the color cast on a picture under iOS? Easy as pie, because there’s an editing tool that’ll let you do that in approximately two seconds. To get started, first find the photo you’d like to change, and then tap the “Edit” button.
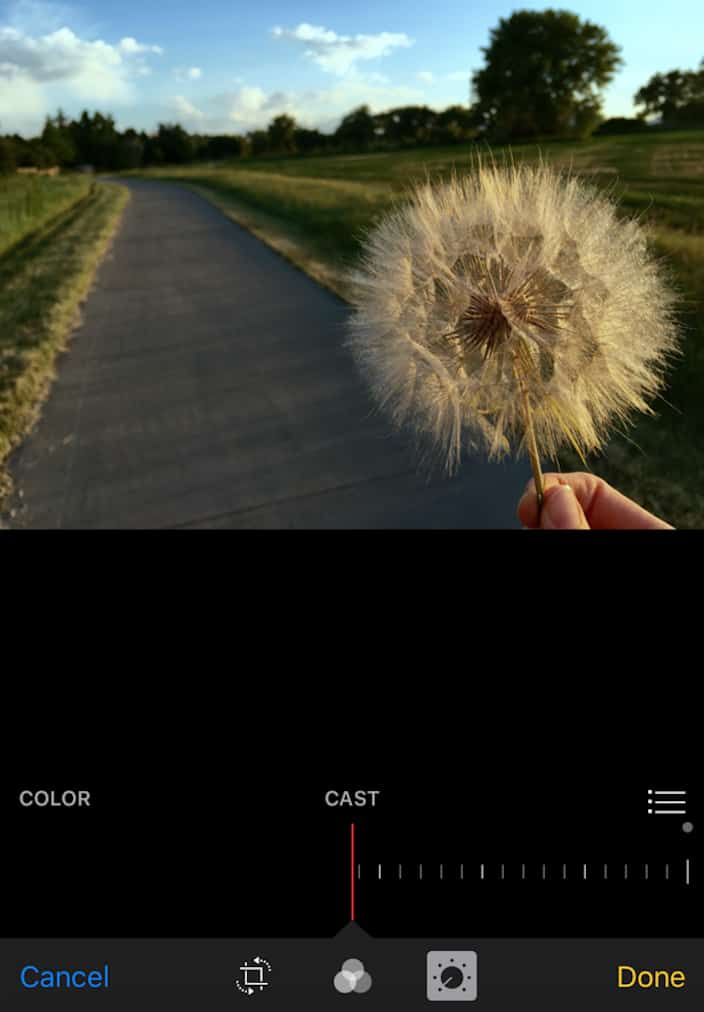
The dandelion pic above is the one I’m going to use. See how it’s got that warm orange look to it? That’s what we’re going to fix. I mean, I actually kind of like it all sunset-y and stuff, so maybe “fix” is the wrong word here. I needed a picture to edit, guys, so sue me.
Anyway, when you see the tools appear, touch what Apple calls the “Adjust” button, highlighted below.
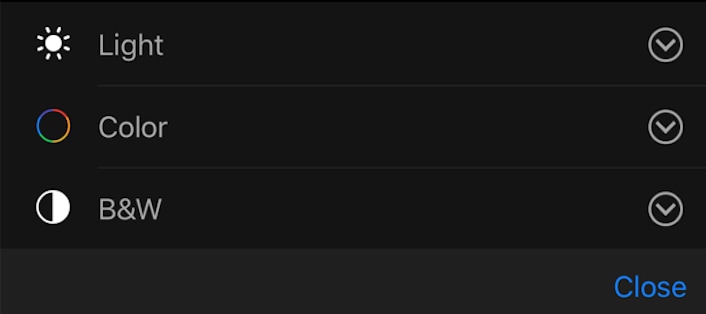
That’ll bring up the tools for adjusting Light, Color, and B&W.
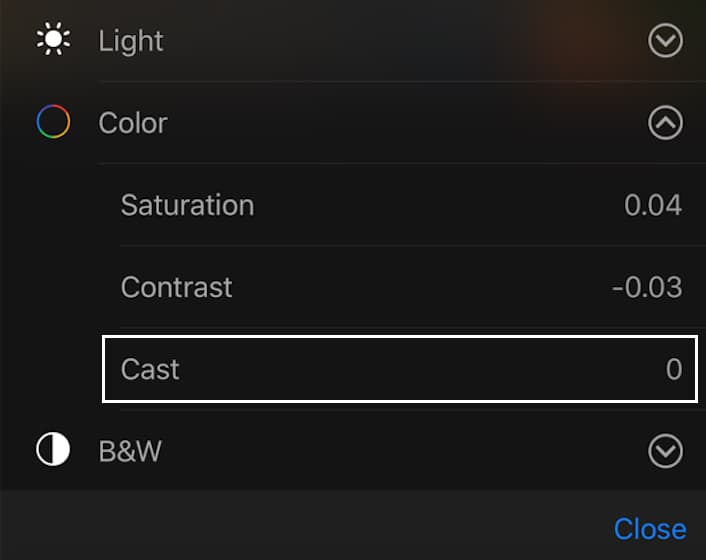
Tap the arrow next to any of those sections, and you’ll see more advanced options; to get to “Cast,” we’re gonna touch the arrow beside “Color.”
Select “Cast” to make changes, then, and you’ll see a little bar that you can move back and forth. Dragging it to the right will make the image cooler (as below), and dragging it to the left will make it warmer.
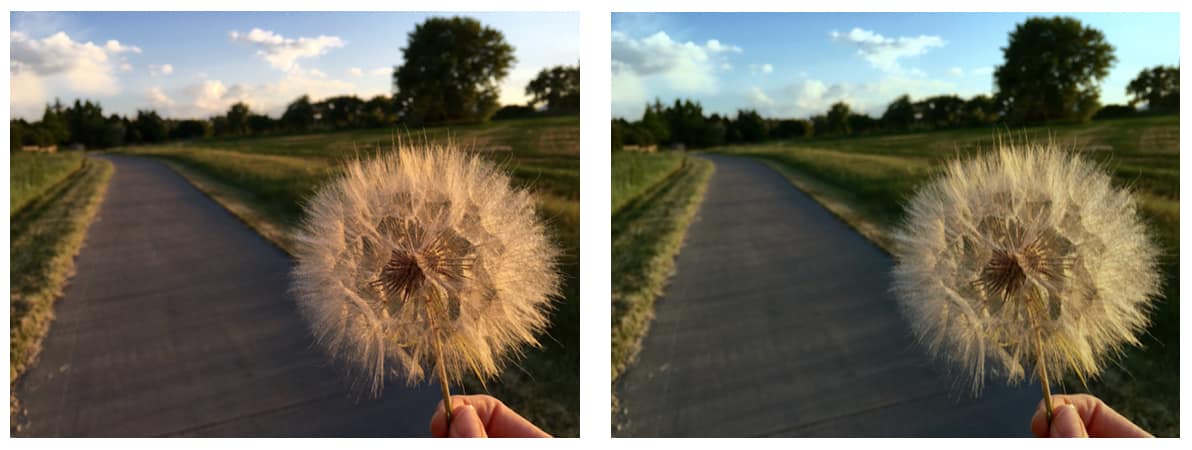
So if you compare this version of my dandelion with the one in my first screenshot, you’ll note the difference:
See how it’s much less orange than it was? That’s neat! You may find this handy for making shots with poor lighting better, especially if you plan on sharing your pictures with other people. Remember, too, that edits to your pictures are nondestructive, meaning that if you click on “Edit” again after you’ve made changes, you’ll get the option to revert to your original.
And now I’m gonna go back and undo that edit on my poor dandelion. I liked its color cast, darnit.

Two thumbs up for this tip!