When you set up an iPad, you’ll essentially be following almost the exact same steps as an iPhone. Apple has made it simple to get started with all of its devices. Follow along with our iPad set up guide.
iPad Set Up Process
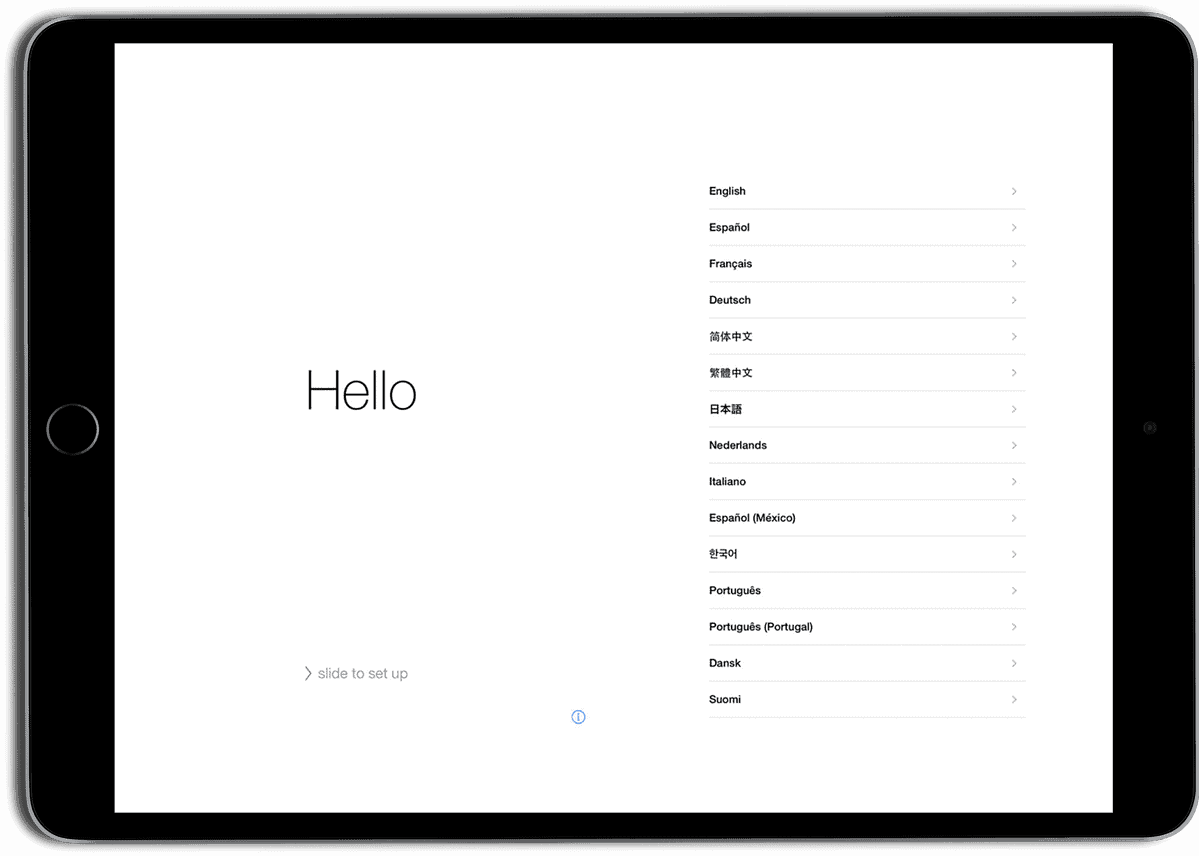
- When your first turn on your iPad, you’ll see a white screen that says “Hello” in English and other languages. Tap the home button or swipe the screen to proceed.
- Next, you’ll choose your language, then country or region. If you bought your iPad in your home country, the choices will most likely already be selected.
- Choose your Wi-Fi network and type in the password, Or, if you have an iPad with cellular connectivity, tap Use Cellular.

- Next you’ll be asked whether to turn on location services or not. Enabling it is recommended so you can use Apple Maps, Find My iPhone, and other location services.
- If you have an iPad with a fingerprint reader, you’ll then be asked to set up Touch ID, as well as a six-digit passcode.
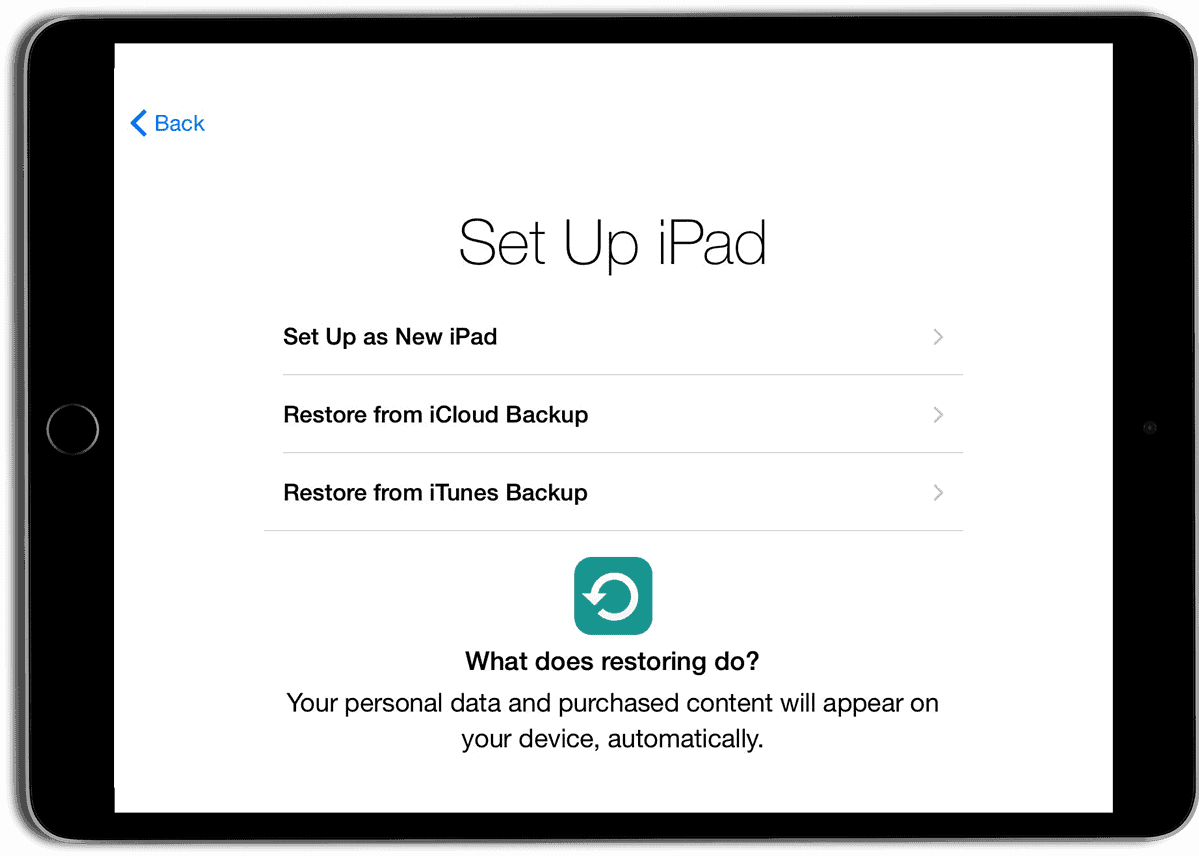
- You can set up your iPad as a new device, or restore from an iCloud or iTunes backup.
- If you have an Apple ID you’ll be asked to sign in. If you don’t have one, tap on “Don’t have an Apple ID or forgot it?“
- You’ll have to agree to Apple’s Terms and Conditions to proceed. Tap to agree twice.
- Next, you’ll be asked to set up Apple Pay and
- Set up Siri in the next step by saying a few phrases that appear on screen. This will let Siri learn to recognize your voice.
- For diagnostics and app analytics, you can choose to enable it or not. Sending diagnostic information lets Apple get information when apps crash, or other issues happen. Sending anonymous analytics helps Apple improve its products.
Once you’ve done all this and get to the home screen, you’ll see all of Apple’s apps that are already installed. For apps, tune in tomorrow when we share our 10 must-have apps on the App Store.

