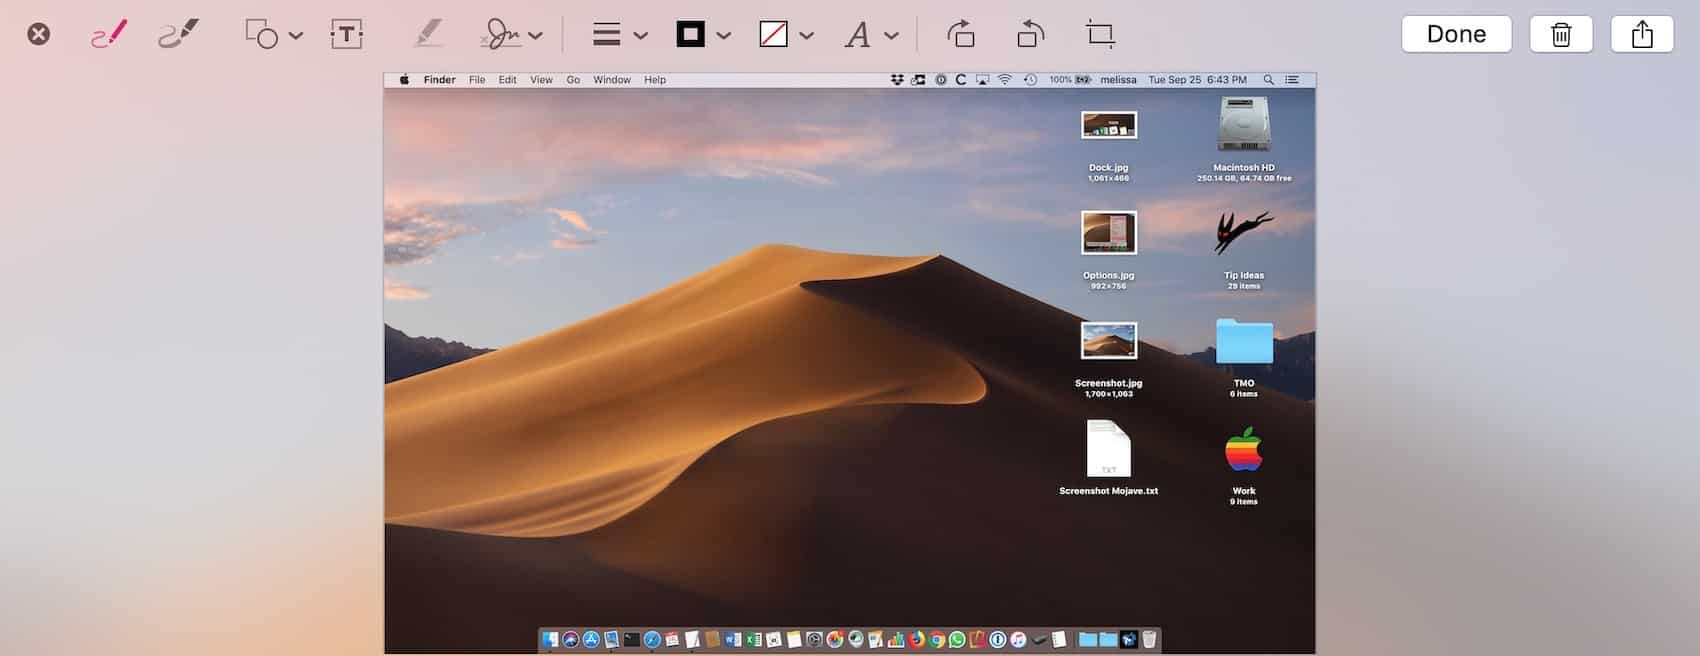
With macOS Mojave, Apple got rid of Grab, the screenshot app that’s lived in Applications > Utilities since dinosaurs roamed the earth, and replaced it with a program simply dubbed Screenshot. You may have already noticed that using Command-Shift-3 or Command-Shift-4 to take a screenshot with Mojave will show you a little thumbnail of your image in the lower-right corner of your screen.

If you ignore the thumbnail, it will end up wherever your default screenshot location is (usually the Desktop) after a few seconds. If you click it before it disappears, though, you’ll get a markup toolbar so that you can add embellishments, then your Mac will save the changes when you click “Done.”

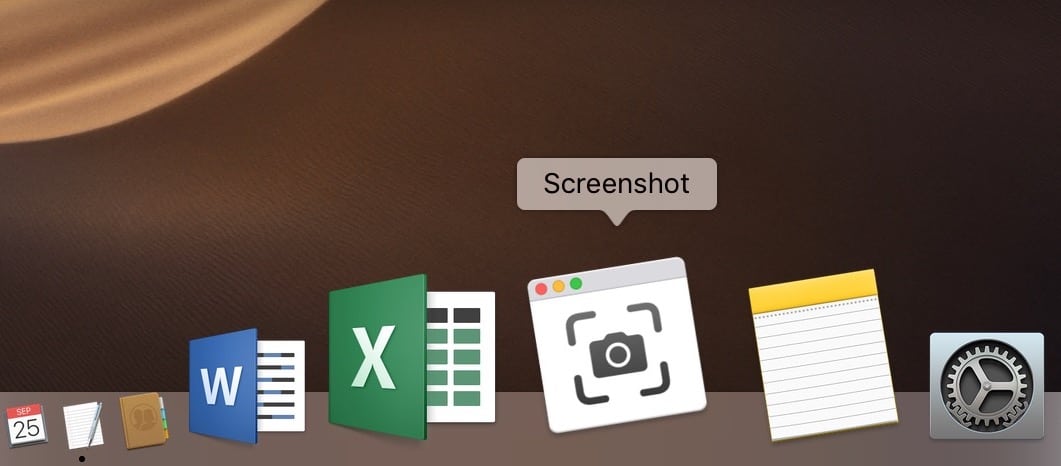
I know I say this a lot, but if you don’t like this change, you can turn it off, which’ll make your screenshots behave the way they did under High Sierra. (But you’ll still have access to the fancy new Screenshot app itself if you want to use it.) All you have to do is this: Open Screenshot from Applications > Utilities or by clicking its icon in your Dock…

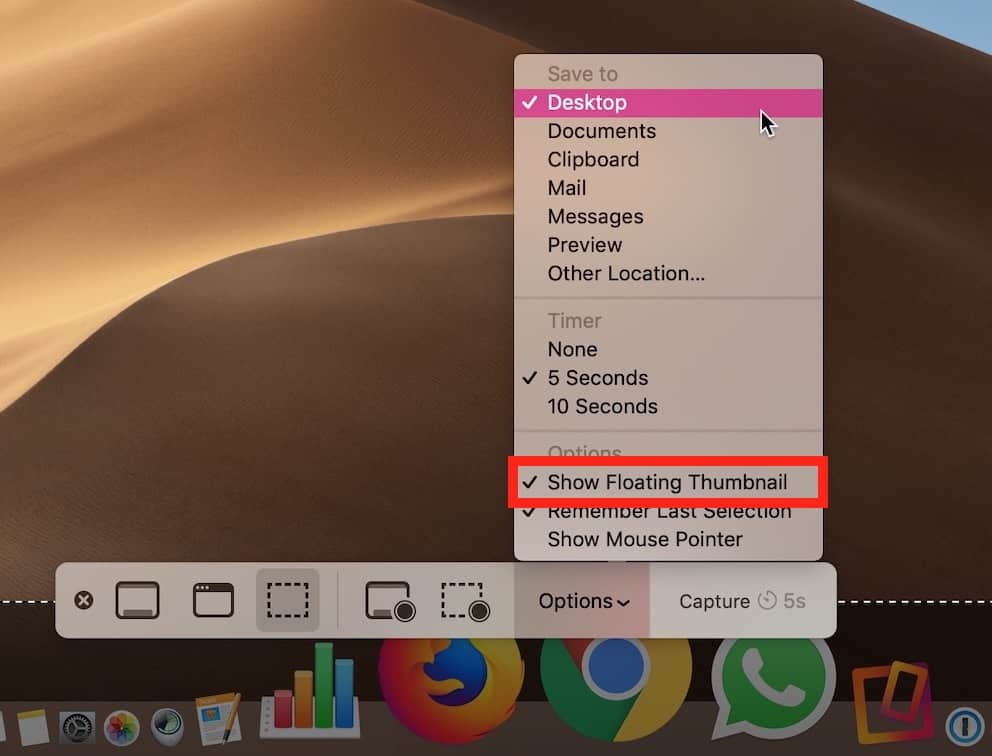
…or use its associated keyboard shortcut, which is Command-Shift-5. However you get in, though, you’ll see a new interface for screenshots with a bar at the bottom; if you click “Options,” there’ll be the “Show Floating Thumbnail” preference, which you can click to disable.

As you can see, you could also use those options to save screenshots to a different location, turn on a timer so you can set a scene before the picture is taken, and so on. And the square icons to the left of that bar will let you pick between capturing windows, capturing the whole screen, or even recording the screen. But by disabling that “Show Floating Thumbnail” option, you can go back to High Sierra, at least as far as your screenshots are concerned.
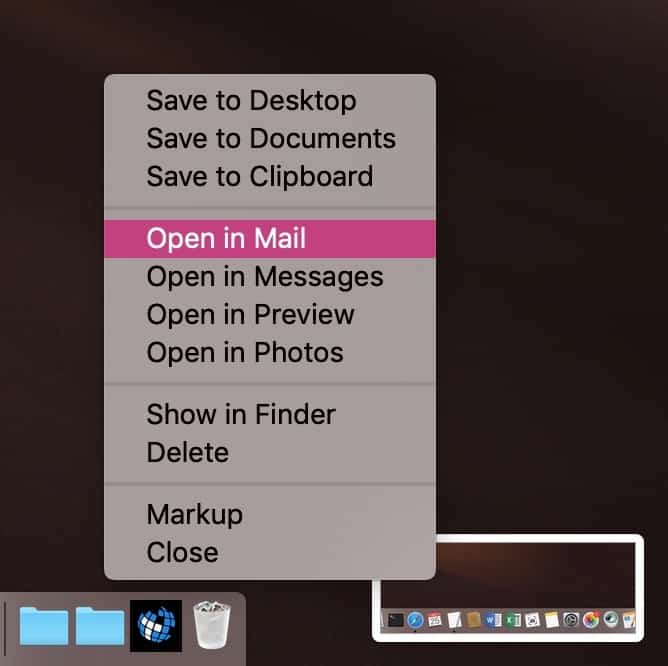
Finally, here’s one more quick trick: If you hurry over and right- or Control-click on the thumbnail after you take a screenshot, the contextual menu that appears will give you shortcuts for popping the item right into Mail, for example, or saving it into Documents instead of onto your Desktop.

OK, that’s pretty cool. I admit that I recovered Grab out of my Time Machine backup just because I like it, but this little feature may make me use Screenshot too…and even leave that floating thumbnail enabled. Maybe I’m not such an old fart who’s scared of change after all.
No, I totally am.
I have the opposite problem: I want the little thumbnail to last LONGER! I love dragging and dropping it into another application… but sometimes I can’t switch fast enough. Is there any way to increase the timeout on it?
The new screen recording tool in macOS Mojave is great, but has anyone else noticed there’s a 2-3 second delay at the start of all new screen recordings – even when the delay timer is set to None?
I got caught out a couple of times with my opening sentence missing from the audio. From now on, after I press Record – I purposely count 3 seconds (in my head) before proceeding, and that works perfectly.
I don’t mind the little preview – BUT – For me the whole screenshot feature got a whole lot slower wich increases the time I spend on tasks. Annoying!
What’s also annoying is, this ‘feature’ doesn’t offer any clear way to *both* save a screenshot to a specific folder *and* copy it to the clipboard. Almost every time I screenshot, I want to use the image immediately (paste it somewhere for simple editing, convert it to a stencil, etc), but *also* want to save it for reuse.
Worse yet — previously Dropbox did all this automatically (auto-save + auto-clipboard + popup to view it in said folder for instant file renaming etc). But, Mojave blocks all that. It either makes you wait 2-3 seconds for its own popup to *finally* disappear, before the Dropbox feature can kick in. Or it blocks Dropbox completely.
Thanks Apple. Once again, pushing your own simplistic, canned solution that does less, takes longer (usually due to animations) and blocks better 3rd-party solutions. You’re slipping!
Update:
Whew!
You can keep Dropbox’s screenshot tool working IF AND ONLY IF you set the built-in settings (ctrl-shift-5 / Options) to Save to / Desktop.
Apparently that’s how the Dropbox feature works: detects screenshots newly added to the desktop, and whisks them away to its own folder.
Still slower now though