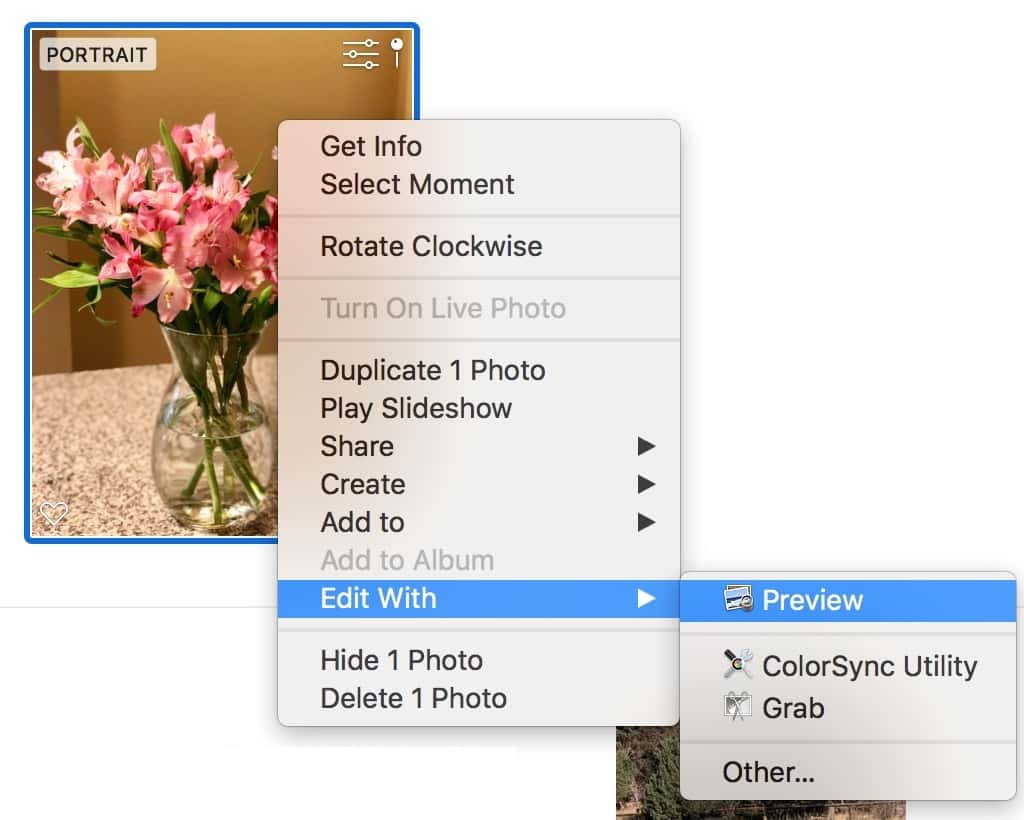
Back in the days when the earth was young—or as you whippersnappers may know it, “2012”—I wrote a tip about using an external program to adjust your iPhoto images. That feature would let you open a picture in Photoshop or Preview, for example, make edits to it, and save your changes, which would then be reflected in your iPhoto library without you having to export the image and reimport it after making edits. You can still do this in Photos, which is awesome! I love this feature! But it works a bit differently in that app, so to get started, now you’ll either right-click on an image and pick Edit With > [Program]…
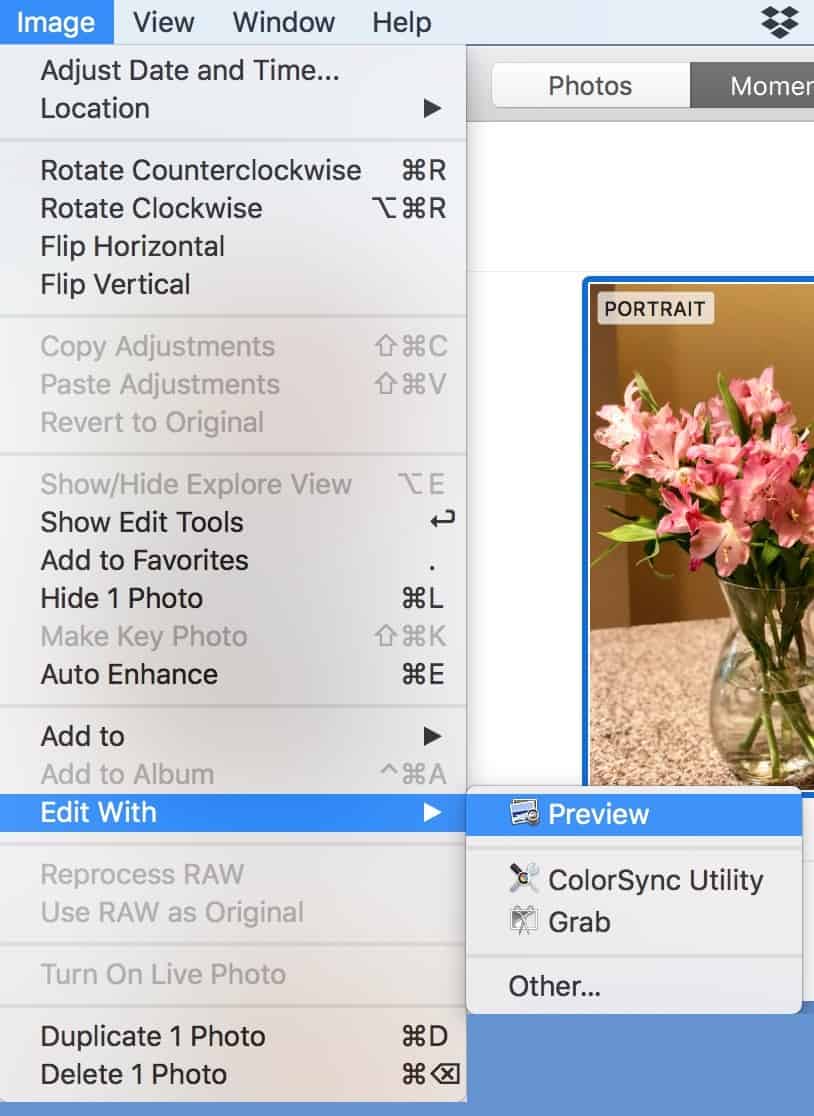
…or choose the same thing from the “Image” menu at the top.
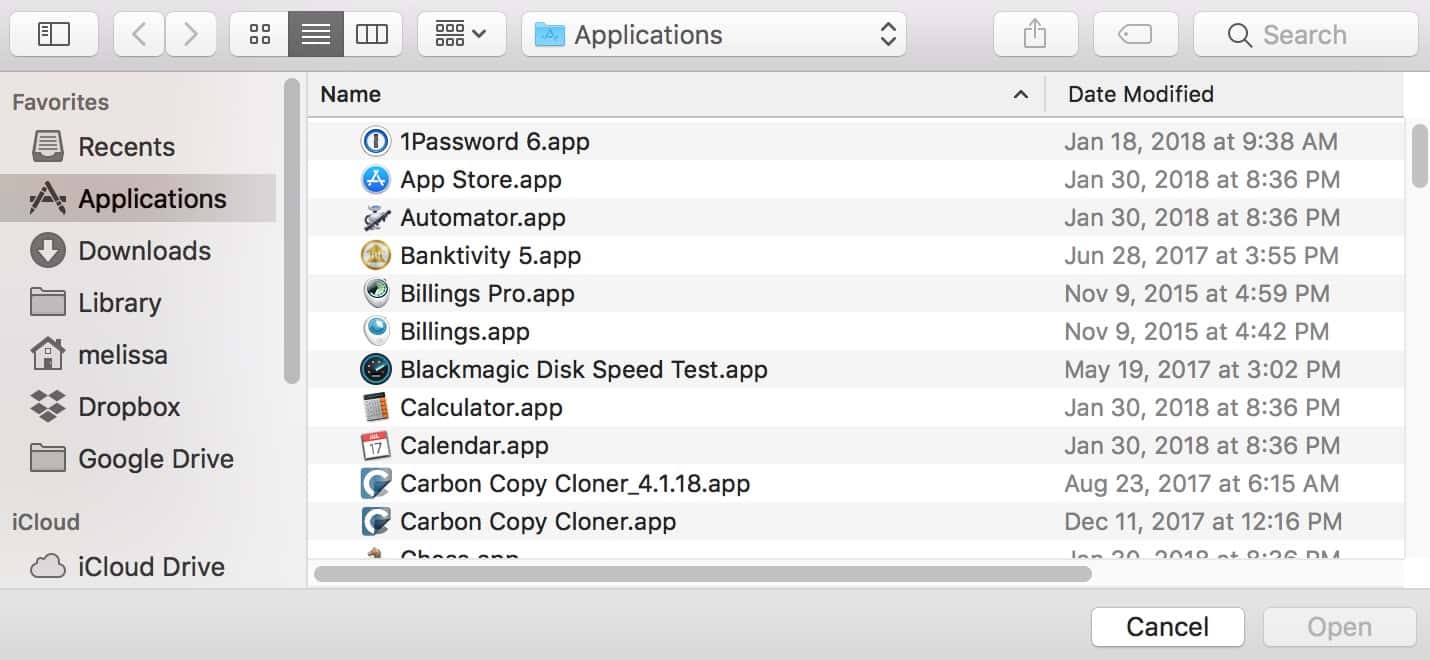
If you don’t see the program you’d like to use in the list, you can click “Other” to open a window to your Applications folder.
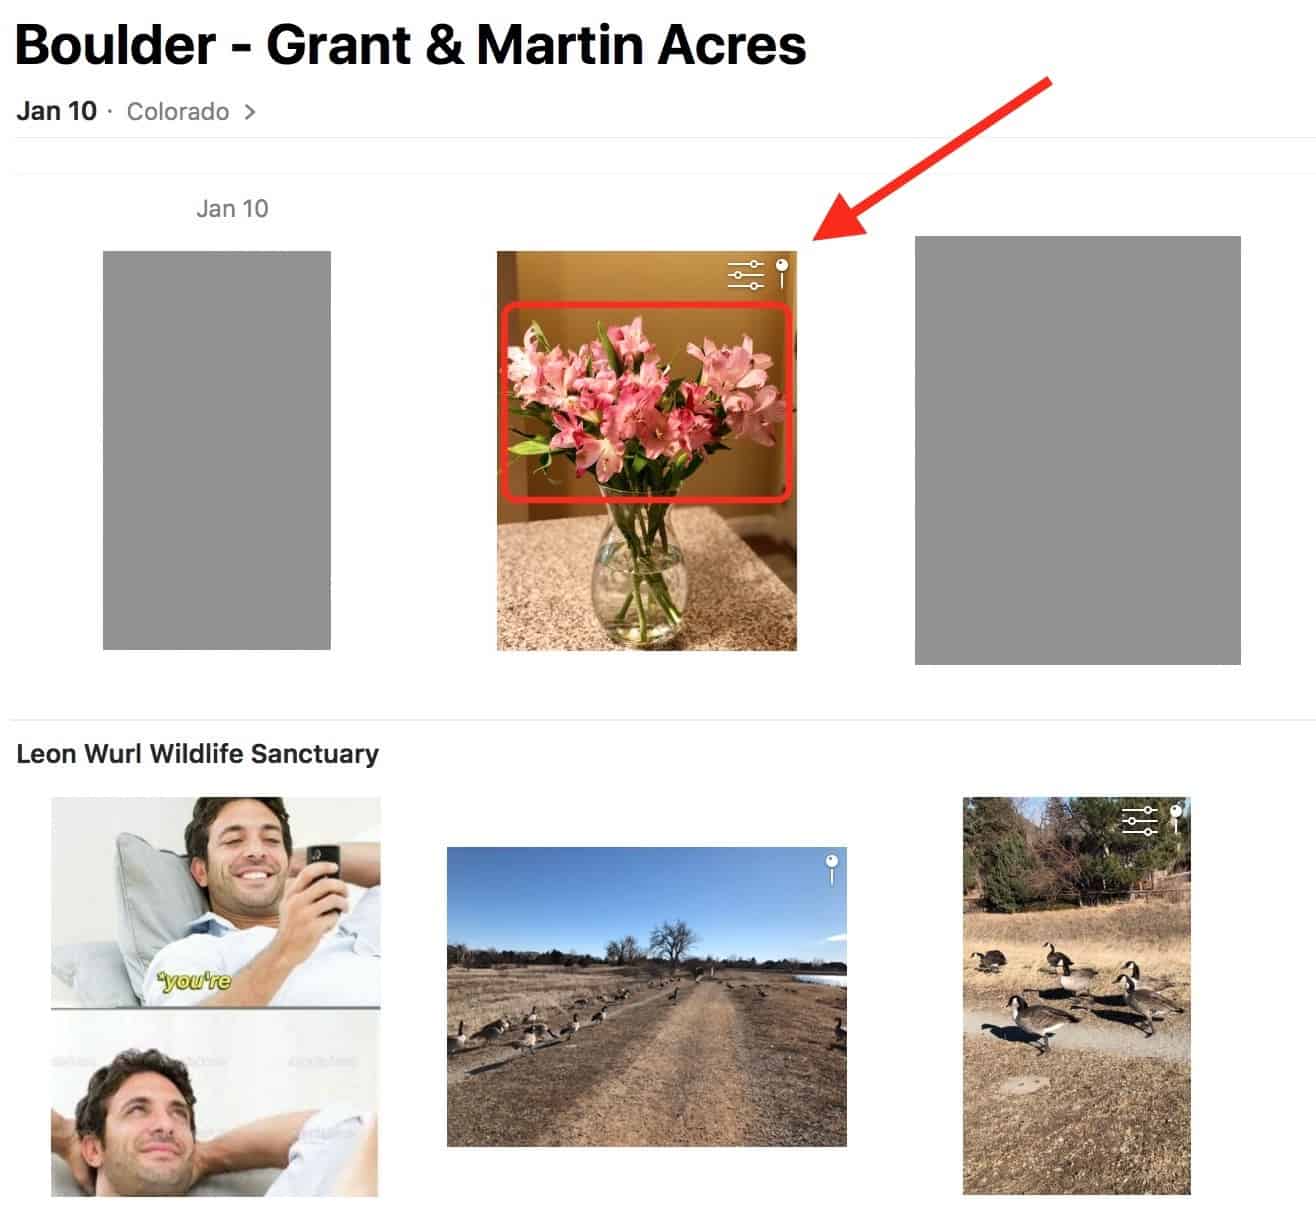
No matter which compatible program you choose, the picture will then open within it, ready for editing. So go nuts! Add red boxes around your flowers if you’re weird like me.

When you’re finished, just save the file as you normally would, and then you’ll see the changes on the item in Photos.
Now, there’s something really important you’ve gotta know here. Most of the edits you make in Photos are nondestructive, meaning that you can always choose Image > Revert to Original to, well…revert to the unchanged version. But if you edit with an external program, that option will be greyed out and unusable for the item in question.
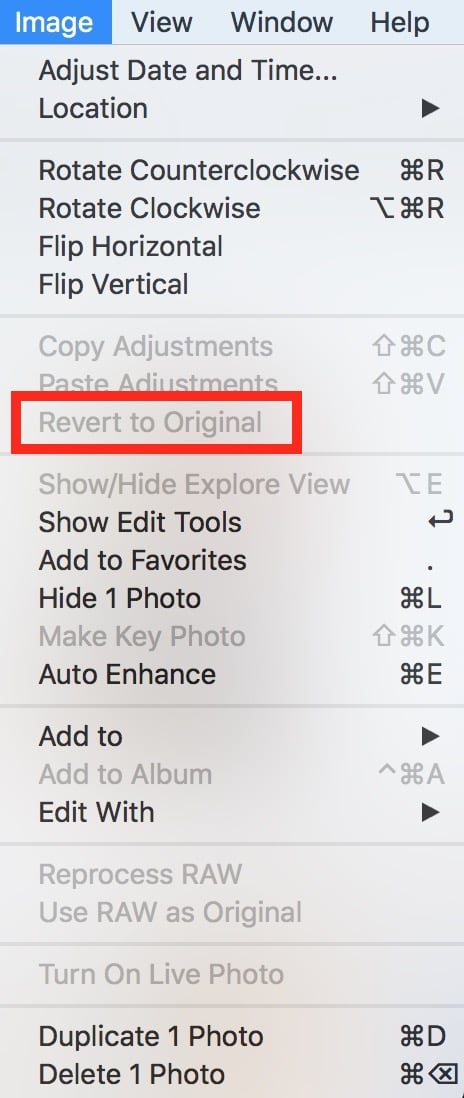
And unlike iPhoto, Photos doesn’t duplicate the image automatically before starting this process. So if you’re worried that you might want to undo your edits at some point, be sure to select your picture and press Command-D or choose Image > Duplicate before you get going!
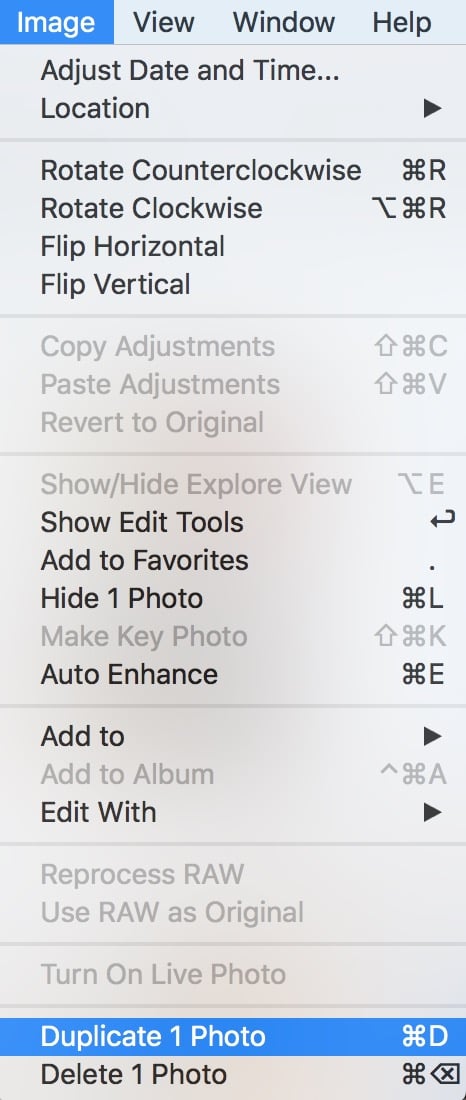
Am I paranoid? I think I’m paranoid. But you don’t know! Maybe that picture of flowers is very important to me.
You can still revert back to the original image even if you’ve edited it with an external editor! Yes, “Image > Revert to Original” is greyed out (I believe this is a bug), BUT you can double-click the image to view it in large, then click “edit” to get to Photos’ editing interface, and then on the left there is the “before/after“ button and next to it a “Revert to Original” button which always works. If you click it, Photos will revert to the original image, because those are always saved separately.
However, unlike in Aperture, whenever you edit in an external editor, Photos converts the current working copy to a JPEG. Even if you saved as a TIFF, it converts it back to JPEG. It’s not possible to, for example, keep the working copy a 16bit TIFF for further edits. So you should try to keep the processing steps as few as possible.