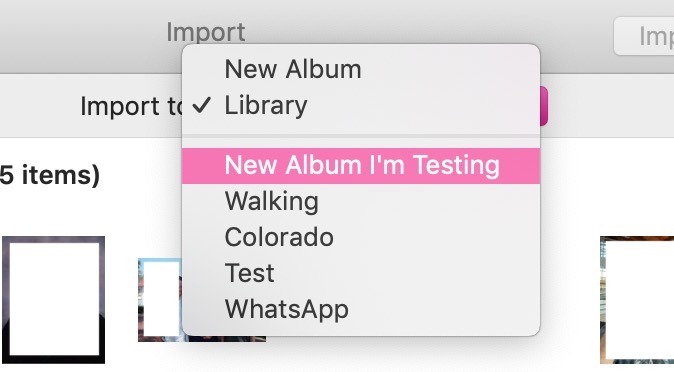
If you still import items into Photos the old-fashioned way—either through pulling stuff in from Finder or by plugging in a device—then it’s important to know that you can tell the program to add the pictures you’re importing to an existing album, without having to do that as a separate step afterward. Here’s how it works: If what you’re wanting to import is a folder or some individual pictures within Finder, then all you have to do is drag those items directly onto the album to which you’d like to add them, like so:
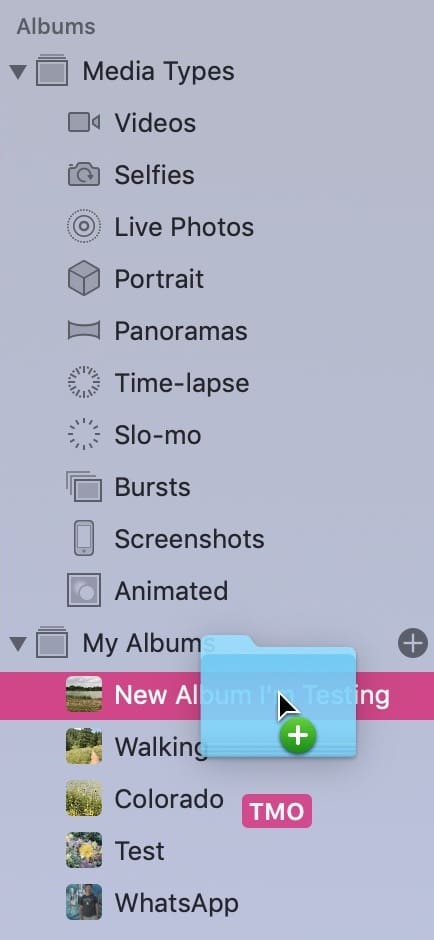
Photos will automatically import what you dragged and add those pictures to the album you dropped them on!
If what you’re importing, however, is from a device (like your phone or a camera), then the steps are a bit different. What you’ll do in that case is plug in the device, open Photos (if it doesn’t launch automatically), then click on the device in Photos’ sidebar.
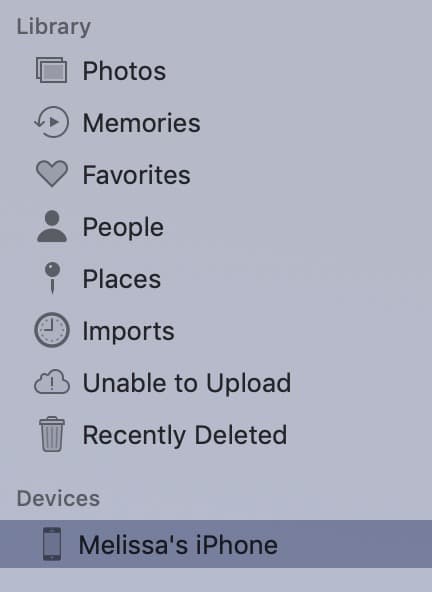
When you do that, Photos will check the stored images, and eventually, it’ll show you the pictures available for import (you may have to unlock your connected iPhone/iPad for this to happen, just so you know, if that’s what you’re pulling from). If you then change the drop-down menu at the top of Photos’ window to the name of the album you want to import to…

…like so:
…you can either choose some items to import to that place by clicking on them and then choosing “Import Selected,” or you can just bring everything in by clicking “Import All.” Whichever way you do it, though, your selection will pop right into that album, and of course, everything you imported will be visible in your full Photos library, as well, sorted by date.
This screenshot shows you nothing important. It gives you no extra information about this macOS feature. But it’s late, I’m hungry, and these were some amazing nachos I ate.
NACHOS. The pinnacle of journalism.
