There are quite a few ways you could convert a batch of images to a different format on the Mac. You could use Terminal, say, or Automator, or you could of course open each one into Preview and export them one at a time. But that program does have a quick way to convert a whole bunch of pictures at once, so let’s go over how to do that! It’s simple.
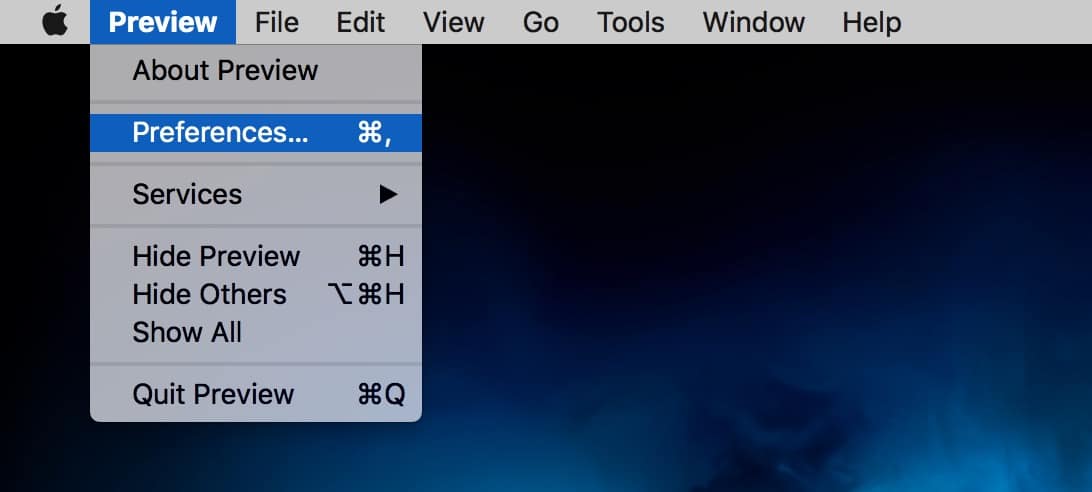
To get started, you’ll need to first make sure Preview’s preferences are set to open files within the same window so they can all be converted at once. Do that by launching the program from your Applications folder, and then choose “Preferences” from the “Preview” menu at the upper-left.
When the Preferences window opens, click on the “Images” tab and make sure the radio button next to “When opening files” is set to one of the first two options (i.e., it can’t be on “Open each file in its own window”).
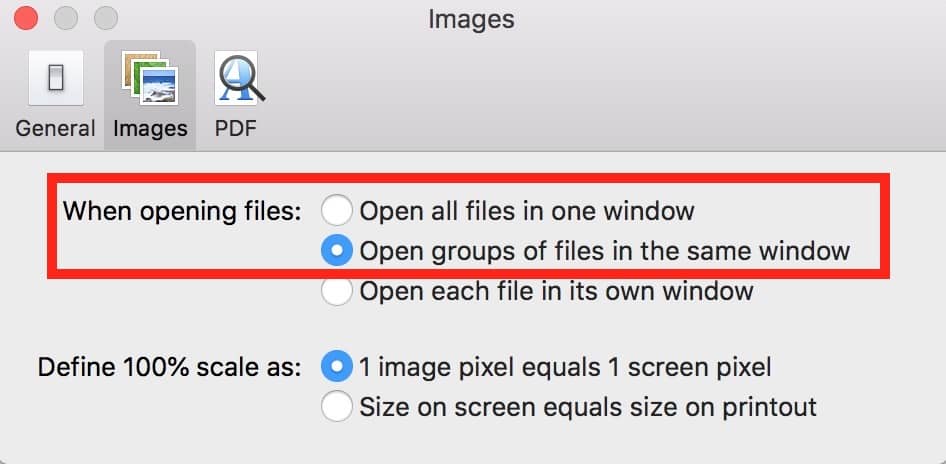
If you’ve got “Open groups of files in the same window” chosen as I do above, double-clicking on images will open them together only if they’re all selected at once; if instead you pick “Open all files in one window,” then you can go through merrily double-clicking on any picture files you want, and they’ll all appear to be within the same working file in Preview. Clear as mud? Here’s what I mean by that. So with “Open groups of files in the same window” on, I have to be sure to select all of the image files I’d like to convert at once, like so:

To do that, I held down Command and clicked on those items on my Desktop. If I then double-click on any of those files, Preview will open with them all shown together in the same window, like so:
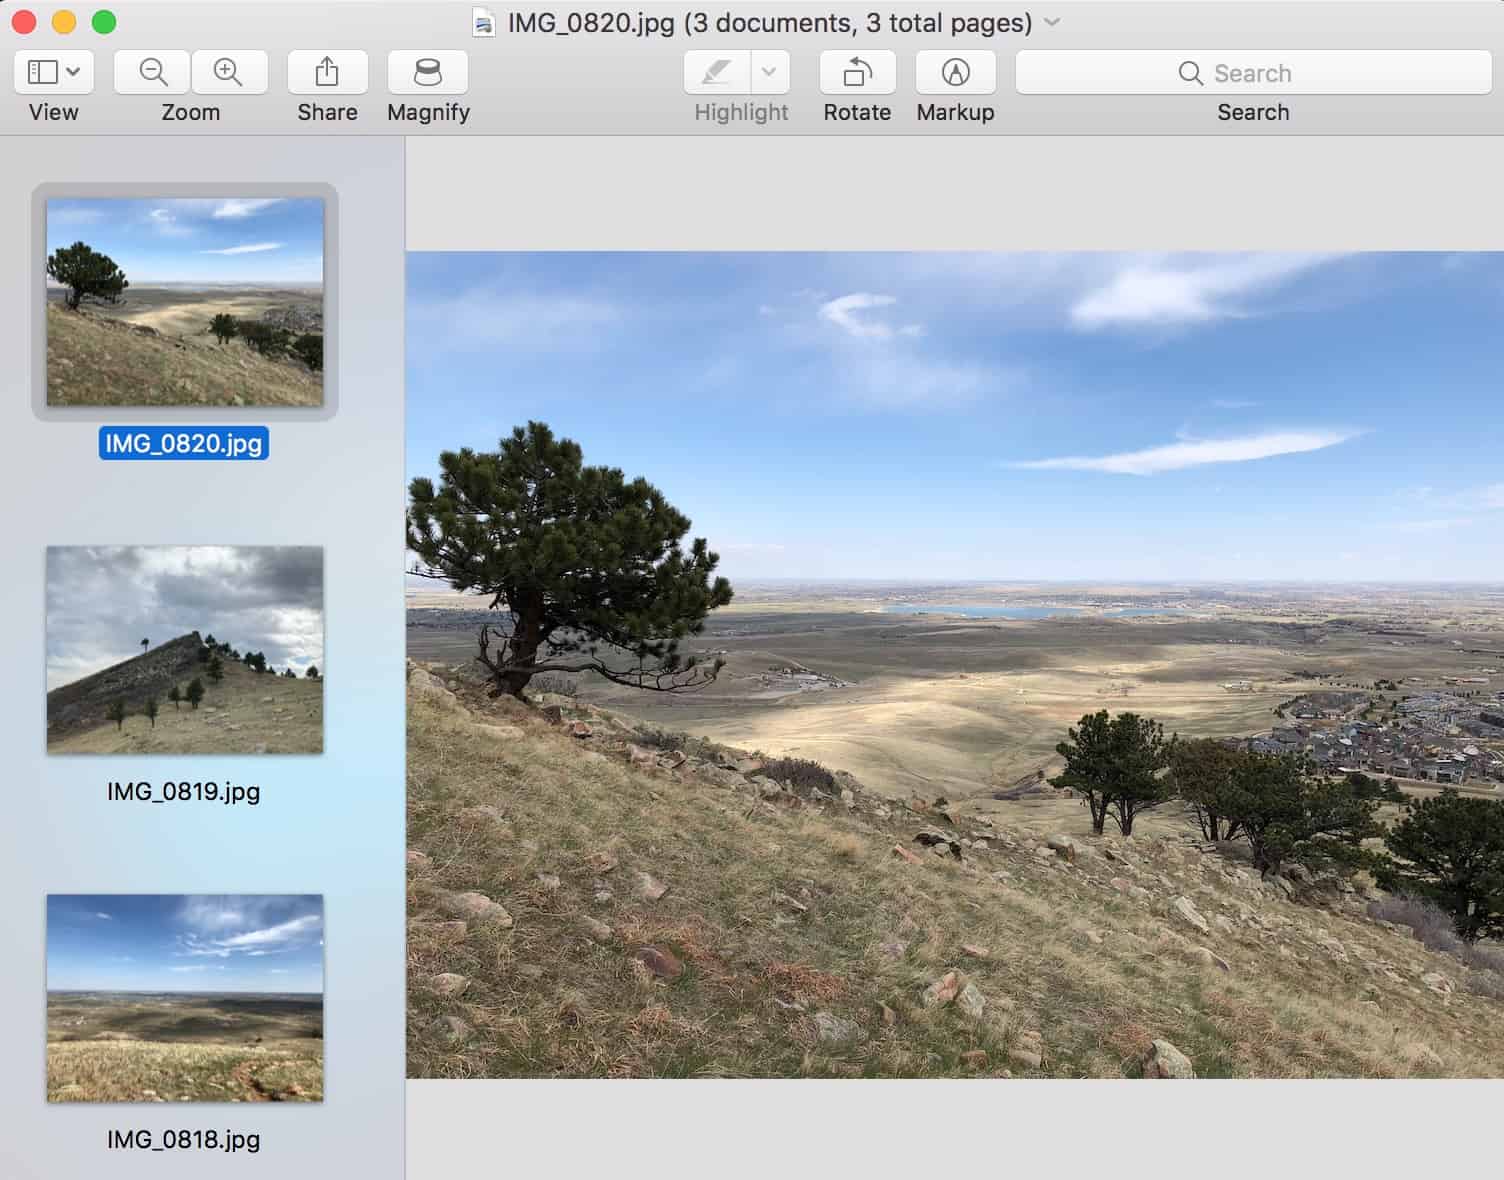
If, however, I have “Open all files in one window” on instead, then I could double-click on the first JPEG to open it, then on the second, and so on. It won’t matter how many I do at once, they’ll all appear within the same window in Preview. Which is sure handy for batch conversion as we’re doing here, but it may not always be what you want! So just know you can come back to Preview’s preferences and change things whenever you’d like after doing your conversion. (And also be aware that if your JPEGs or PNGs aren’t opening into Preview at all when you double-click them, you can adjust your settings for that, too.)
Of course, you can also easily convert an iPhone photo to JPEG.
OK. Whew! Anyway, once your files are all open within the same Preview window, click on any thumbnail from the sidebar and then press Command-A or choose Edit > Select All to, well, select all of them at once:
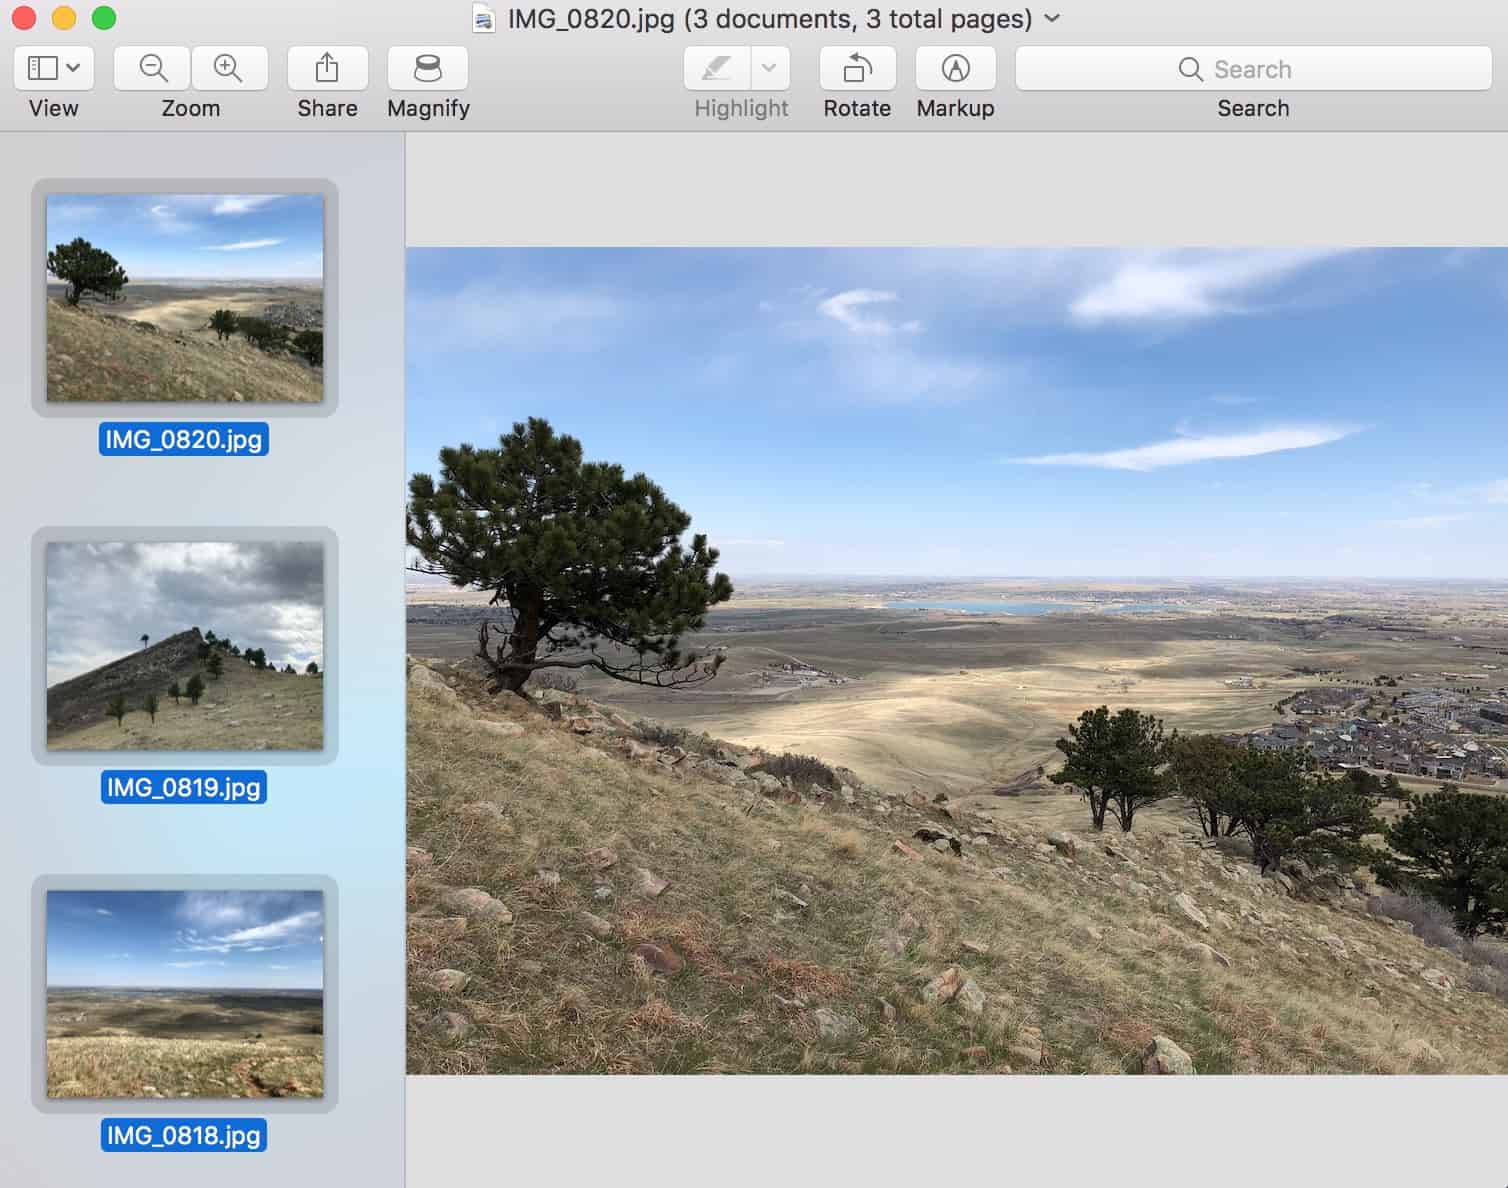
With them selected, choose File > Export Selected Images.

Next you’ll see the familiar open/save dialog box; click “Options” if you don’t see the “Format” drop-down.
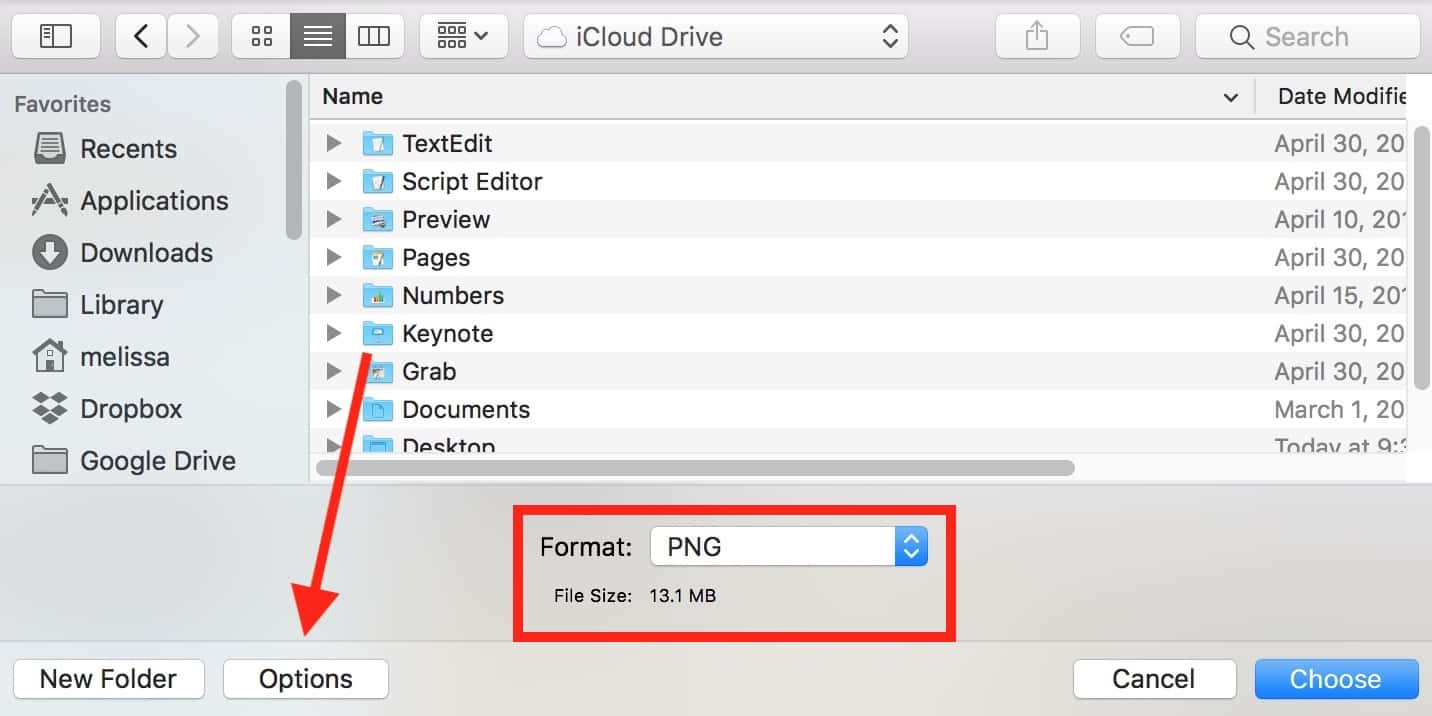
Then you’ll just pick your format to export your images to, select a save location, and click “Choose.” Now all the files you had opened within Preview will export out to their new formats!

I have PNGs now instead of JPEGs. I swear I did that for a reason and not just for this tip. Yup.
Nice one!