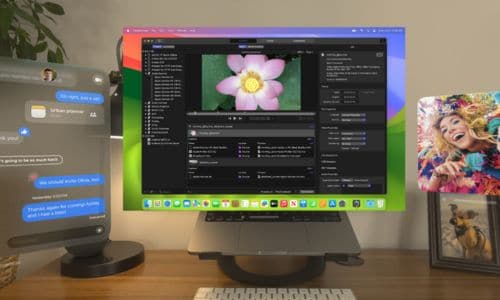
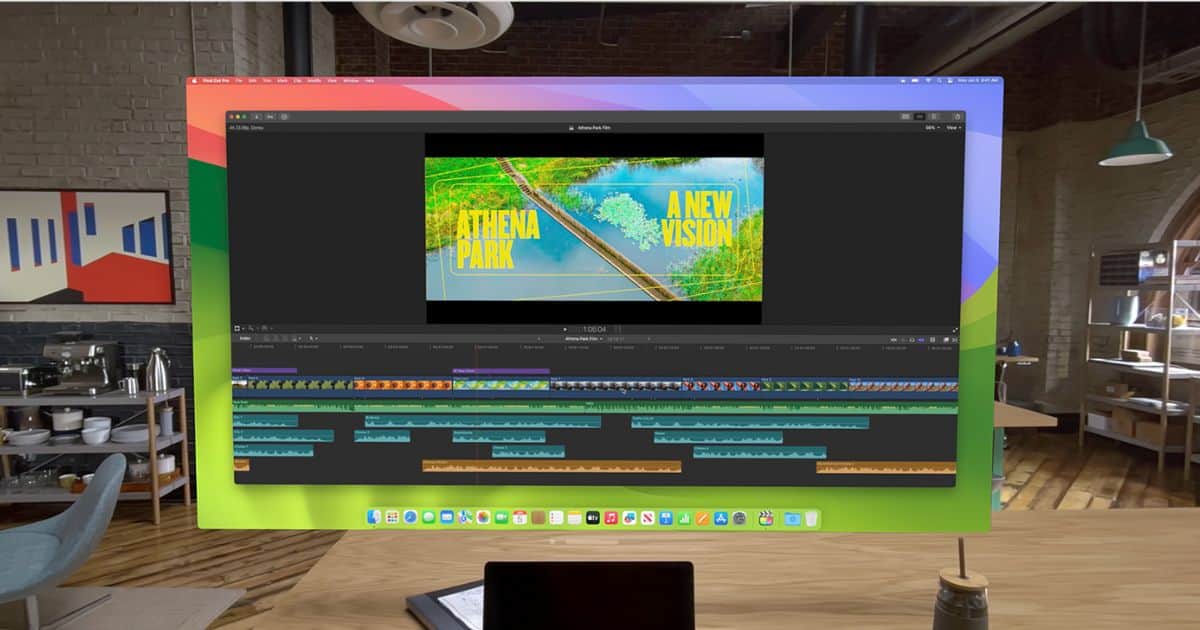
While the Apple Vision Pro AR/VR is one of the biggest releases in a long time. It comes as a standalone device, meaning you don’t need an Apple iPhone or Mac to set it up. However, the Apple Vision Pro lacks standard I/O ports. Therefore, you can connect it with Mac and enjoy the macOS on Vision Pro’s virtual space.
Apple touts Vision Pro as a “personal 4K screen” that you can take wherever you go. Let us take a closer look at how to connect Apple Vision Pro with your Mac.
 NOTE
NOTE
Requirements Before Connecting the Apple Vision Pro to the MacBook
Before we roll ahead, ensure that your MacBook is running macOS 14 Sonoma or later. Next, you need to activate two-factor authentication for an extra layer of security. For seamless connectivity, use the same Apple ID on both your Mac and Apple Vision Pro.
Also, remember to keep the iCloud Keychain turned on. Lastly, ensure that both WiFi and Bluetooth are activated on the Mac and Apple Vision Pro.
How to Connect Apple Vision Pro to your MacBook
Time needed: 1 minute
Connecting Apple Vision Pro to a MacBook is as simple as pairing any other Apple device, like the AirPods. Just follow along the steps.
- Open your MacBook.
- Strap your Apple Vision Pro headset and bring it closer to your MacBook.
- A pop-up will appear right above the MacBook.
- Tap the Connect button, and voilà!

How to Connect Apple Vision Pro to your Mac (Manually)
Follow these steps to connect your Apple Vision Pro if you have a Mac PC. You can also use this method if the first one doesn’t work.
- Put on your Apple Vision Pro headset.
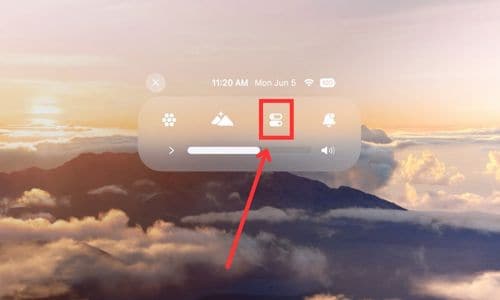
- Look for a drop-down icon (⬇) and select the Control Center option.
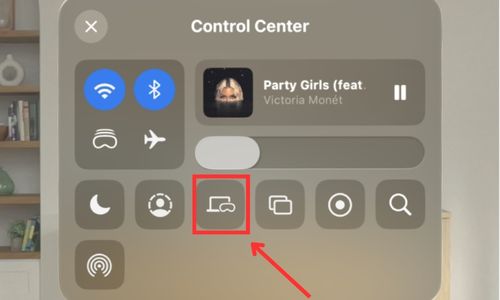
- Select the Mac Virtual Display button.
- Next, select your Mac from the list.
Connecting Apple Vision Pro to a MacBook is a good upgrade compared to Apple’s Pro Display XDR, which is quite pricey. Moreover, you can connect accessories like the Magic Keyboard and Magic Trackpad to the Vision Pro.


